Kitchen Update: Removable Wallpaper Install
“This post is in partnership with Milton & King because I love em & know you’ll love em too!”
If you’ve been hanging out with me for even just a little bit, then you know I’ve never let the fact that I rent that in the way of making our home actually feel like our home. Yeah, we have a lease, but that’s not an excuse to give up entirely on good design; so from the time we moved in — Spring 2017 — I have tackled a bunch of big & small renter-friendly upgrades…
in the bathroom, I resurfaced the counters, painted, and added decorative touches to create a relaxing oasis
in our daughter’s room (formerly my office), I added accent walls using wallpaper, paint, and washi tape for a fun yet chic space
in our master bedroom, using self-adhesive wall planks & plug in wall sconces, I was able to completely change the tone & give us the hygge-inspired adult space we never had
And all of this doesn’t include smaller updates that we’d made over time throughout the rest of our condo — small but impactful additions to make it feel like our own.
For me, however, the biggest challenge was always the front of the apartment where the common areas are — living room, dining room, and kitchen — because of how “warm” the whole area is…the beige on beige on brown! In terms of renter-friendly upgrades, the only thing I’d tackled in this space was adding a peel-and-stick backsplash to the kitchen. I’d conceded that I couldn’t do much in the kitchen, but figured if I could at least cover some of the painted walls & add some visual interest with a backsplash, then that would be enough — it wasn’t.
A few things happened here…
the backsplash, while nice, was not enough for me to stop hating the kitchen
the already textured walls were also very uneven so pockets of the tile weren’t securely adhering to the wall
Up to this point, aside from the backsplash, the only thing I’d truly invested time into fixing in the kitchen was the organization. After tackling the pantry and creating a system that worked for us and that really made me happy, I knew I had to bring that joy into the rest of the kitchen… you know, the parts that I actually see!
I needed more!
For months I mulled over what that “more” would look like — how could, instead of fighting the kitchen, embrace it for what it is and make it work for me aesthetically? Because to be quite honest, I basically wasted nearly 3 years resenting kitchen elements that I couldn’t change — the dark cabinets, dark counters, and dark floors weren’t going anywhere any time soon so what could I do to bring it all together in a way that I’d actually like?
That’s when it hit me…WALLPAPER!
Putting wallpaper in areas like kitchens & bathrooms is always a risk/gamble, especially removable wallpaper for the obvious challenges of heat & humidity; but with the right wallpaper brand, you can totally get something that’s a winner.
To tackle this big new crazy idea of mine, I knew Milton & King would be the perfect partner!
“Producing on demand, on trend, highly curated and globally designed products. ”
Milton & King is a family business that specializes in reinventing wallpaper and fabric. In addition to their traditional wallpaper offerings, I was stoked to discover that Milton & King also had a robust removable wallpaper offering, including many of he traditional designs that I love. I decided that in this small, dark corner of the condo, this would be the perfect time to go big & go bold! I browsed A LOT of designs, but most of which initially, were for the kitchen I wish I had. After some more deliberating, I narrowed it down to four designs that would elevate (and not compete with) the kitchen design.
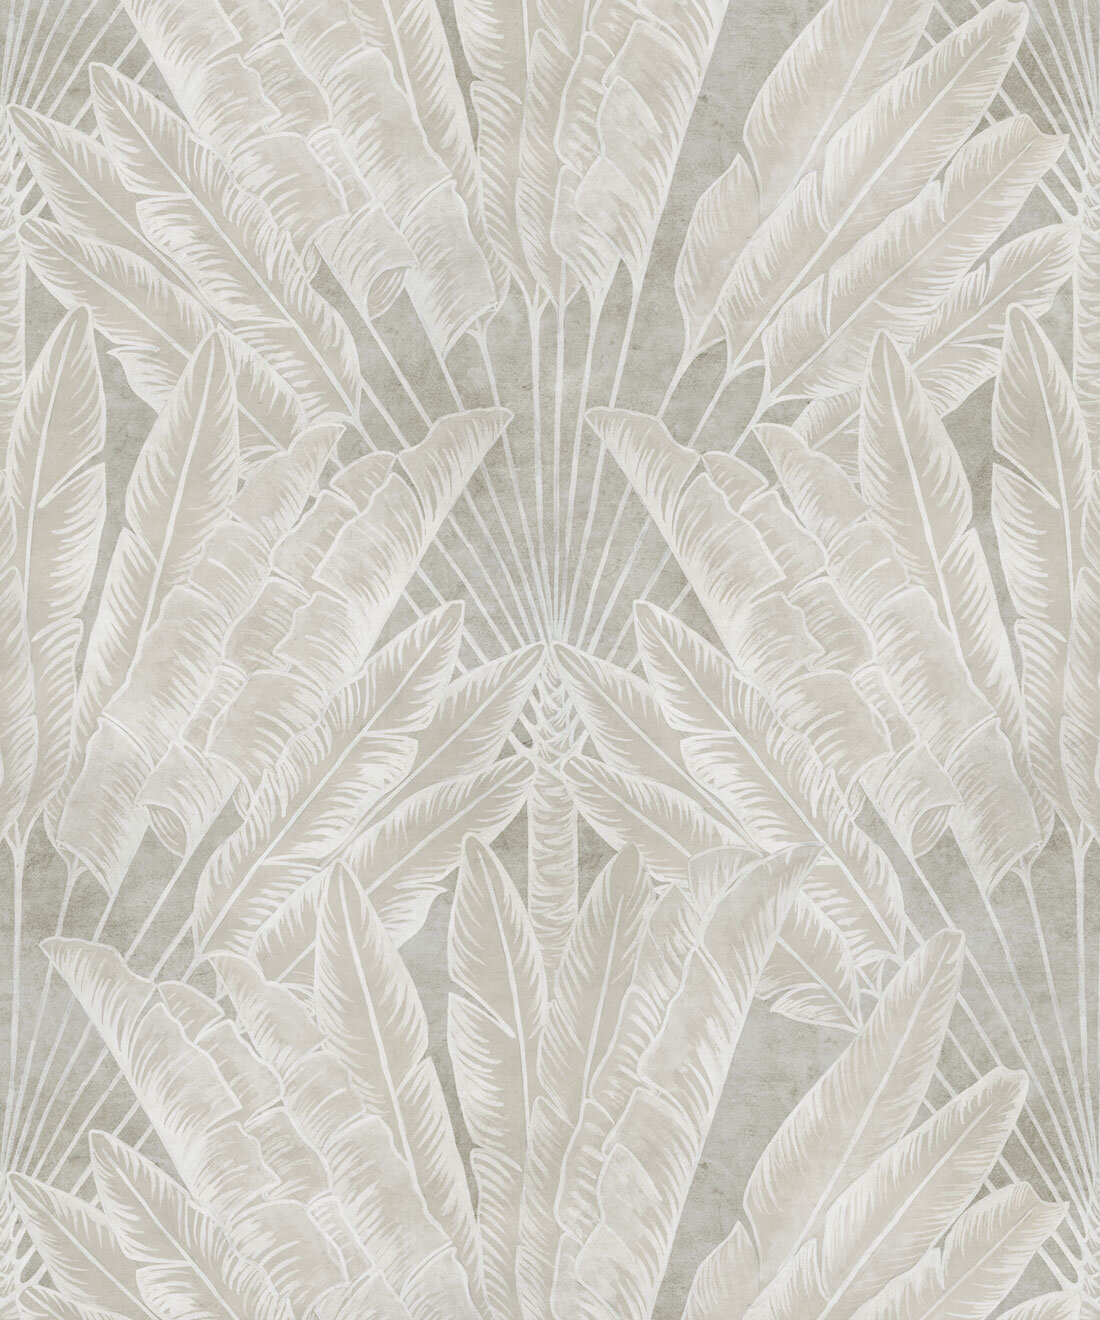
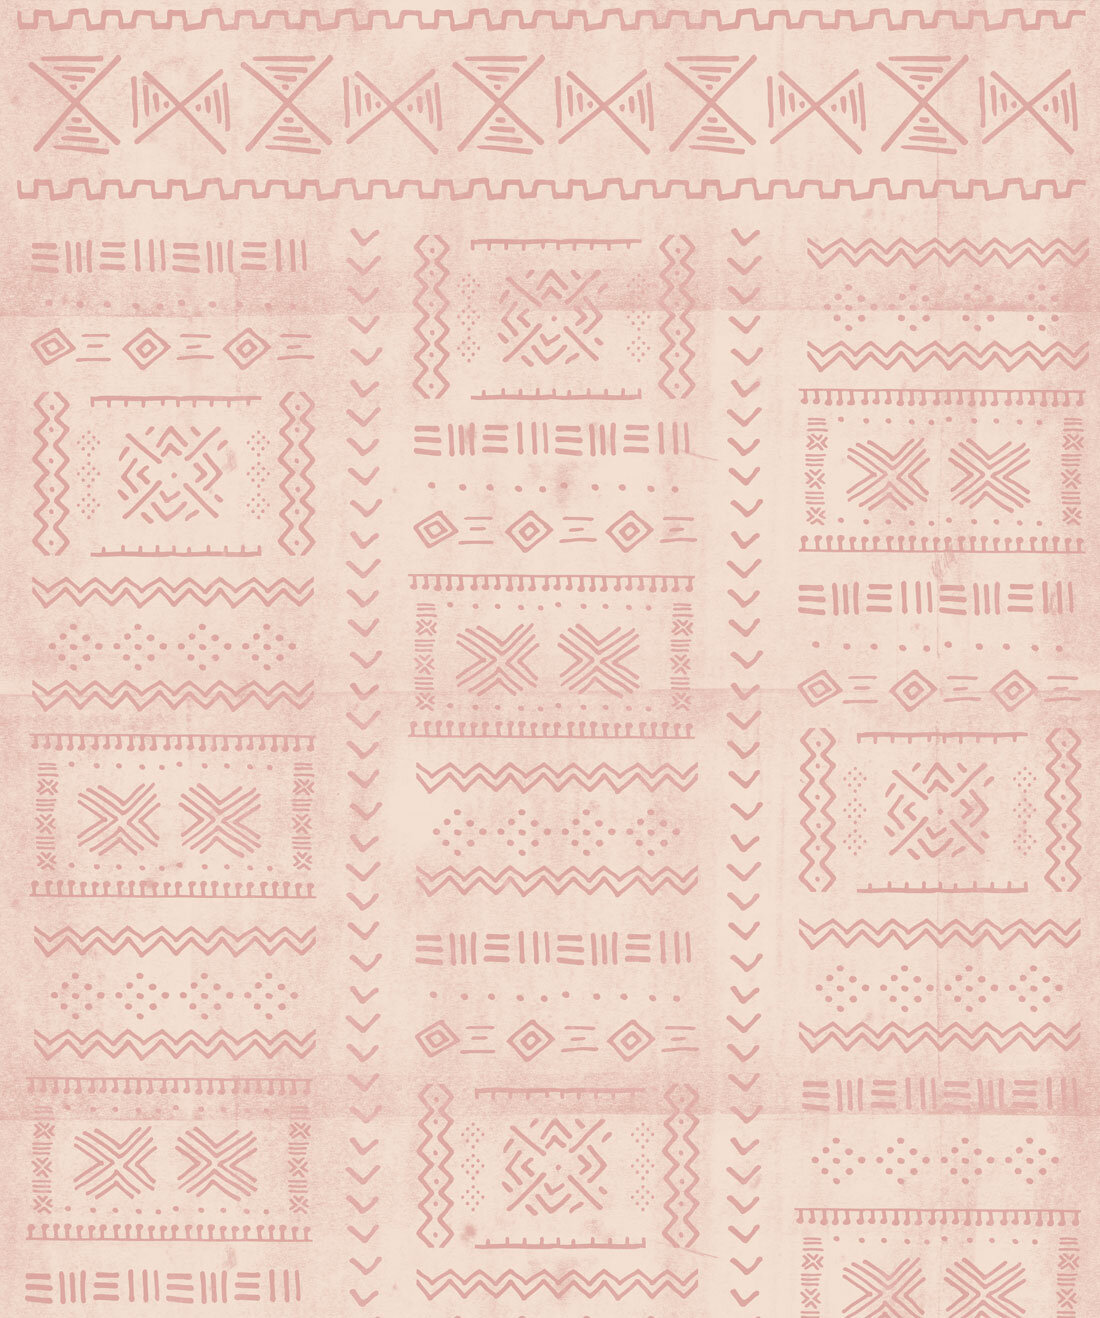

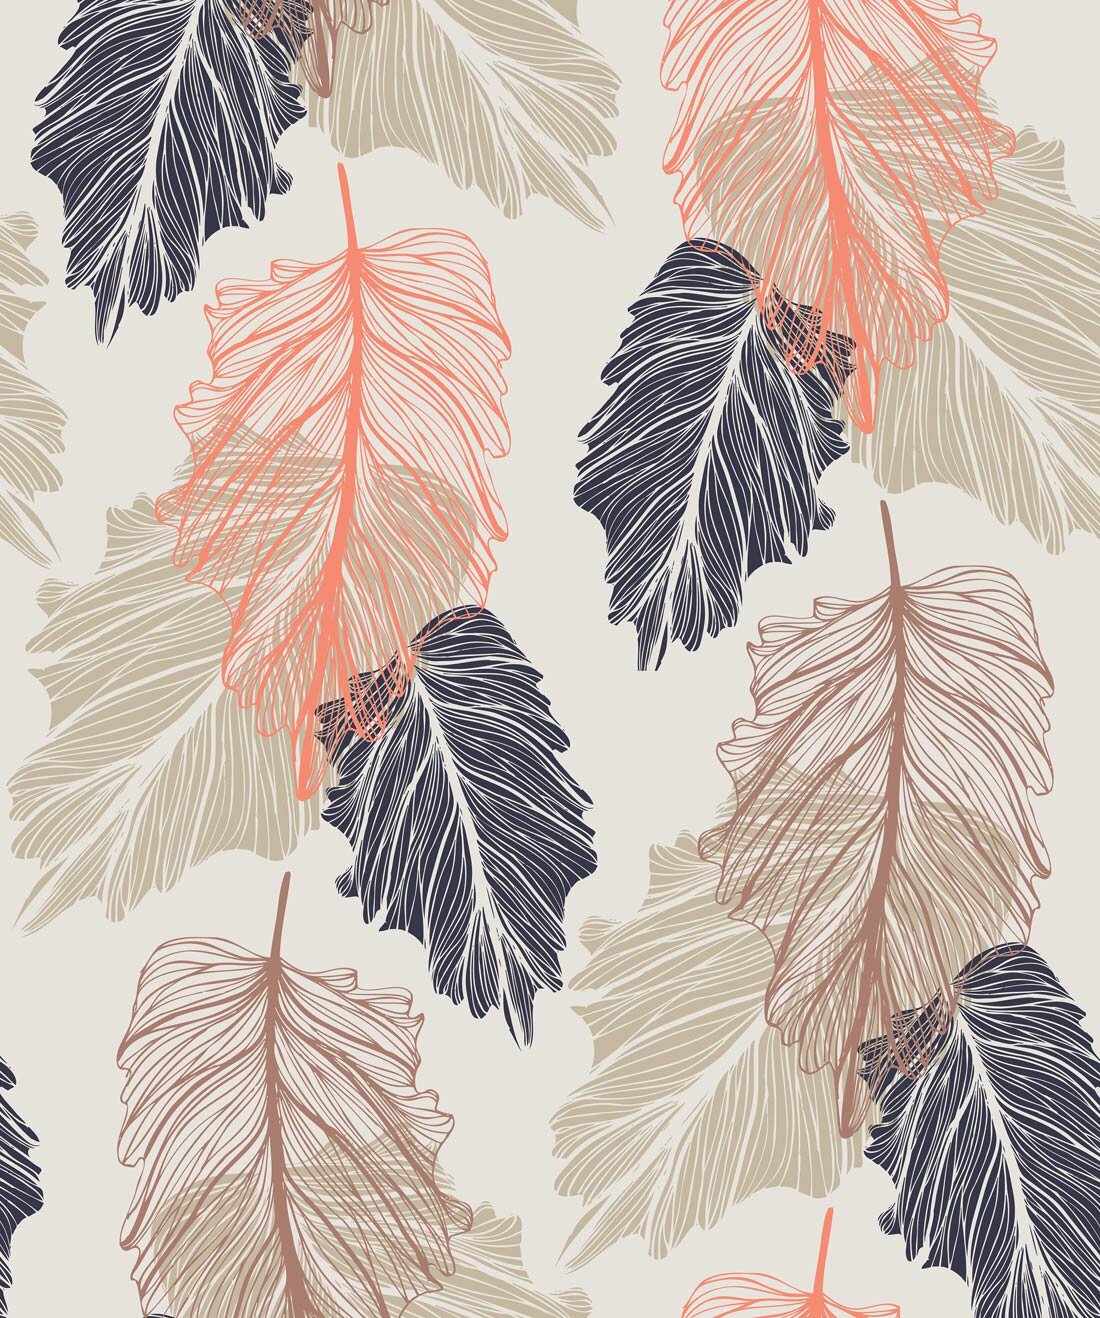
After some additional thought, I ruled out Travelers Palm and Tribal Mud, and hung my samples of Queen Palm and Shedding on the kitchen wall for about a week. I did this to see if after some time, I would still love the designs, and to see how they actually blended in with the rest of the kitchen. After going in and out of the kitchen, looking at both designs day in & day out, Shedding was my favorite!
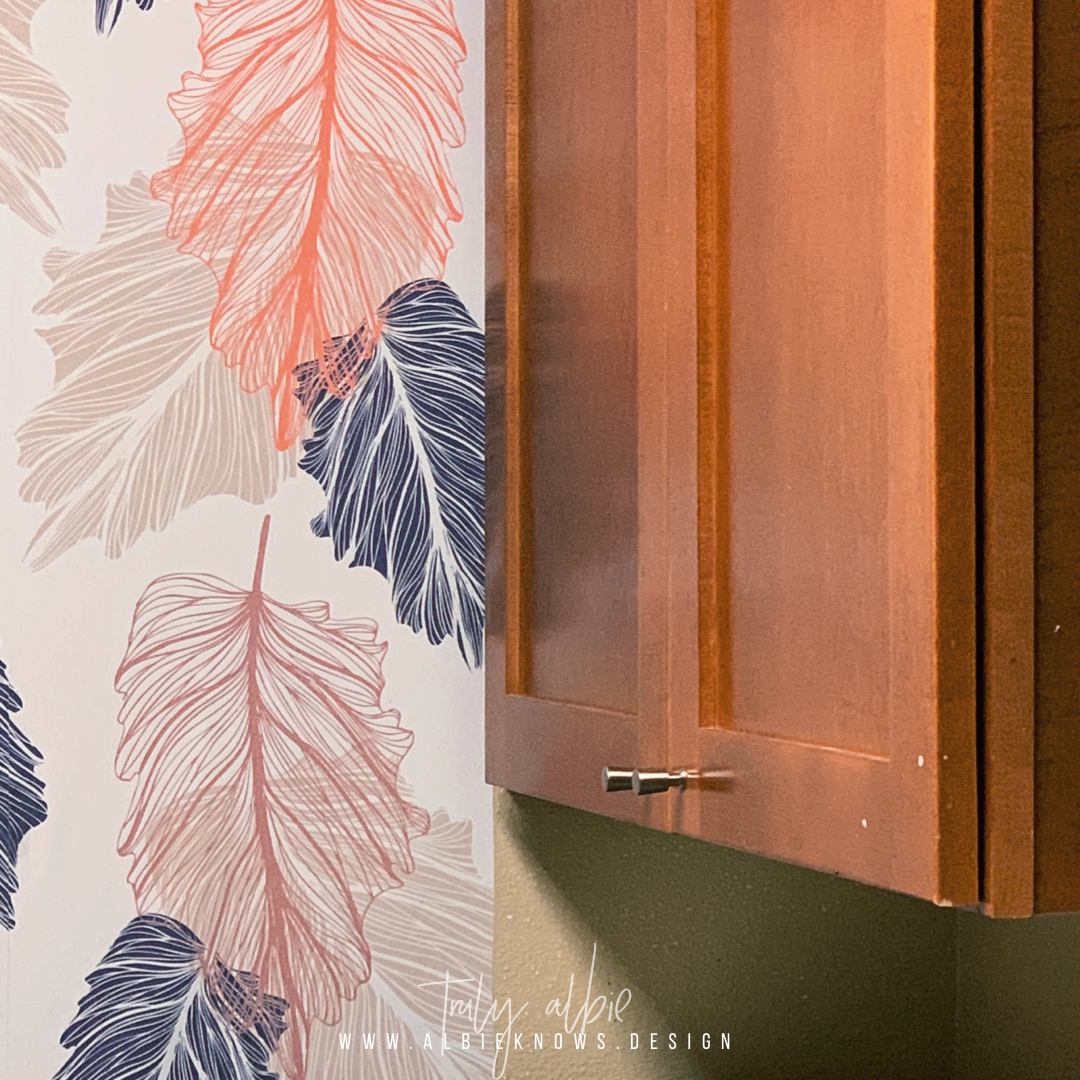
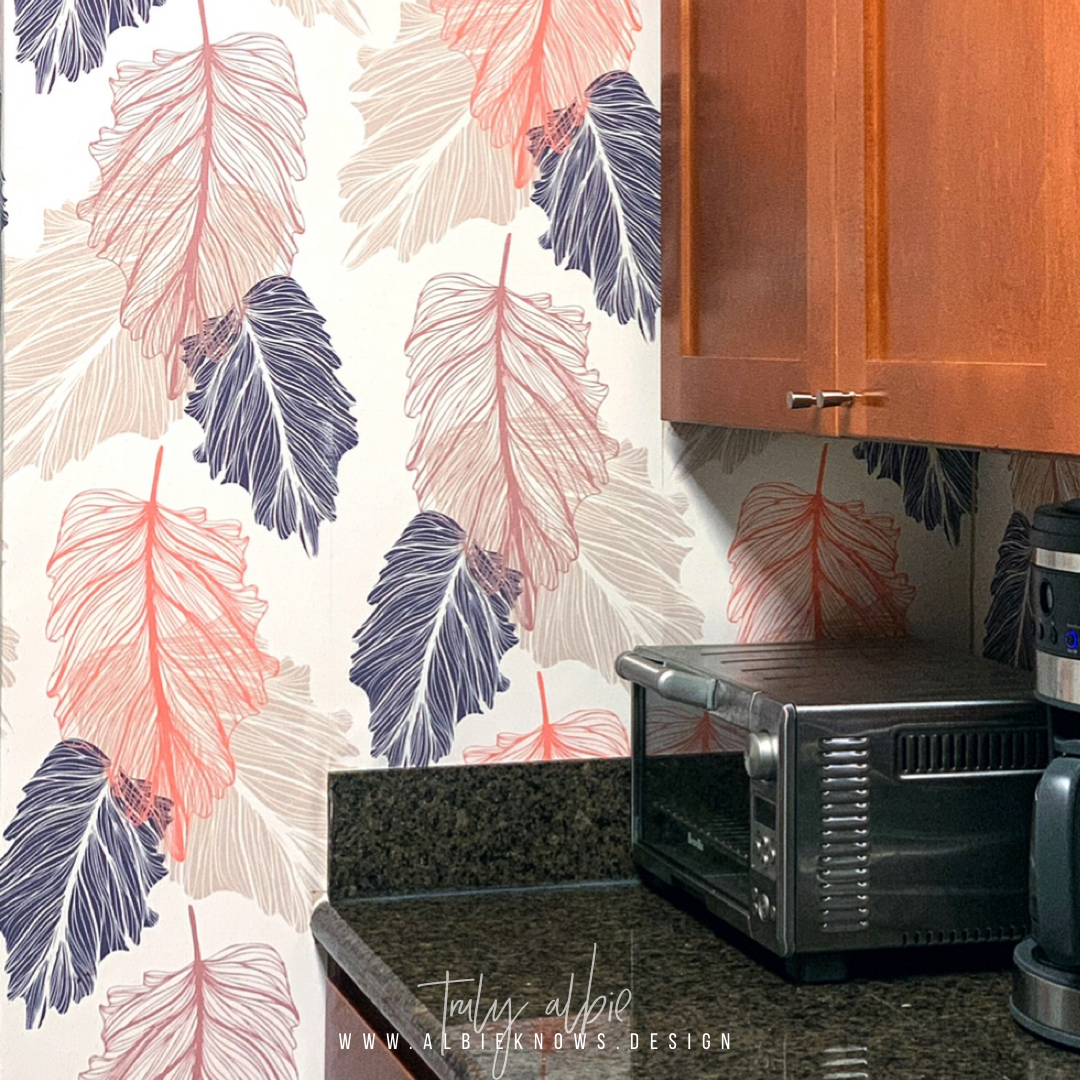
“This elegant falling leaf trail is contemporary and stunning. A seasonal Color palette gives a refined sophistication to this enchanting contemporary wallpaper. Take a walk through the woods and bring the beautiful outdoors into your home.”
What I loved about Shedding was how it possessed the same warm tones of the kitchen but also the cool tones of our preferred aesthetic. It was the perfect bridge between the kitchen’s current design and the design I wish it had. I didn’t have to fight the kitchen anymore, and instead I could spend time actually enjoying it.
After taking measurements of all the exposed walls I planned to cover, I partnered with Milton & King to determine the right number of rolls I’d need, and then we were off to the races!
While this wasn’t my first rodeo with peel & stick installations, it was my first during my “new normal” — no husband at home, working outside the home, fully grown toddler on the loose. In previous instances, a project like this may have taken a week or two to complete, if that, but this took me months.
Aside from the prep and wait time to make sure the wallpaper worked with my “orange peel” walls, I also had to work around my new schedule and my daughter’s schedule.
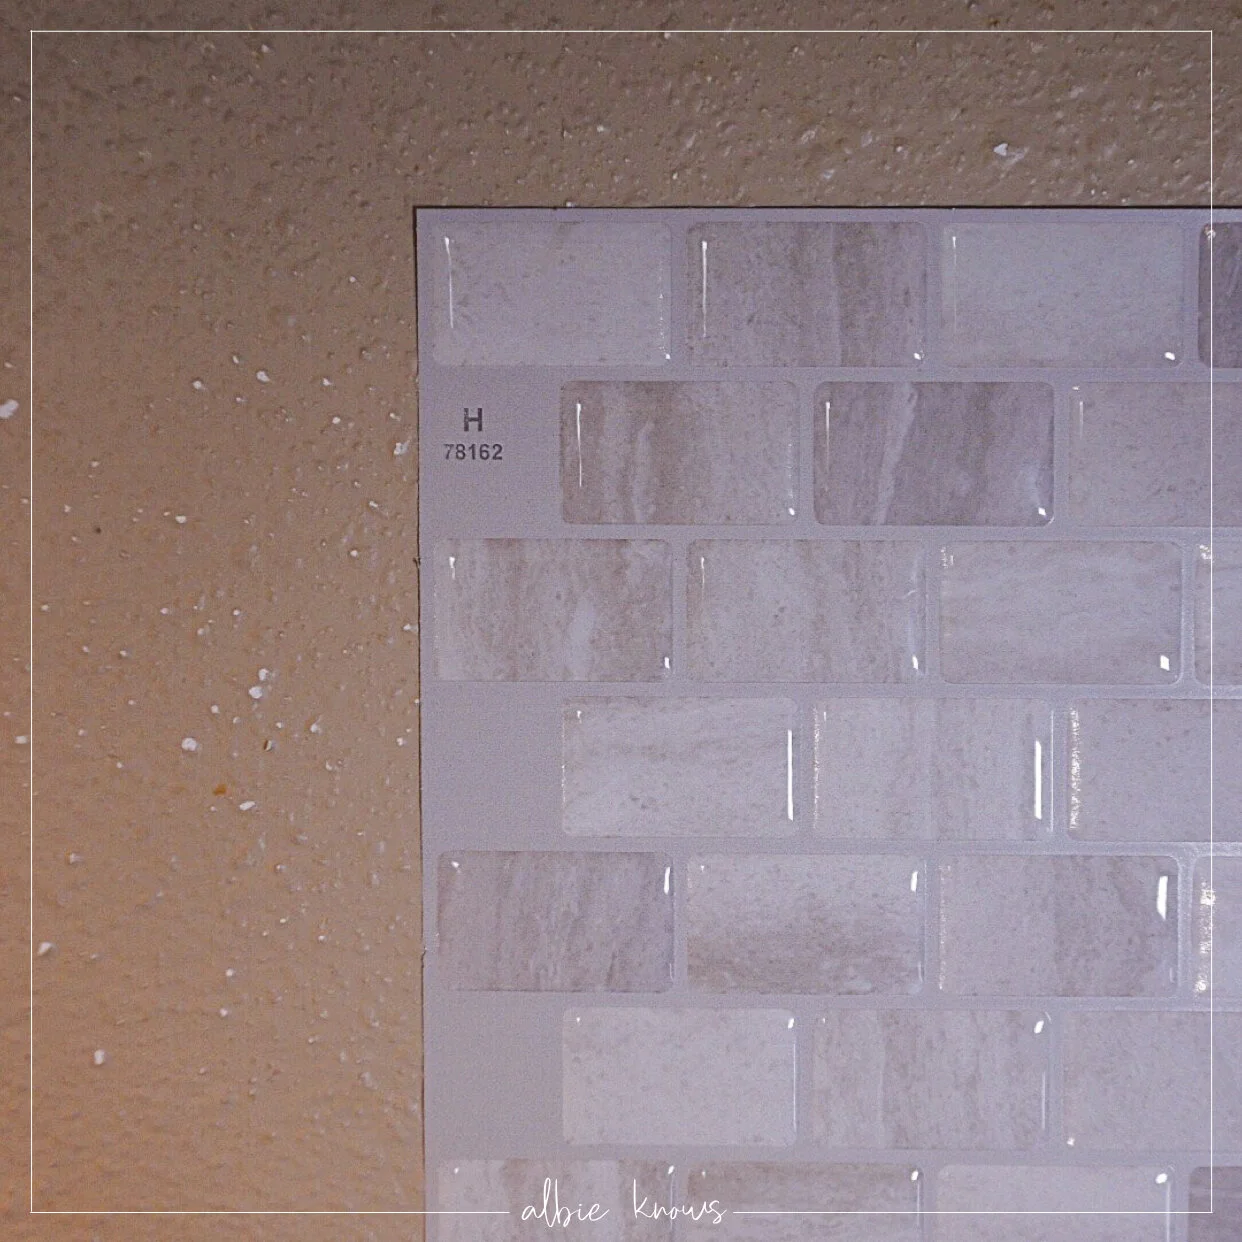
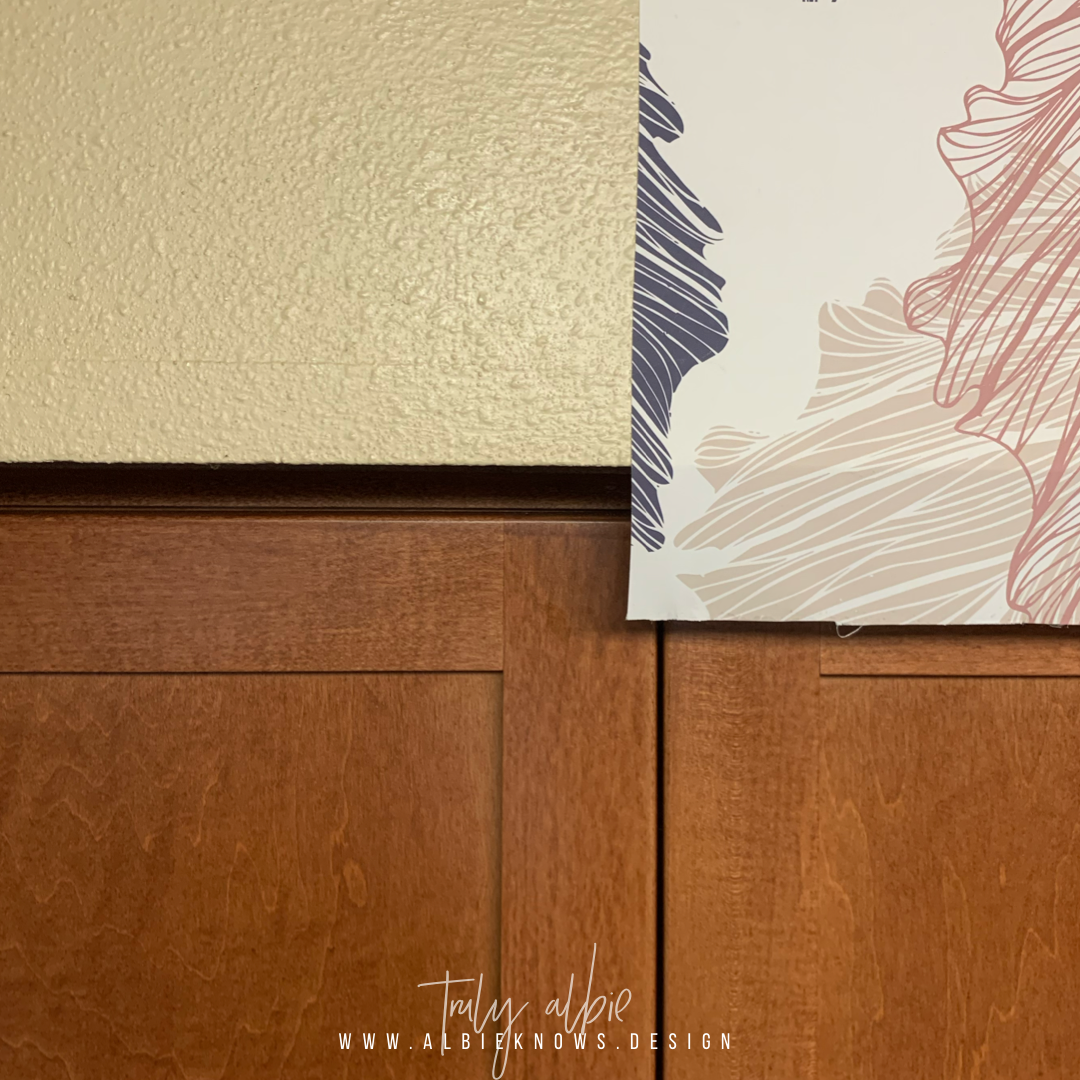
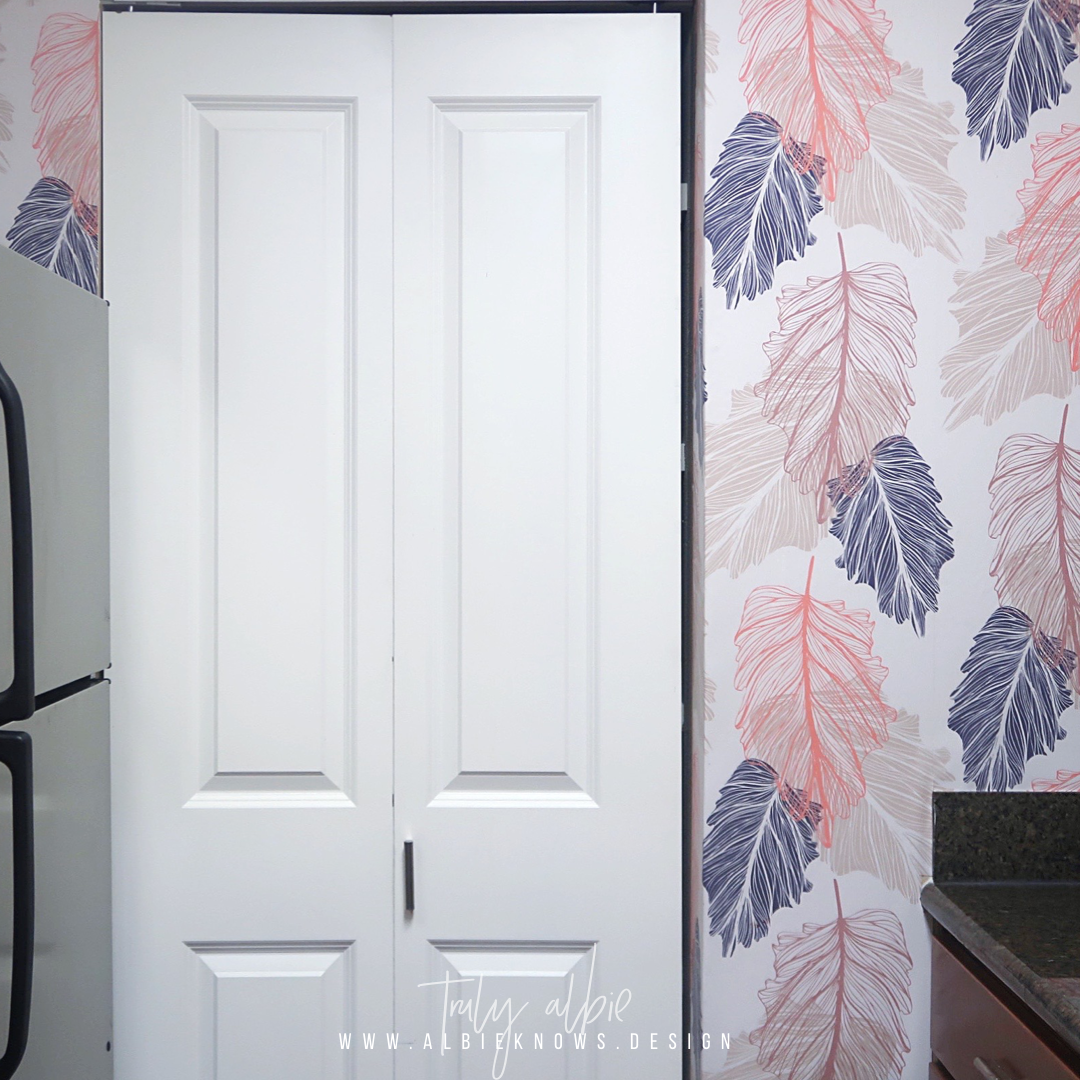
To start, I installed the wall that flanks the pantry, since it was the longest wall in the kitchen. Covering this wall first made setting up the pattern repeat easier, because unlike a plain wallpaper, with Shedding, I would have to make sure the leaf design is maintained throughout the entire application.
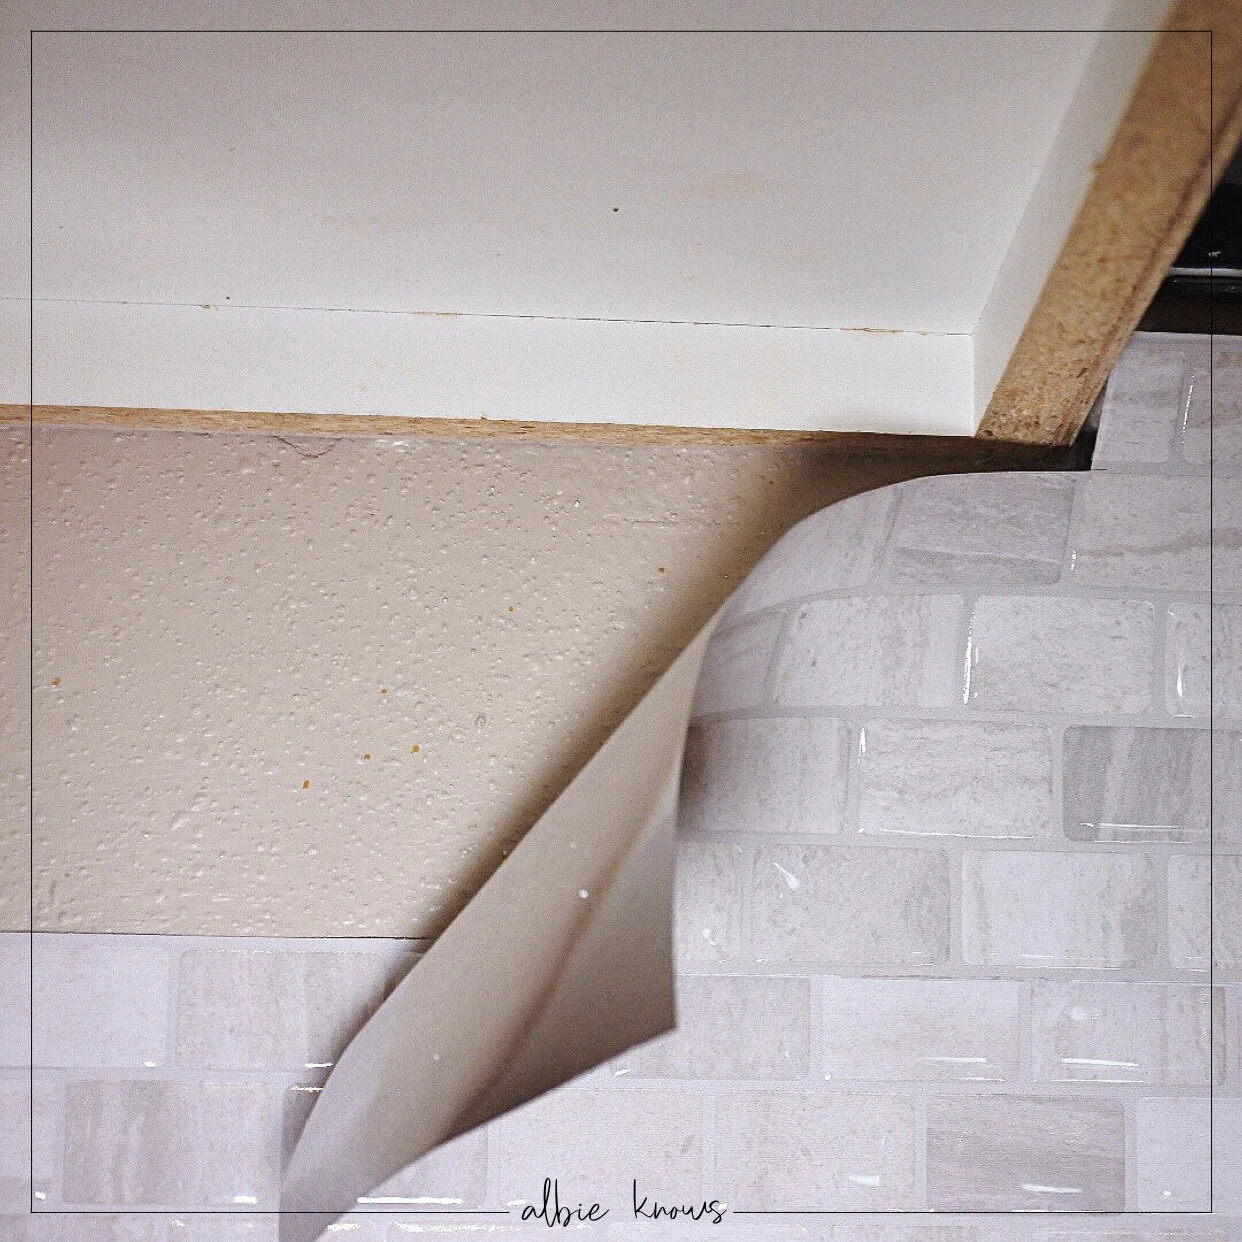
Before continuing the installation, I left the wall I installed up for a week because in addition to an “orange-peel” texture, like our master bedroom, the kitchen has very uneven walls…just the most random imperfections in the most random places!
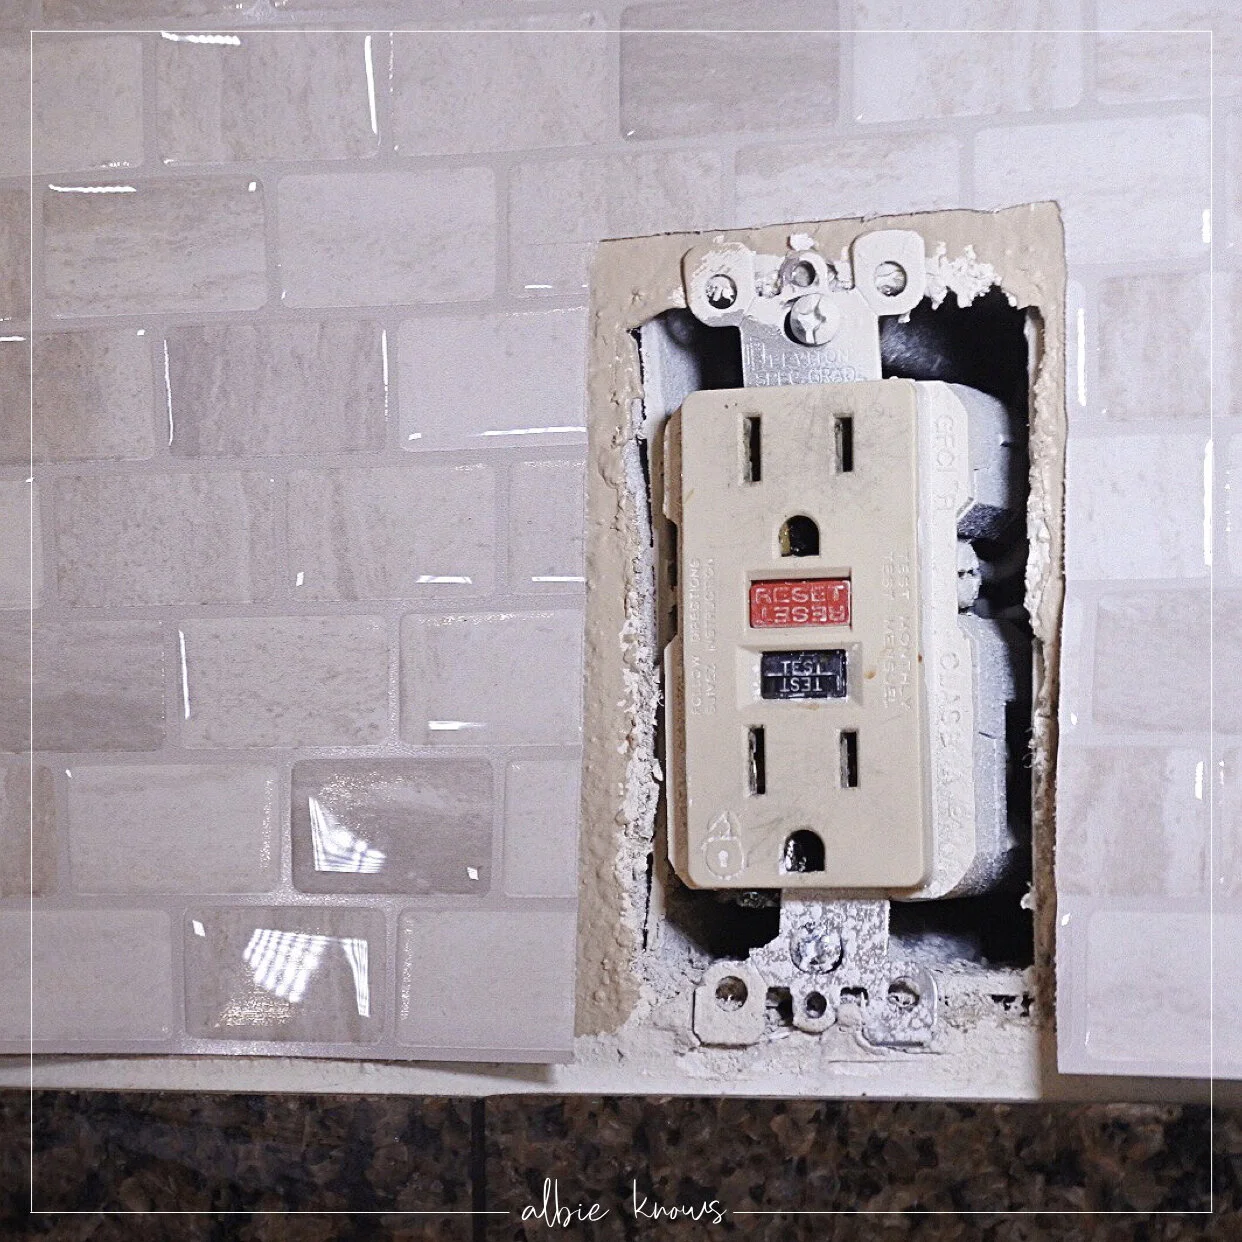
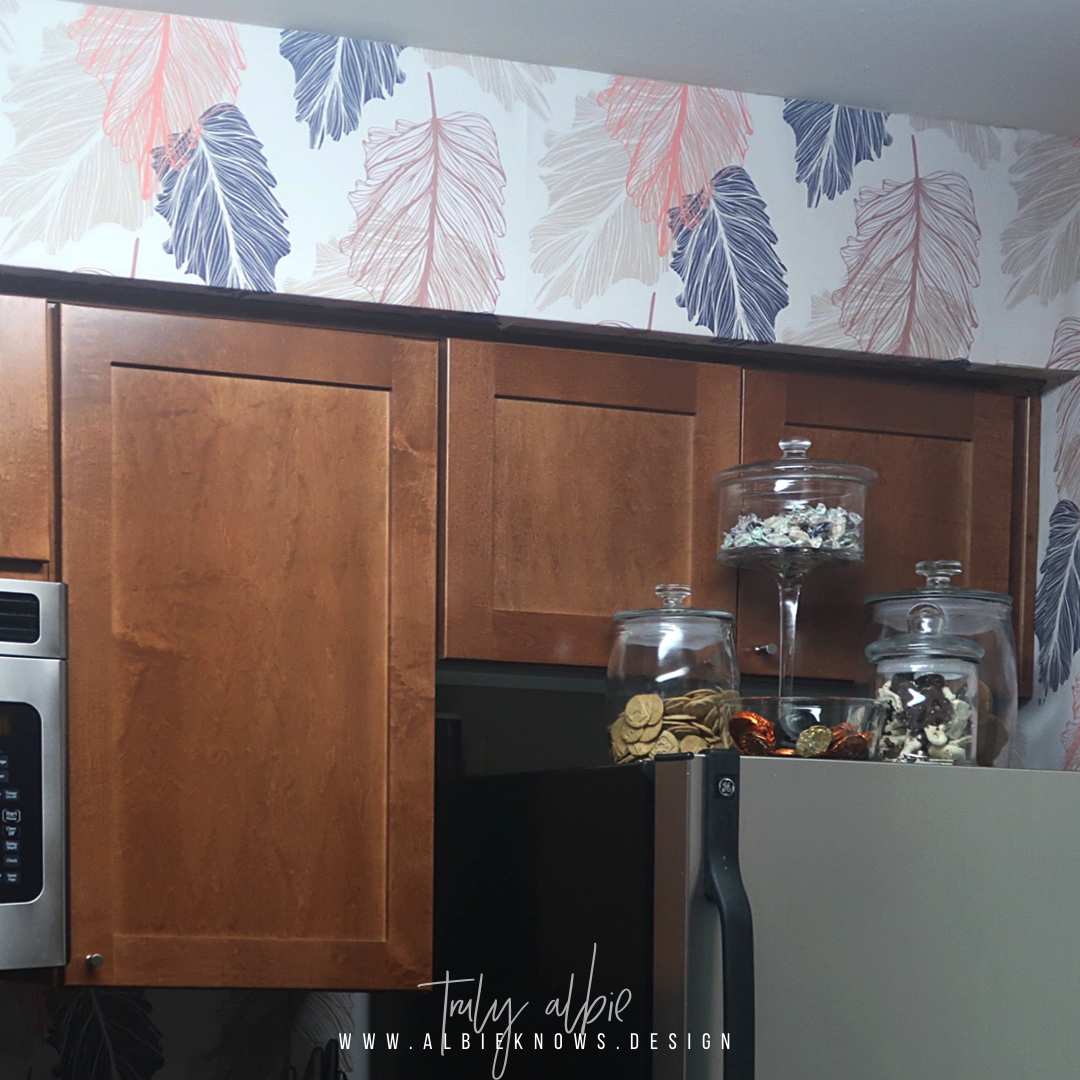
After this, every 1-2 weeks I installed another area of the kitchen, completing (in this order) the pantry wall, backsplash areas, bulkhead, and pillars.
Now remember those imperfect walls I mentioned?
While the wallpaper adhered just fine through the vast majority of the kitchen, I still had to find a solution for those troublesome spots. After WEEKS of waiting and researching, I cam across what I hoped would be the perfect solution: Krylon Easy Tack Repositionable Adhesive Spray.
But Albie, shouldn’t the adhesive on the wallpaper be enough?
Yes, yes it should be, and for majority of the kitchen it was. But for some reason there were areas where NOTHING would take — not the wallpaper, not the previous backsplash, not command strips, not even plain old tape. I can’t speak to what what or may not have happened to the walls prior to us living there, so I have zero explanation for why these spots were so annoying, but I needed something to strengthen the wallpaper’s hold without destroying the wall — still gotta be renter-friendly.
The Krylon Easy Tack Repositionable Adhesive Spray was the perfect solution!
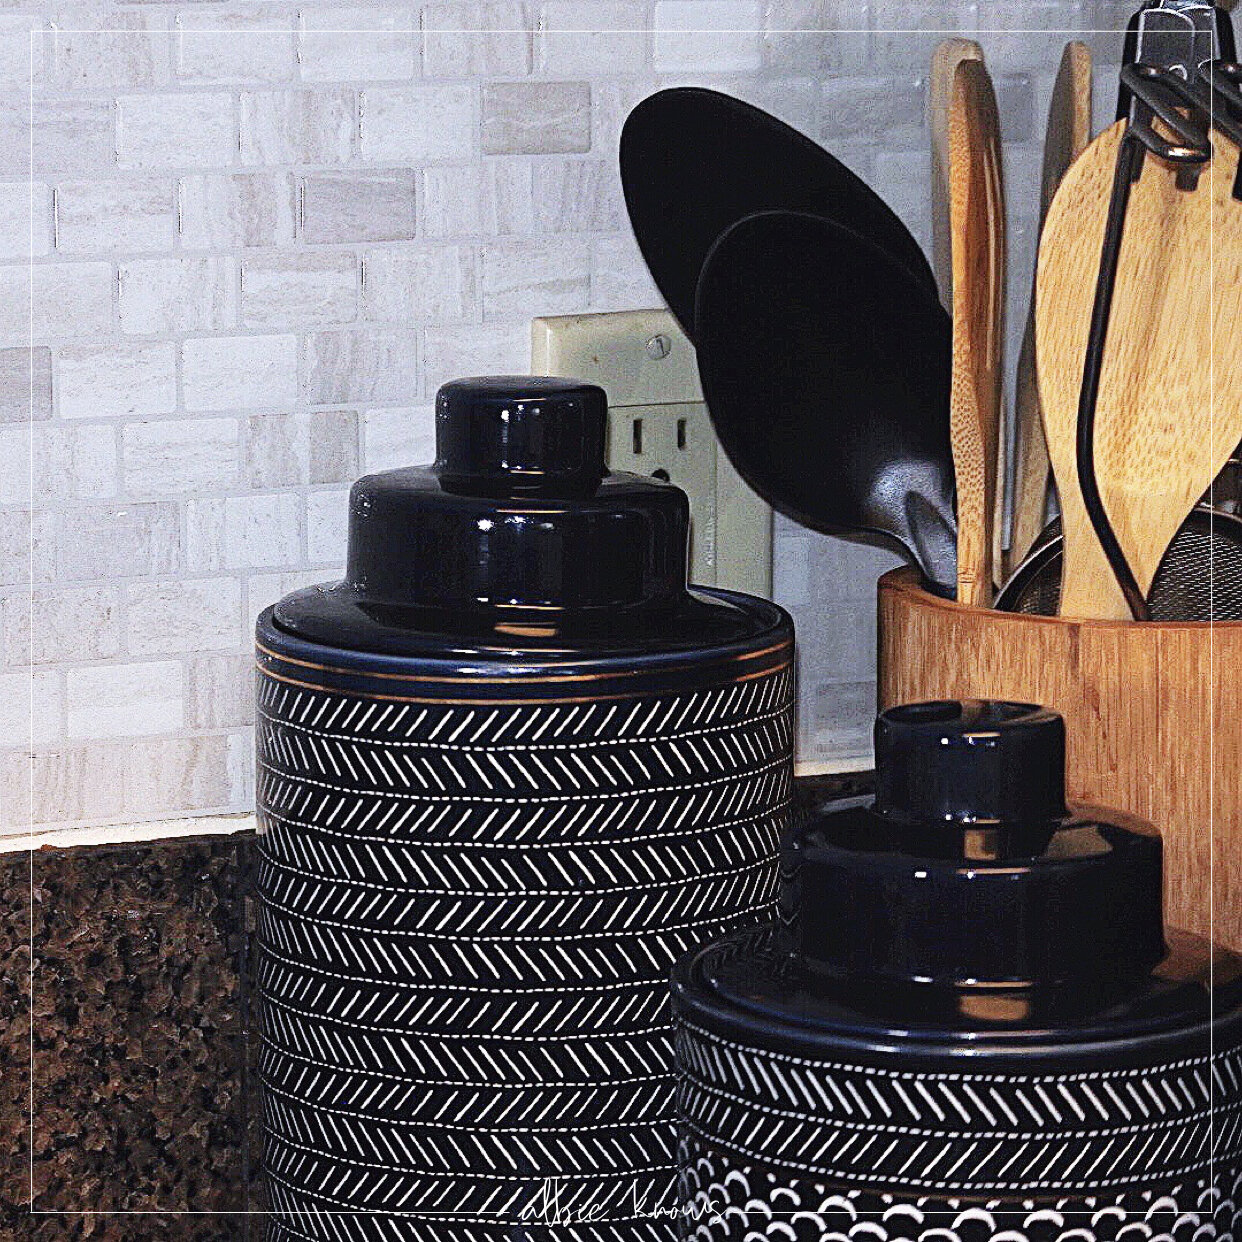
Areas that I spent weeks fighting with and that weren’t cooperating at all, were now sticking without much additional effort from me. All I had to do was shake, spray, wait, and apply. Easy, breezy, lemon squeezy! This made wrapping up the final leg of the installation super stress-free because I confidently knew that when I went to sleep, I wouldn’t wake up to a random corner hanging off in the morning (true story!).
So now what’s next?
With this massive transformation out of the way, the kitchen is really like a whole new vibe and I am LIVING! The next thing I want to tackle is the hardware. I won’t be resurfacing the counters or doors so, instead, I am leaning towards updating the hardware to a modern matte black design. That’s still tbd, because even if I do nothing else to the kitchen, between the pantry and the walls, I am now happier than I’ve been since we’ve lived here!