One Room Challenge Week 3: Master Bedroom Refresh With Peel & Stick Wood Panels
“This post is in partnership with Wall Planks, but all the opinions & experiences are my own.”
In the last bedroom update, I share with you how our bedroom refresh started with a new mattress (which we’re obsessed with by the way!) from Nest Bedding.
This was a really important to us truly feeling comfortable in our bedroom — we want to sleep, duh! — but that wasn’t to say the overall design didn’t need its own kind of TLC as well.
One of the first things that stood out to me when we moved in was the paint color because it wasn’t my personal cup of tea. While it may have been a lovely color on a swatch card, it wasn’t anything I would’ve chosen, and so getting a chance to team up with Wallplanks to do an accent wall was like a DREAM!
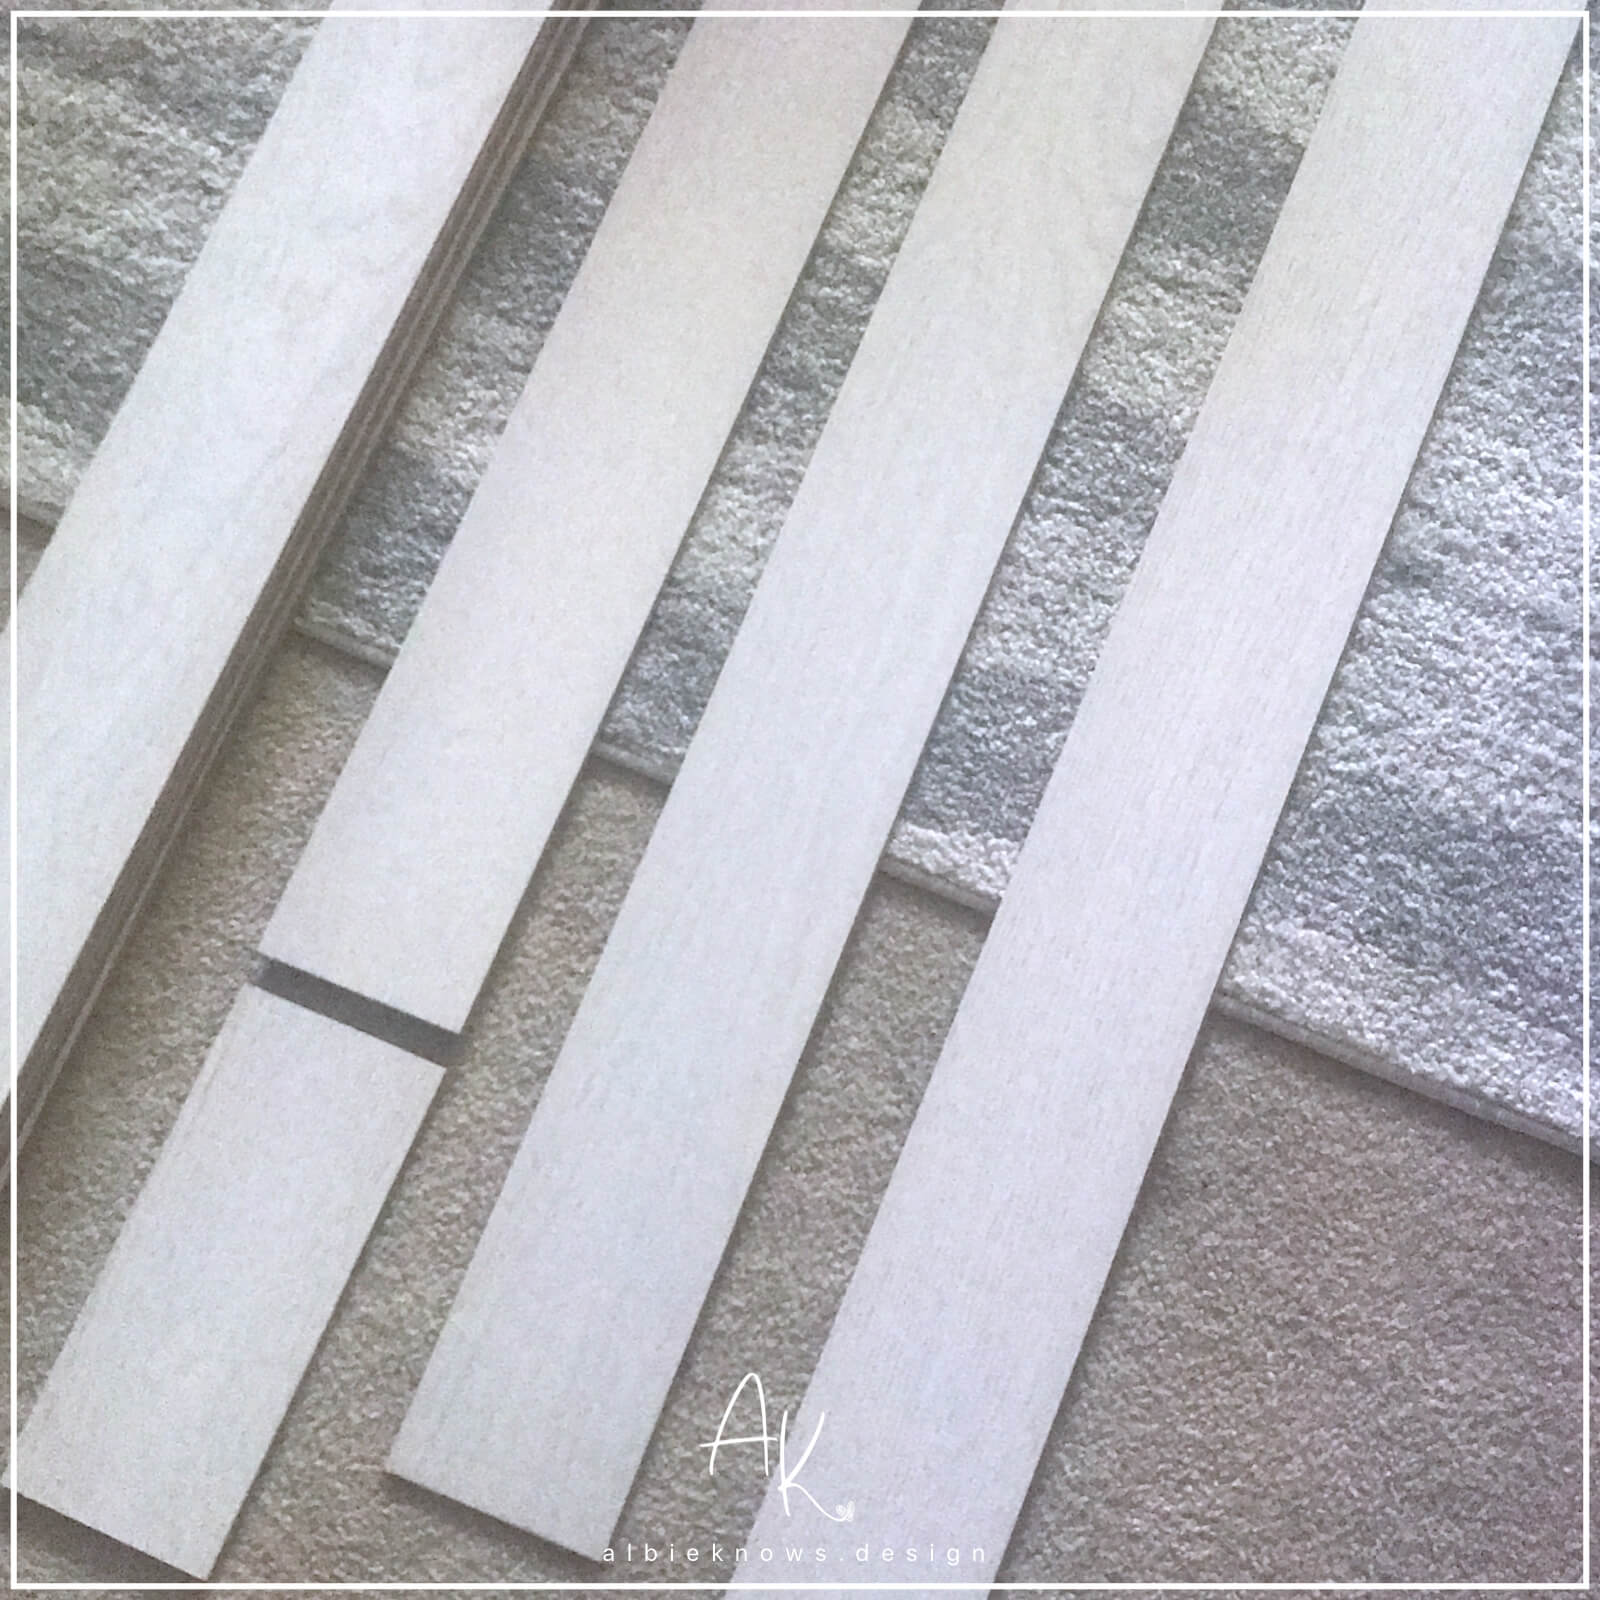
Their peel and stick wood planks were the perfect renter-friendly solution! I could make a huge design impact without putting our security deposit at risk.
I got together everything I needed to complete the installation:
Surface Assure: a lightweight removable wallpaper to serve as a protection barrier between the plank adhesive & the wall — as a renter I want to do a little damage to the walls as possible & this ensures that
J-Roller: enables us to apply pressure evenly to the planks for maximum Vaccubond-adhesion
Wood Wall Covering Cleaner: an environmentally friendly cleaner designed to keep our walls beautiful long after installation
Laser Level: in the off chance our walls were slanted, this would ensure a straight application of the planks
Jigsaw: for the planks that would need cutting, because this is inevitable, now we cut have straight, clean cuts
First step was cleaning the wall — I simply wiped it down with some Clorox Triple Action Dust Wipes — to apply the surface assure.
Once up I could start applying the planks. Initially I started from the center of the wall, 20” (4 planks) down, but it didn’t take me long to realize I was gonna be left with a slight gap at the top of the wall; so I started flushed with the ceiling — thank God for having straight walls!
Each self-adhesive plank connects using a tongue & groove method so that they would stay tightly together for a flat look. And after applying a few planks at a time, I would go over them with the j-roller to apply more pressure.


After placing majority of the wall, what I was left with was were the sides of the wall, the areas that didn’t have planks those sizes. The planks came in four different sizes — great for having a random looking wall — but there were still some gaps that required cutting planks. I marked off where they needed to be cut & my husband went to work with the jigsaw. I tried to do one cut myself but, yeah, that was a fail, so I’ll just leave the power tools to him.
Even before the wall was complete I could start to see the room transform — it looked & felt lighter & brighter! This was definitely the right choice! Don’t you just love when a plan starts to come together?!
Once all the planks were in place I wiped them with the wood cleaner and all I can say is oh la la!