
Renter Friendly Kitchen Backsplash with The Smart Tiles
“This post is in partnership with The Smart Tiles, but all the opinions & experiences are my own.”
When we first moved into our condo, there were things we didn’t love — cosmetically — but nothing that was a game changer.
We knew a few things going in:
This wasn’t a new condo — coming from a 5 year old NYC high rise building, this was the absolute epitome of a first world problem — so we didn’t expect the fanciest, snazziest, most up to date finishes
This is a rental and therefore we moved in knowing it’d be a temporary chapter in our lives so getting hung up of the “pretty stuff” wouldn’t be smart
While a few of the other rooms required a bit more processing, from the very beginning I looked at the kitchen with a hard squinty eye.
Our kitchen has a quasi open concept — we live on the top floor and so I’m certain the structure above the kitchen is load bearing — with cherry oak cabinets, high gloss cherry wood floors (gonna go ahead & guess they’re laminate while I’m at it), stainless steel appliances, beige paint, and dark granite countertops.
In short — it’s very, very warm & cabin-esque, which isn’t exactly our jam.
The cabinets, counters, and flooring weren’t going anywhere so that left the wall. We couldn’t paint but I knew we could cover & then it hit me — what was missing was a backsplash!
And to be clear, it wasn’t that we didn’t like the backsplash, but there was literally wasn’t any.
My thinking was this — add a backsplash to offset the look & feel of the cabinets, floors, and counters, for something a bit cooler & more contemporary.
Our landlord was perfectly fine with it & so fast forward, and I am finally tackling the kitchen with a much needed facelift.
The Smart Tiles offers peel & stick wall solutions that are easy to install — be it to add a backsplash to your kitchen & bath, elevate the look of your laundry room, or resurface your fireplace surround (stay tuned for when I tackle ours by the way!).
Made entirely in Canada, The Smart Tiles was a no brainer for me — it’s “local” enough ya know! — and the assortment of tile styles was breathtaking.
From a vintage, retro inspired collection to more classic, timeless mosaic & subway tiles, you could get the same amazing look of an installed backsplash without all the grout & labor & costs.
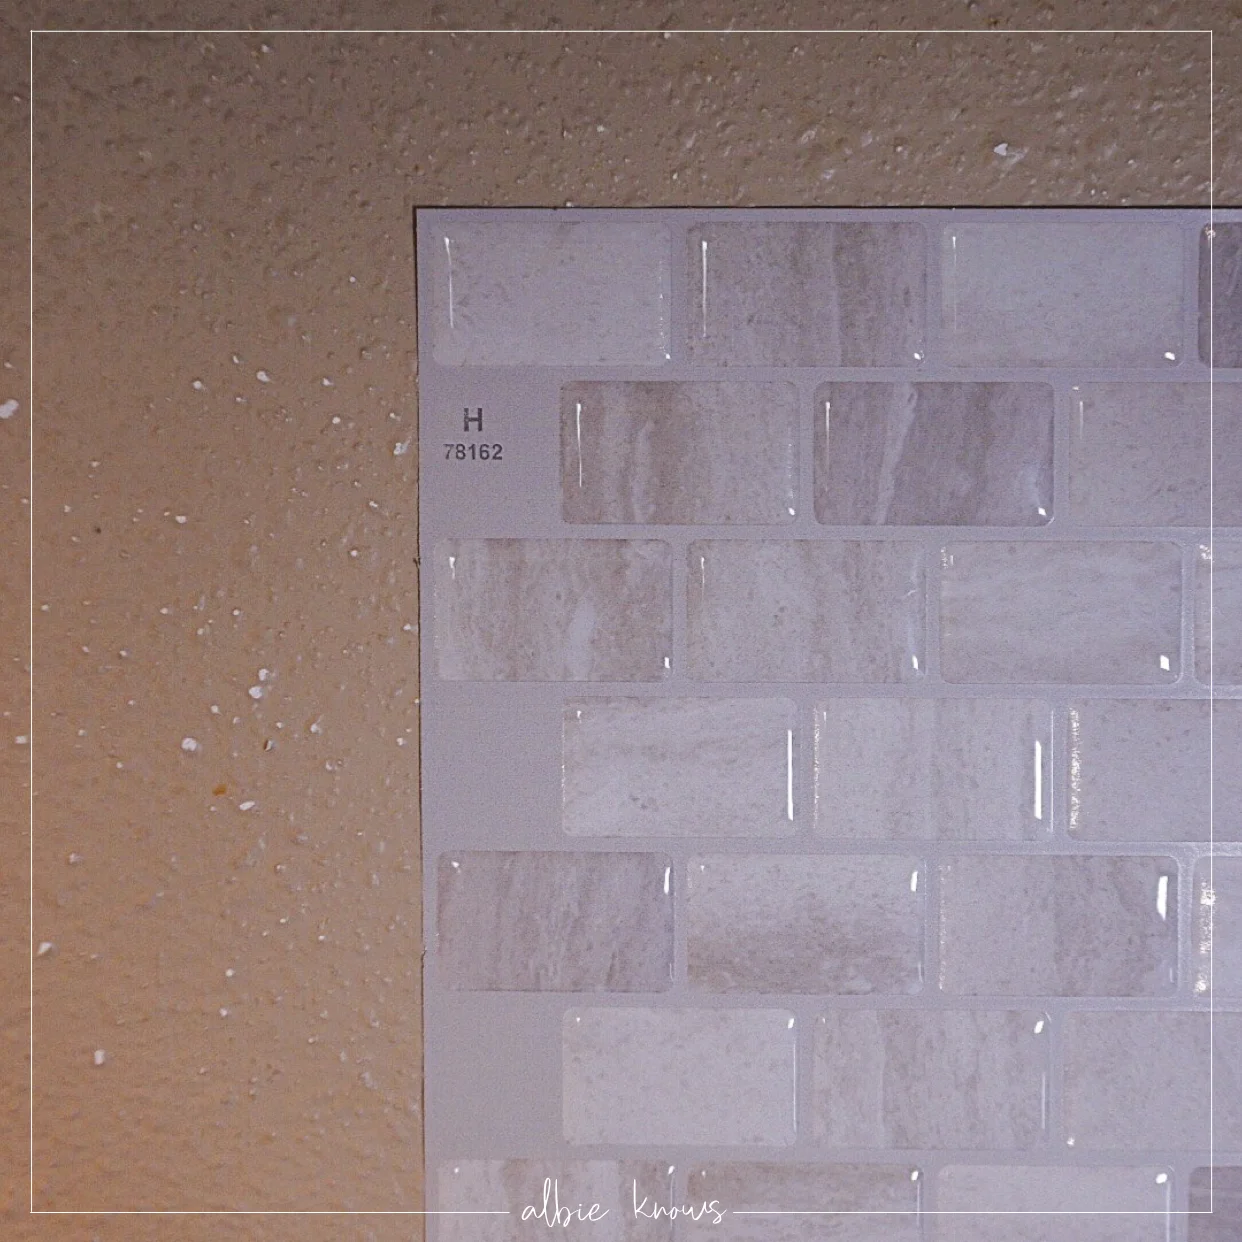
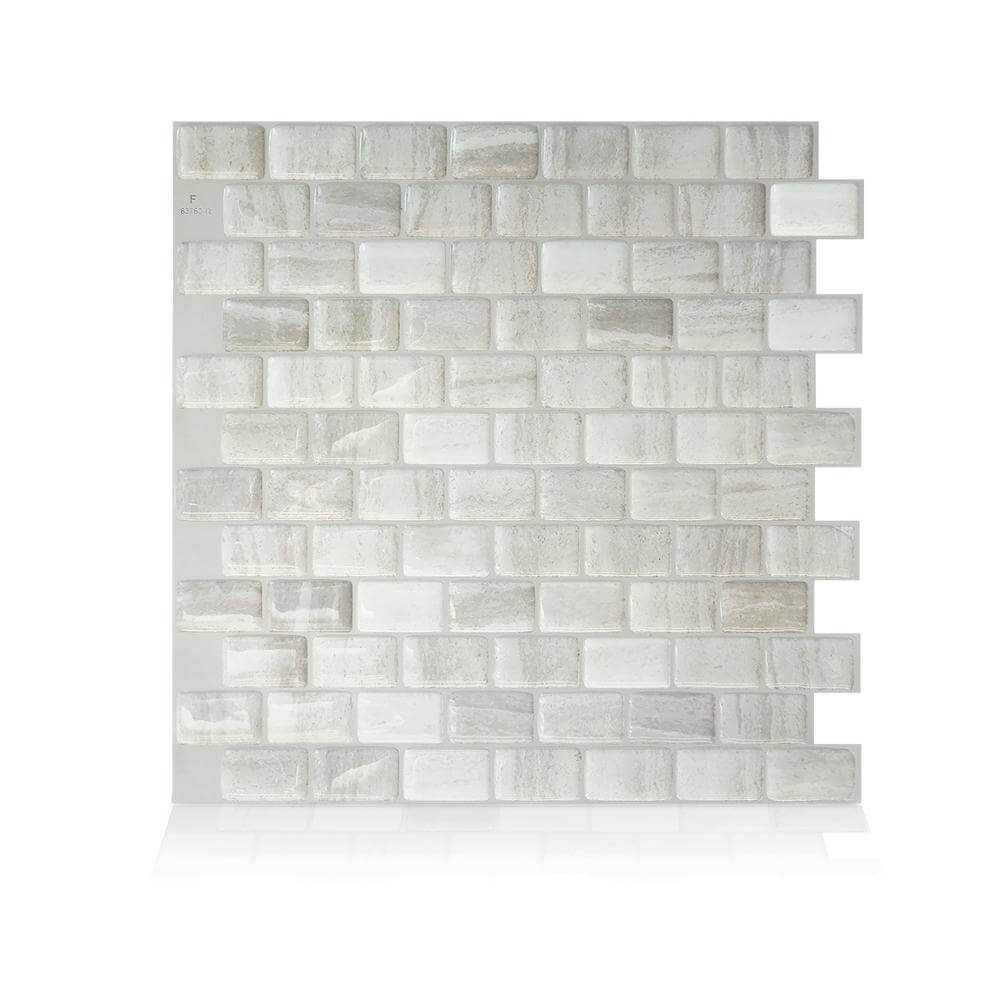
After browsing all the choices, I narrowed it down to my fav three, and then had my husband pick from those — he does most of the cooking so it’s only fair. For our backsplash, I went with Ravenna Farro, and using the smart calculator right on their site, I was able to figure out that I’d need about 24 tiles to cover all the open areas in our kitchen.
The Ravenna Farro is a subway tile style, with beige & taupe stones, and a warm beige grout.
Now you might be asking yourself why I went with something seemingly as warm as the hues as I was hoping to escape.
Answer: With a primary white undertone, I knew this would provide a more seamless (and realistic) compliment to the existing finishes, as oppose to going with something that had grays & blues, which would probably be a more jarring experience, visually.
I still want my kitchen to look cohesive & intentional.
Being that this is for our kitchen, it had to look good, but it also had to be able to withstand all that comes with being in this space.
This style being heat & humidity resistant made it a whole winner in our books!

Once the tile arrived installation was pretty effortless — but it does require the some precision — i.e. just like installing my self-adhesive wall planks and removable wallpaper. That said, it was something that, by now, I learned to be patient with while installing.
Thankfully, it’s WAY easier to cut and/or reposition if necessary.
I did the smaller area first — just to make sure I really really loved the look — and I did!
We’d previously installed peel & stick tiles on one wall & while at first it was great, it started to look a bit dated paired with the cabinets, so I wanted something that could aesthetically (and functionally) stand the test of time.
After knocking out one side of the kitchen, I tackled the second, larger wall.


I want to say, factoring in breaks & toddler interruptions, the whole thing — from wiping down the wall (I didn’t really do a thorough washing, to be honest) to installing the final tile — took a couple of hours. Uninterrupted & distraction free, I probably would’ve taken an hour, tops!
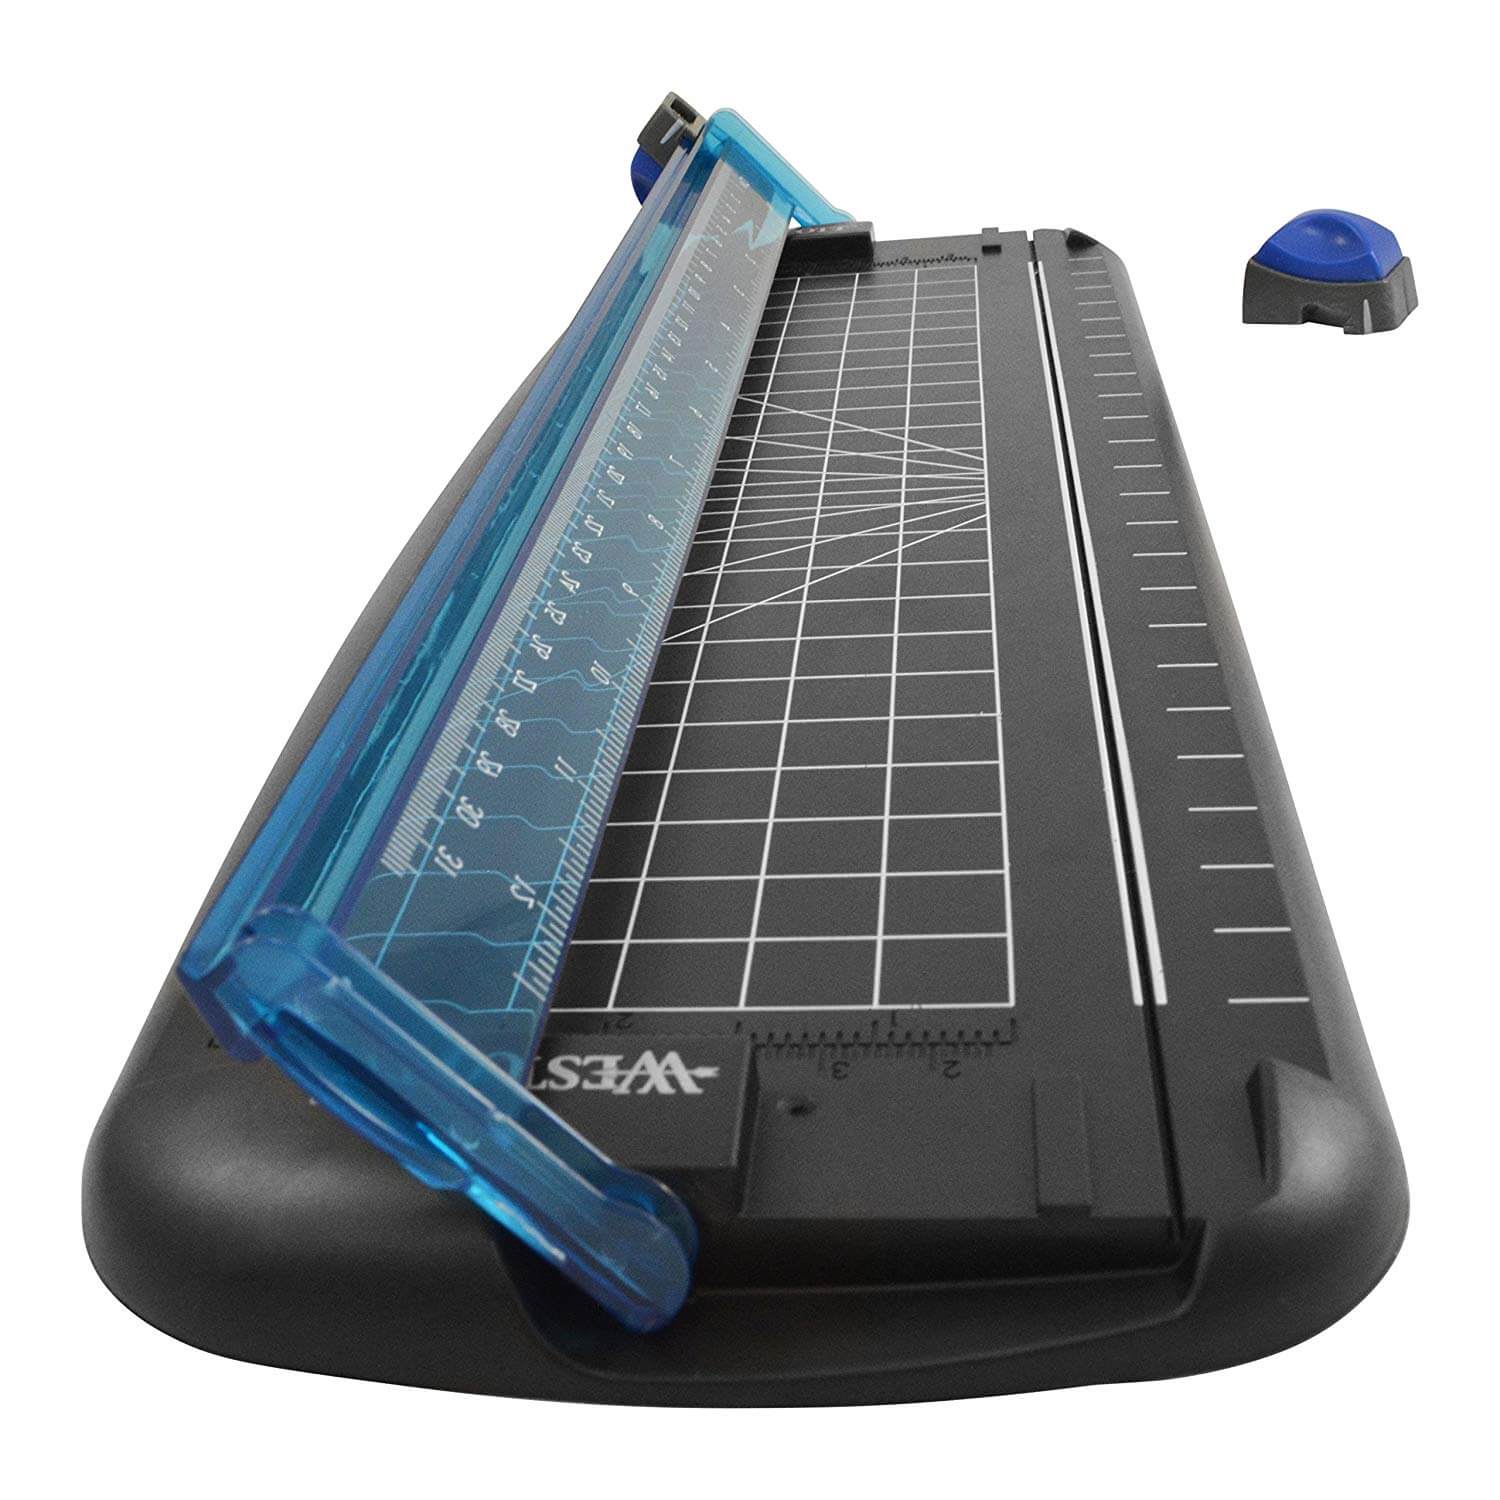
To install I used my x-acto knife & trimmer for cutting around the outlets & corners, and that’s it — no other tools required!
You know when you keep putting something off for one reason or the other, but then when you finally get to it, you kick yourself for waiting so long?
Yeah... this was one of those!
Quick Shop my project

While I’d hope to have knocked this out before the holidays, life kept getting in the way. But I’m also really glad to have done it for the new year — can’t deny that it’s pretty dope to complete a project on the first day of the year!

The kitchen looks so much fresher & a lot more aligned with our style now that I felt inspired again to even do some styling — it’s hard to want to keep working on an area when you don’t love most of it, ya know.
Wanting to show off the backsplash, I decluttered the counters, rearranged the countertop appliances, and even tended to my much neglected coffee corner.
It’s no secret I’m not any kind of a “diy-er” but it’s also no secret and I love me some self-adhesive, peel & stick, removable surface solutions!
Of all the ones I’ve done — removable wallpaper in my daughter’s bedroom, marble contact paper to resurface our bathroom counters, and self-adhesive wood planks for our bedroom accent wall — this was FOR SURE the easiest.
And it being in our kitchen, it’s the first thing you see, so I love the impression it makes!
This is one of those projects that even if I owned out condo, I would still turn to, because while it’s very renter-friendly, what I love most about it is the ease & simplicity — big design impact, with very minimal effort on part.
