
3 Bedrooms in 3 Months With Handy Products + A Reveal Preview
“This post is in partnership with Handy Products because I love em & know you’ll love em too!”
Everyone has this idea is what “nesting” looks like & for us — for me — that never really came… ain’t least not in the way expected. I simply knew we had projects we needed to tackle to make sure our home was ready for our family’s newest member & the changes to come. I outlined these projects in the blog post, “…Preparing The Hygge Ranch” however in this post I’m focusing on the three rooms that became a sort of domino effect of projects… projects that didn’t at all go as planned yet turned out pretty dang great thanks to the power of paint.
I should also add that this post isn't a full reveal; however, you will get a lil peek at the after for one of the projects!
So how did we get here?
Long story short... our plans seemed simple enough —
Convert the bonus bedroom into an office lounge. We would move our living room sofa up to this room so that when we have guests they could use the sofa bed; and when we don't have guests — which is most of the time — it would be a dedicated office space & hangout area closer to our bedrooms... especially with a new baby on the way. And in case you're wondering what would happen to the living room — we had a sofa lined up to place there, giving it a nice refresh.
Design & makeover the mini's bedroom. This bedroom was never designed so it would be a total facelift, including upgrading her bed to a queen — the bed that once lived in the bonus bedroom.
Design & makeover our bedroom. This bedroom was also never designed so in addition to a new bed, we'd also be creating a shared space for the baby since we chose not to do a nursery.
Easy right?
Things took a turn when we got the living room sofa up the stairs only to realize we couldn't actually get it to turn into the room. This meant no sofa bed in the bonus bedroom & having to rethink all of our plans. Pivoting would've been easy if we weren't on such a short timeline — finishing all 3 rooms before I go into labor — because we needed our planned guests for my delivery to have a place to sleep, we wanted the mini to feel settled in her new room, and we needed to have our room done for both baby & I.
We had two things working in our favor —
We weren't overhauling all of the furniture — really just a new bed & a new office desk — which meant most things were just being moved from one room to another.
The biggest transformations were the walls — removing the popcorn ceiling, replacing the baseboards, and painting the walls.
As a reminder, this post is sponsored by Handy Products. They provided us with all of the painting tools we'd need to execute these projects & paint smarter, not harder.


Our handy paint product arsenal included the tube sealer for preserving the caulk used around the baseboards, the paint pail + liners for touch ups with the 2" soft grip brush, the paint tray + liners for the walls with the soft grip roller + cover, the pro bucket for the ceiling, the paint covers for each paint can, and the painteres tool bag lite for easily carrying his tools from the garage to the bedroom. With so many design decisions & pivots already up in the air, it helped knowing that no matter where we landed, the paint portion of these projects wouldn't be an issue. And let's be honest... the painting would make or break these transformations...
For these projects we selected Behr paints from The Home Depot using their their curbside pickup option to make our lives easier. P.S. I love that if we had a need, we'd also be able to shop Handy Products at The Home Depot too!
We absolutely loved the colors & finishes we selected for the rooms, however, having imperfect walls — #oldhouseproblems — we worried about what the finished look would actually look like. Thanks to our Handy products, the job was done easily & came out beautifully.
After tackling the paint jobs, we still had to contend with getting the rooms furnished. Ooph! After shopping our room of requirement (aka the garage) and other parts of the house, we were able to get things together... really only having to buy only a handful of new items. That wasn't even the best part. We finished JUST in time for baby's arrival, literally completing our room 36 hrs before I went into early labor! In case you're wondering, we finished the mini's room before our room... and technically didn't have much to do in the new bonus room since we weren't repainting this room from its original makeover 3 years ago.
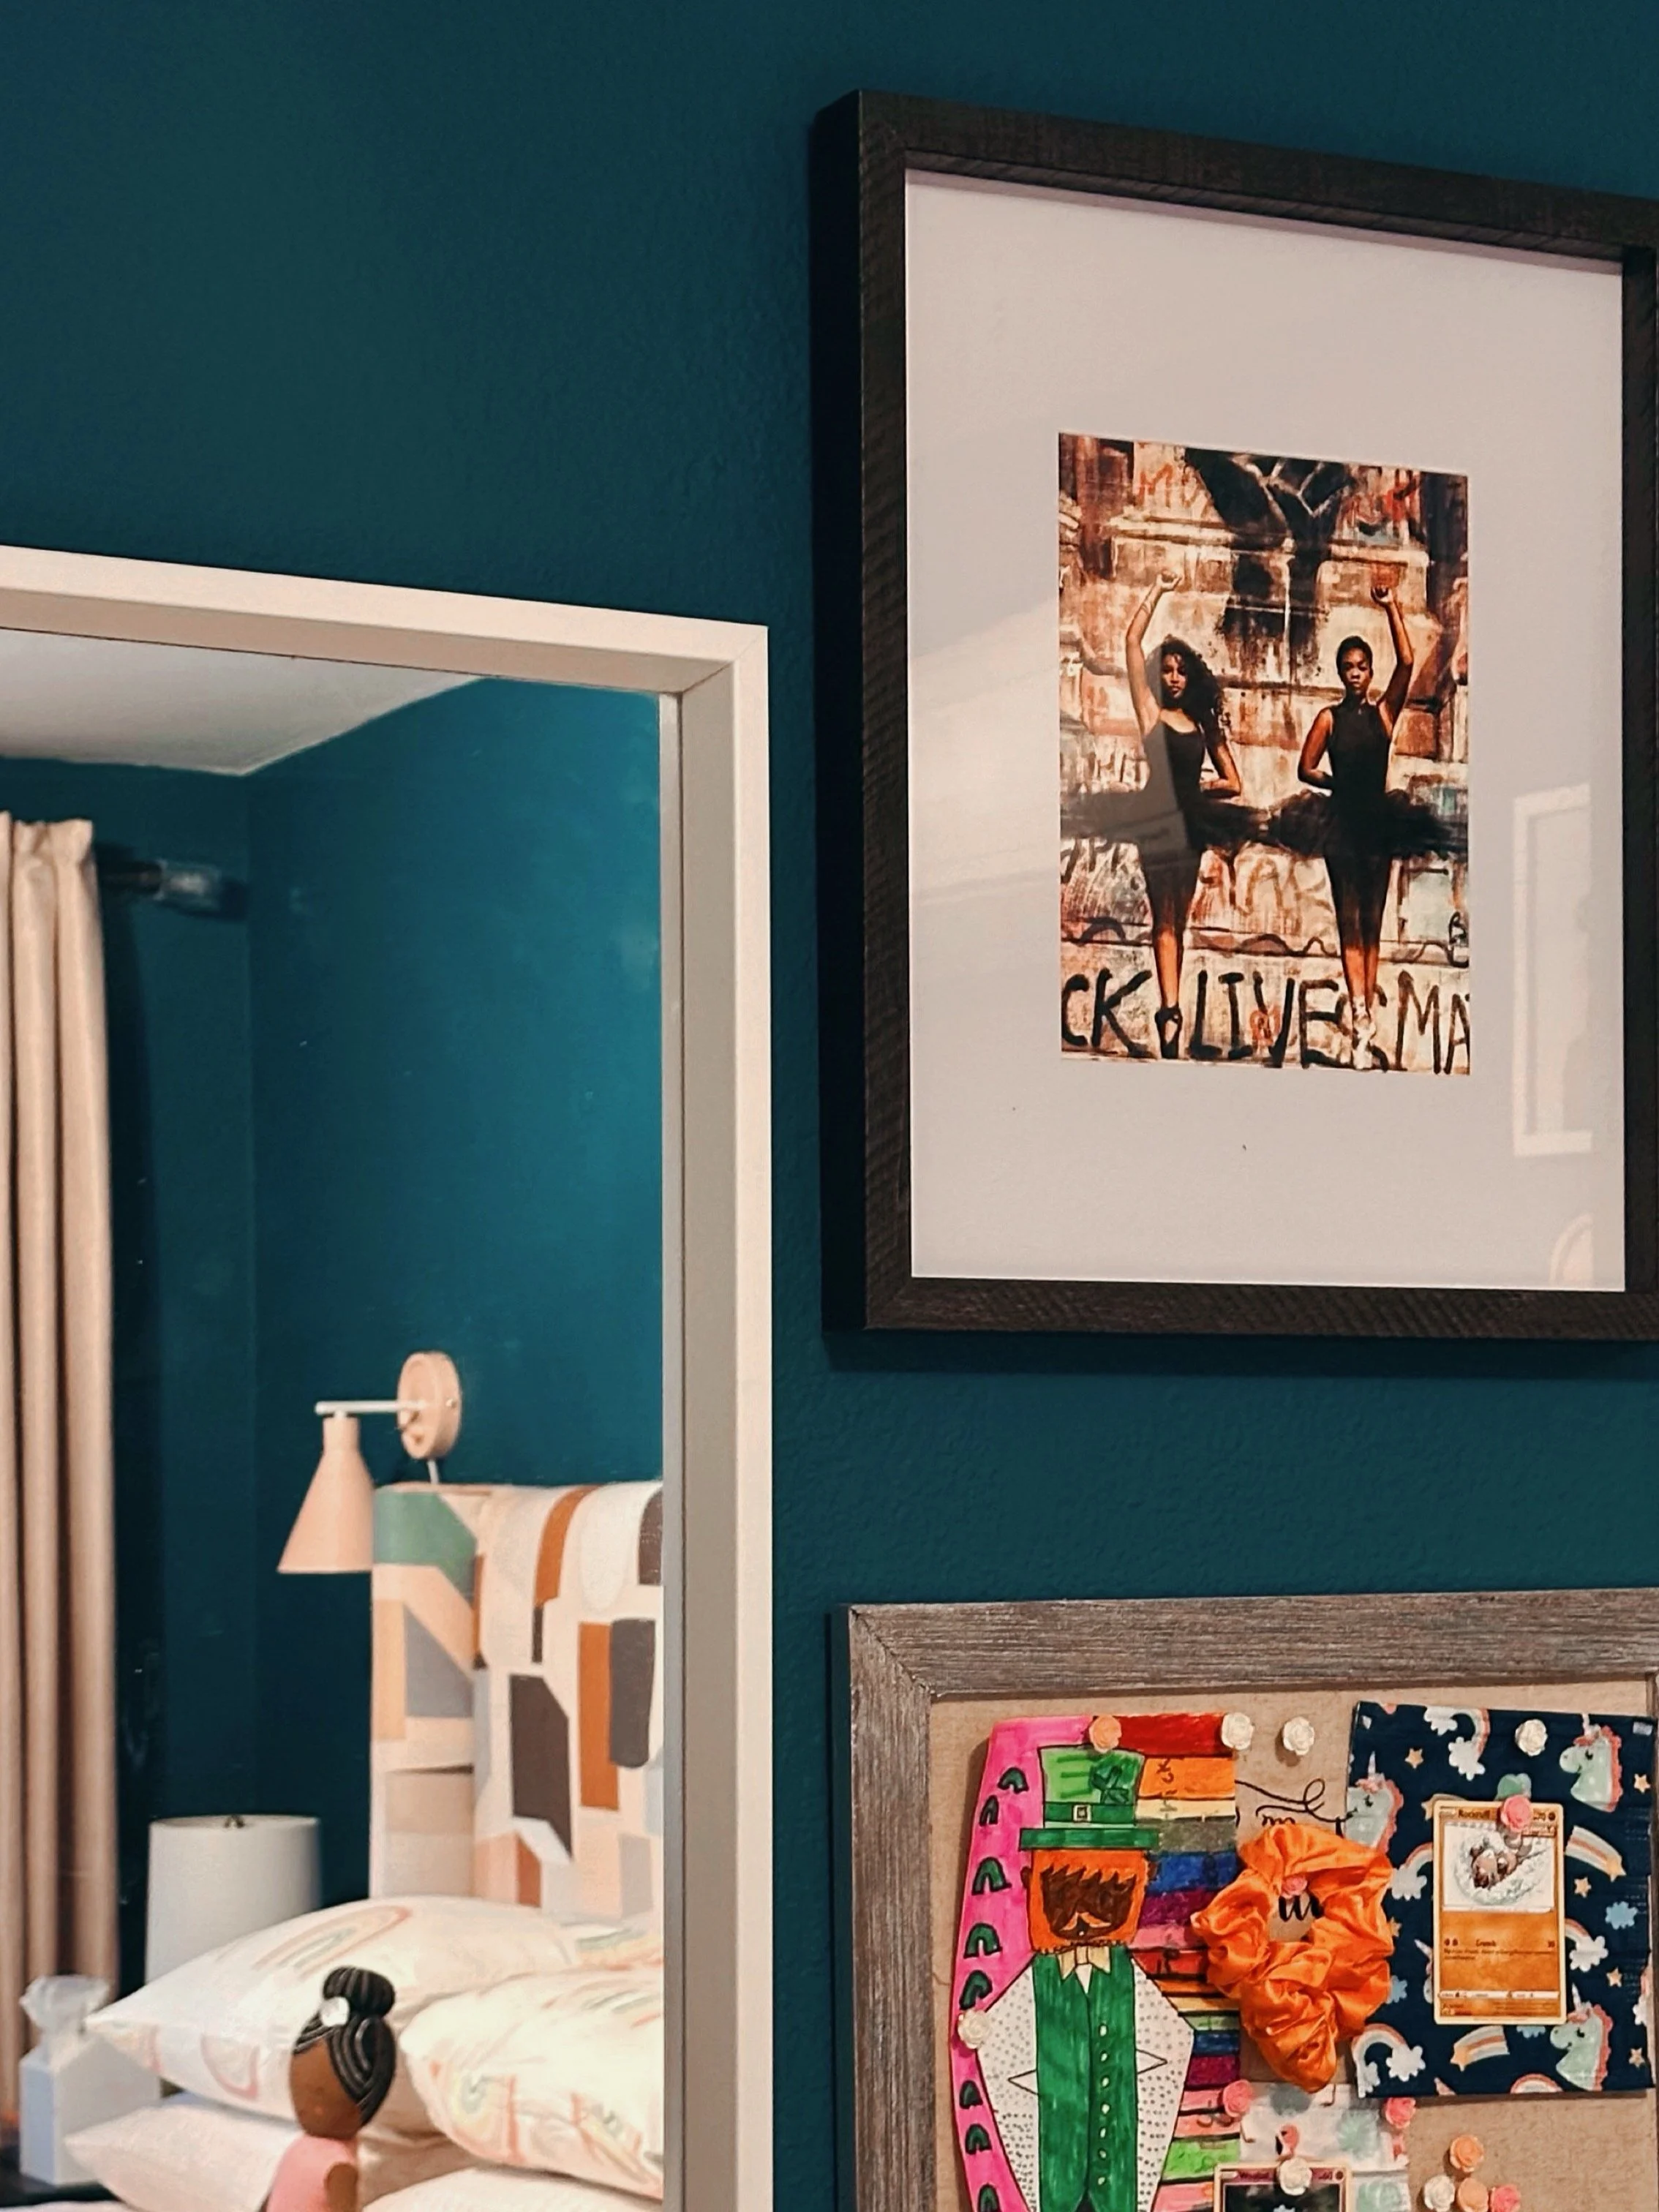
Both bedrooms were bold transformations, being the first time since the media room that we didn't choose a light and/or neutral paint color. We have truly loved the impact color has made in both of these spaces, with the mini's room being the boldest change. Obsessed would be an understatement. Now we walk into that room & it feels fun & inspiring, without being overstimulating, and still maintaining a calmness necessary for a bedroom. Don’t believe me? See for yourself…
Aside from being really glad we were agile enough to change as things came up, we're happy we had everything we need to make such a big impact in these rooms with the right tools to get it done... thanks to Handy Products.
Want more of the mini's room? Check out the video reveal on my Pinterest & shop the looks on my LTK, with a full behind the design coming to the blog soon!


%7Bd.getElementById(i)||(element=d.createElement(t),element.id=i,element.src=%22https://widgets.rewardstyle.com%22+e,d.body.appendChild(element)),w.hasOwnProperty(g)===!0&&%22complete%22===d.readyState&&w[g].init()%7D(window,%22moneyspot-script%22,document,%22__moneyspot%22,%22/js/widget.js%22,%22script%22)%3C/script%3E%3Cdiv%20class=%22rs-adblock%22%3E%3Cimg%20src=%22https://assets.rewardstyle.com/production/32db4986723f89e891fc8f6bc417afaf79201672/images/search/350.gif%22%20onerror='this.parentNode.innerHTML=%22Disable%20your%20ad%20blocking%20software%20to%20view%20this%20content.%22'%20style=%22width:%2015px;%20height:%2015px%22%3E%3Cnoscript%3EJavaScript%20is%20currently%20disabled%20in%20this%20browser.%20Reactivate%20it%20to%20view%20this%20content.%3C/noscript%3E%3C/div%3E%3C/div%3E)