Reno Therapy: DIY Tile Installation with The Tile Shop
“This post is in partnership with The Tile Shop because I love em & know you’ll love em too!”
ICYMI...
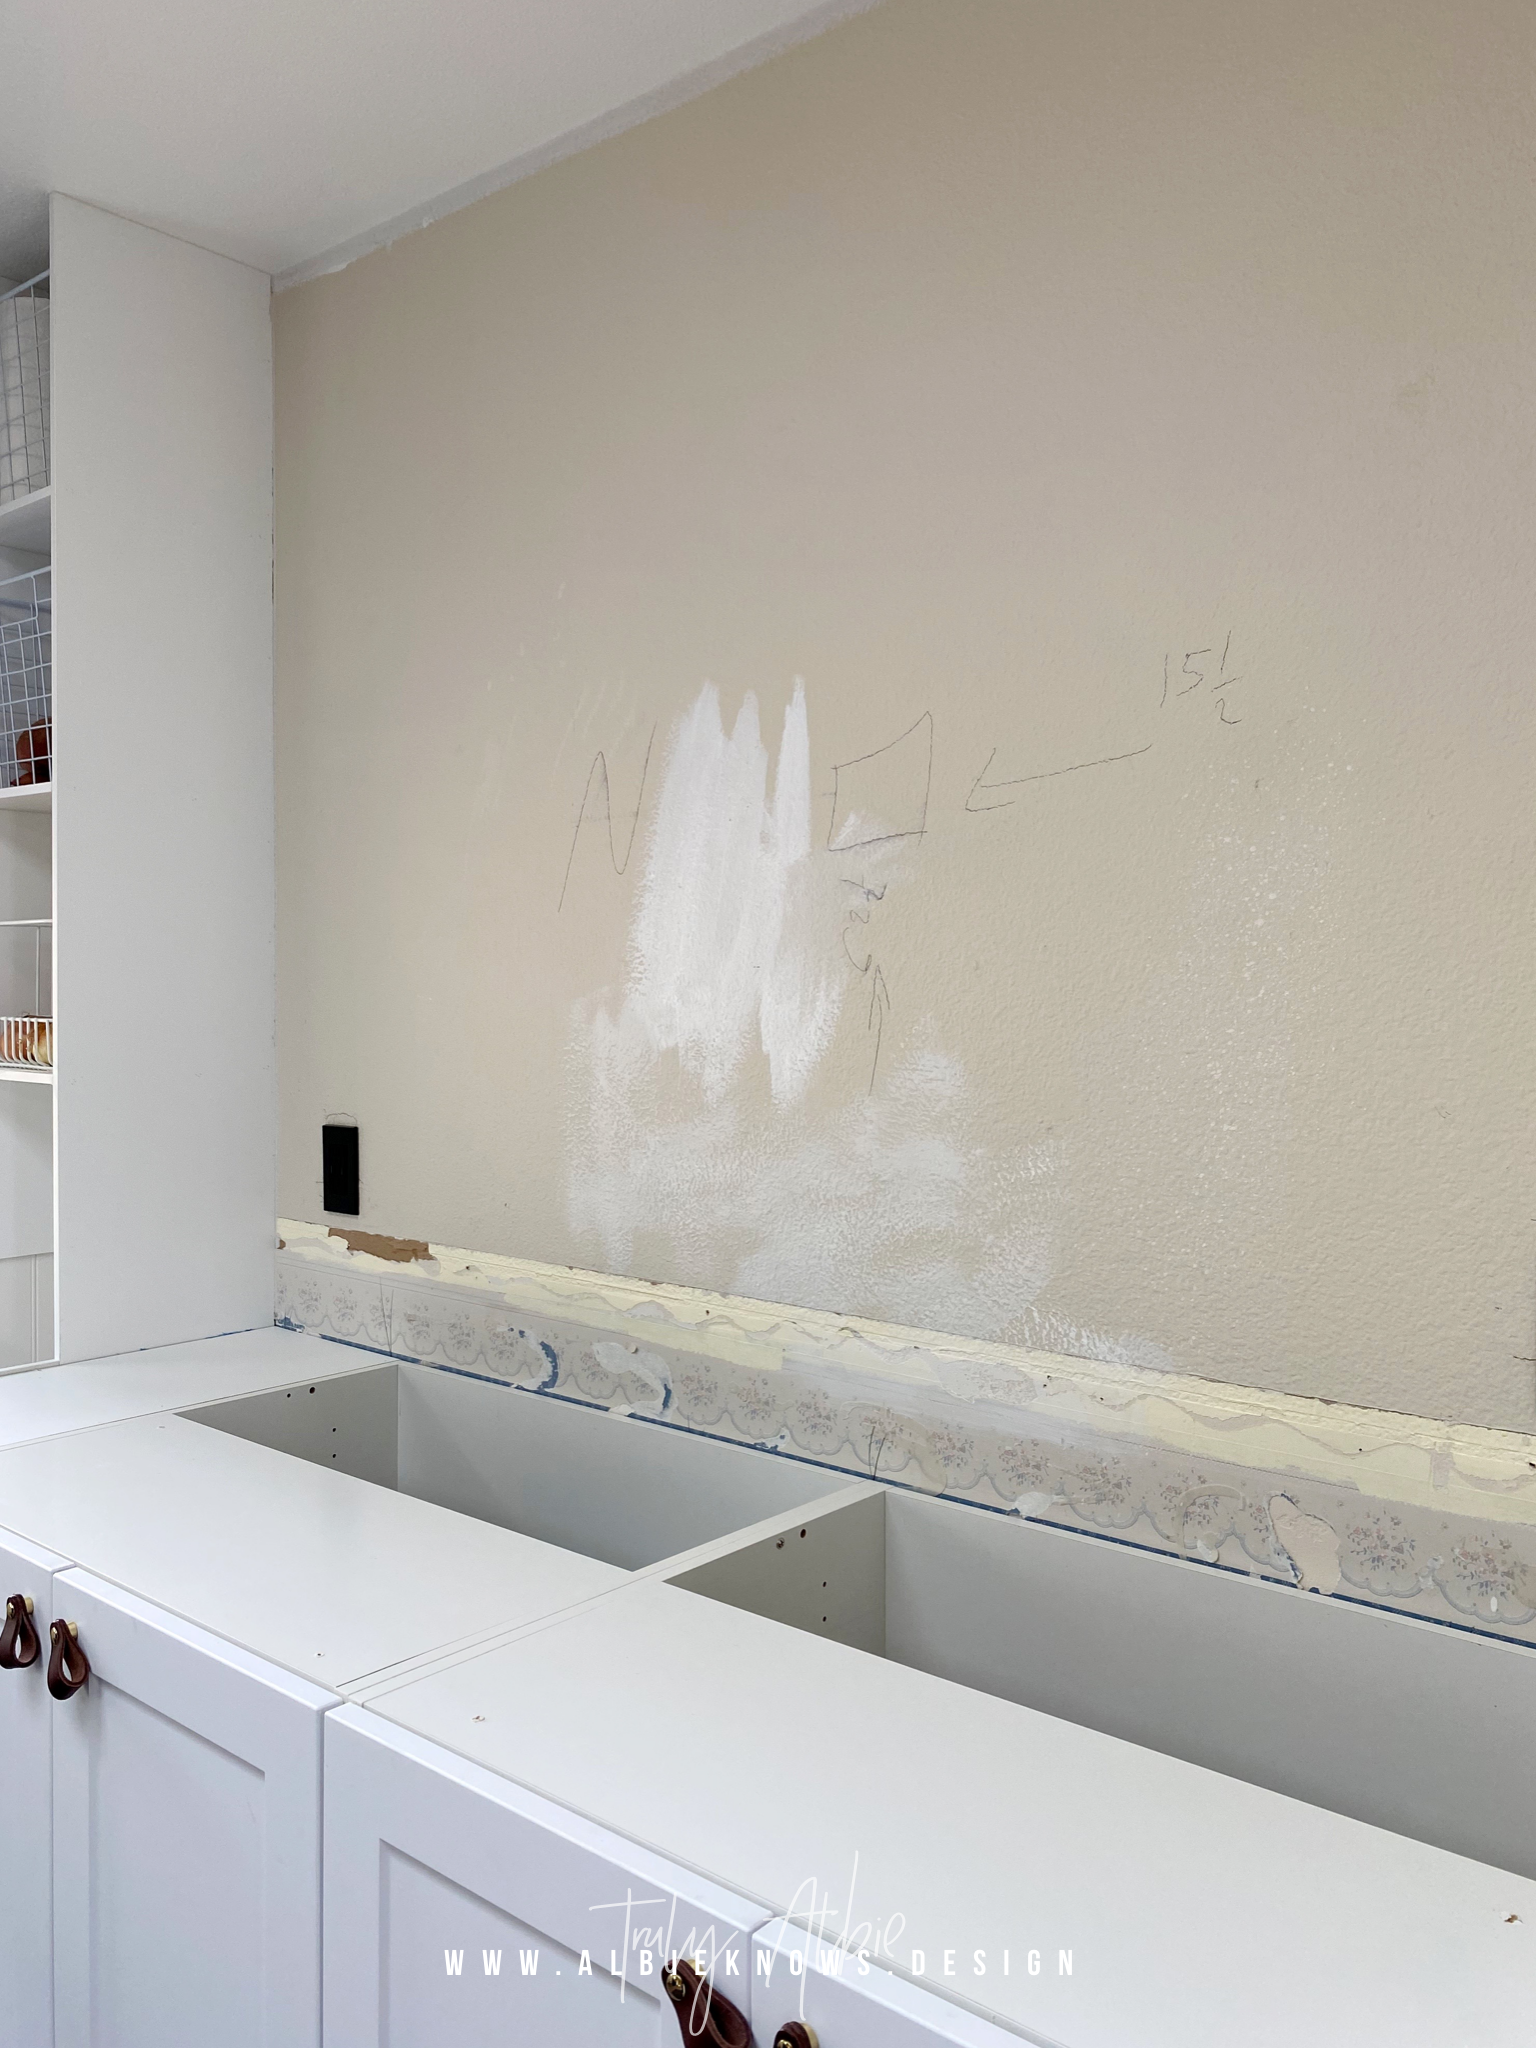
One week before we kicked off the kitchen renovation, we began renovating the laundry room... and it was definitely a test drive for the kitchen!
With the exception of opening up the wall, the entire laundry room was a diy renovation, including installing the floor tileand wall tile from The Tile Shop. I won't tell you it was easy but it also wasn't as hard as we'd anticipated, which prepped us to have to do it all over again with the kitchen backsplash.

We decided to install the kitchen tile ourselves in an effort to save money + it gave us more control over the timeline after navigating a number of delays with other finishes. The laundry room renovation gave us the confidence to tackle this ourselves. After doing research on the necessary materials, I discovered that The Tile Shop carried most of what we'd need to complete the installation; so in addition to the tile, The Tile Shop provided us with the necessary materials...
Wet Saw | Mortar | Grout | Caulk | Spacers | Black Tile Trim | Gold Tile Trim

We started with what we perceived to be the "easiest" wall -- the cafe -- since it had the fewest cuts to be made. Then we worked our way around clockwise to the wall with the range hood, and ended with the wall with the window.
Because we went with a matte black frame tile, we didn't have to worry about color variations, so we worked on one box at a time.
“Tip: When you’re dealing with tiles that have patterns, gradients, or any kind of possible variation, you want to pull tiles from different boxes to give an intentionally variegated appearance.”
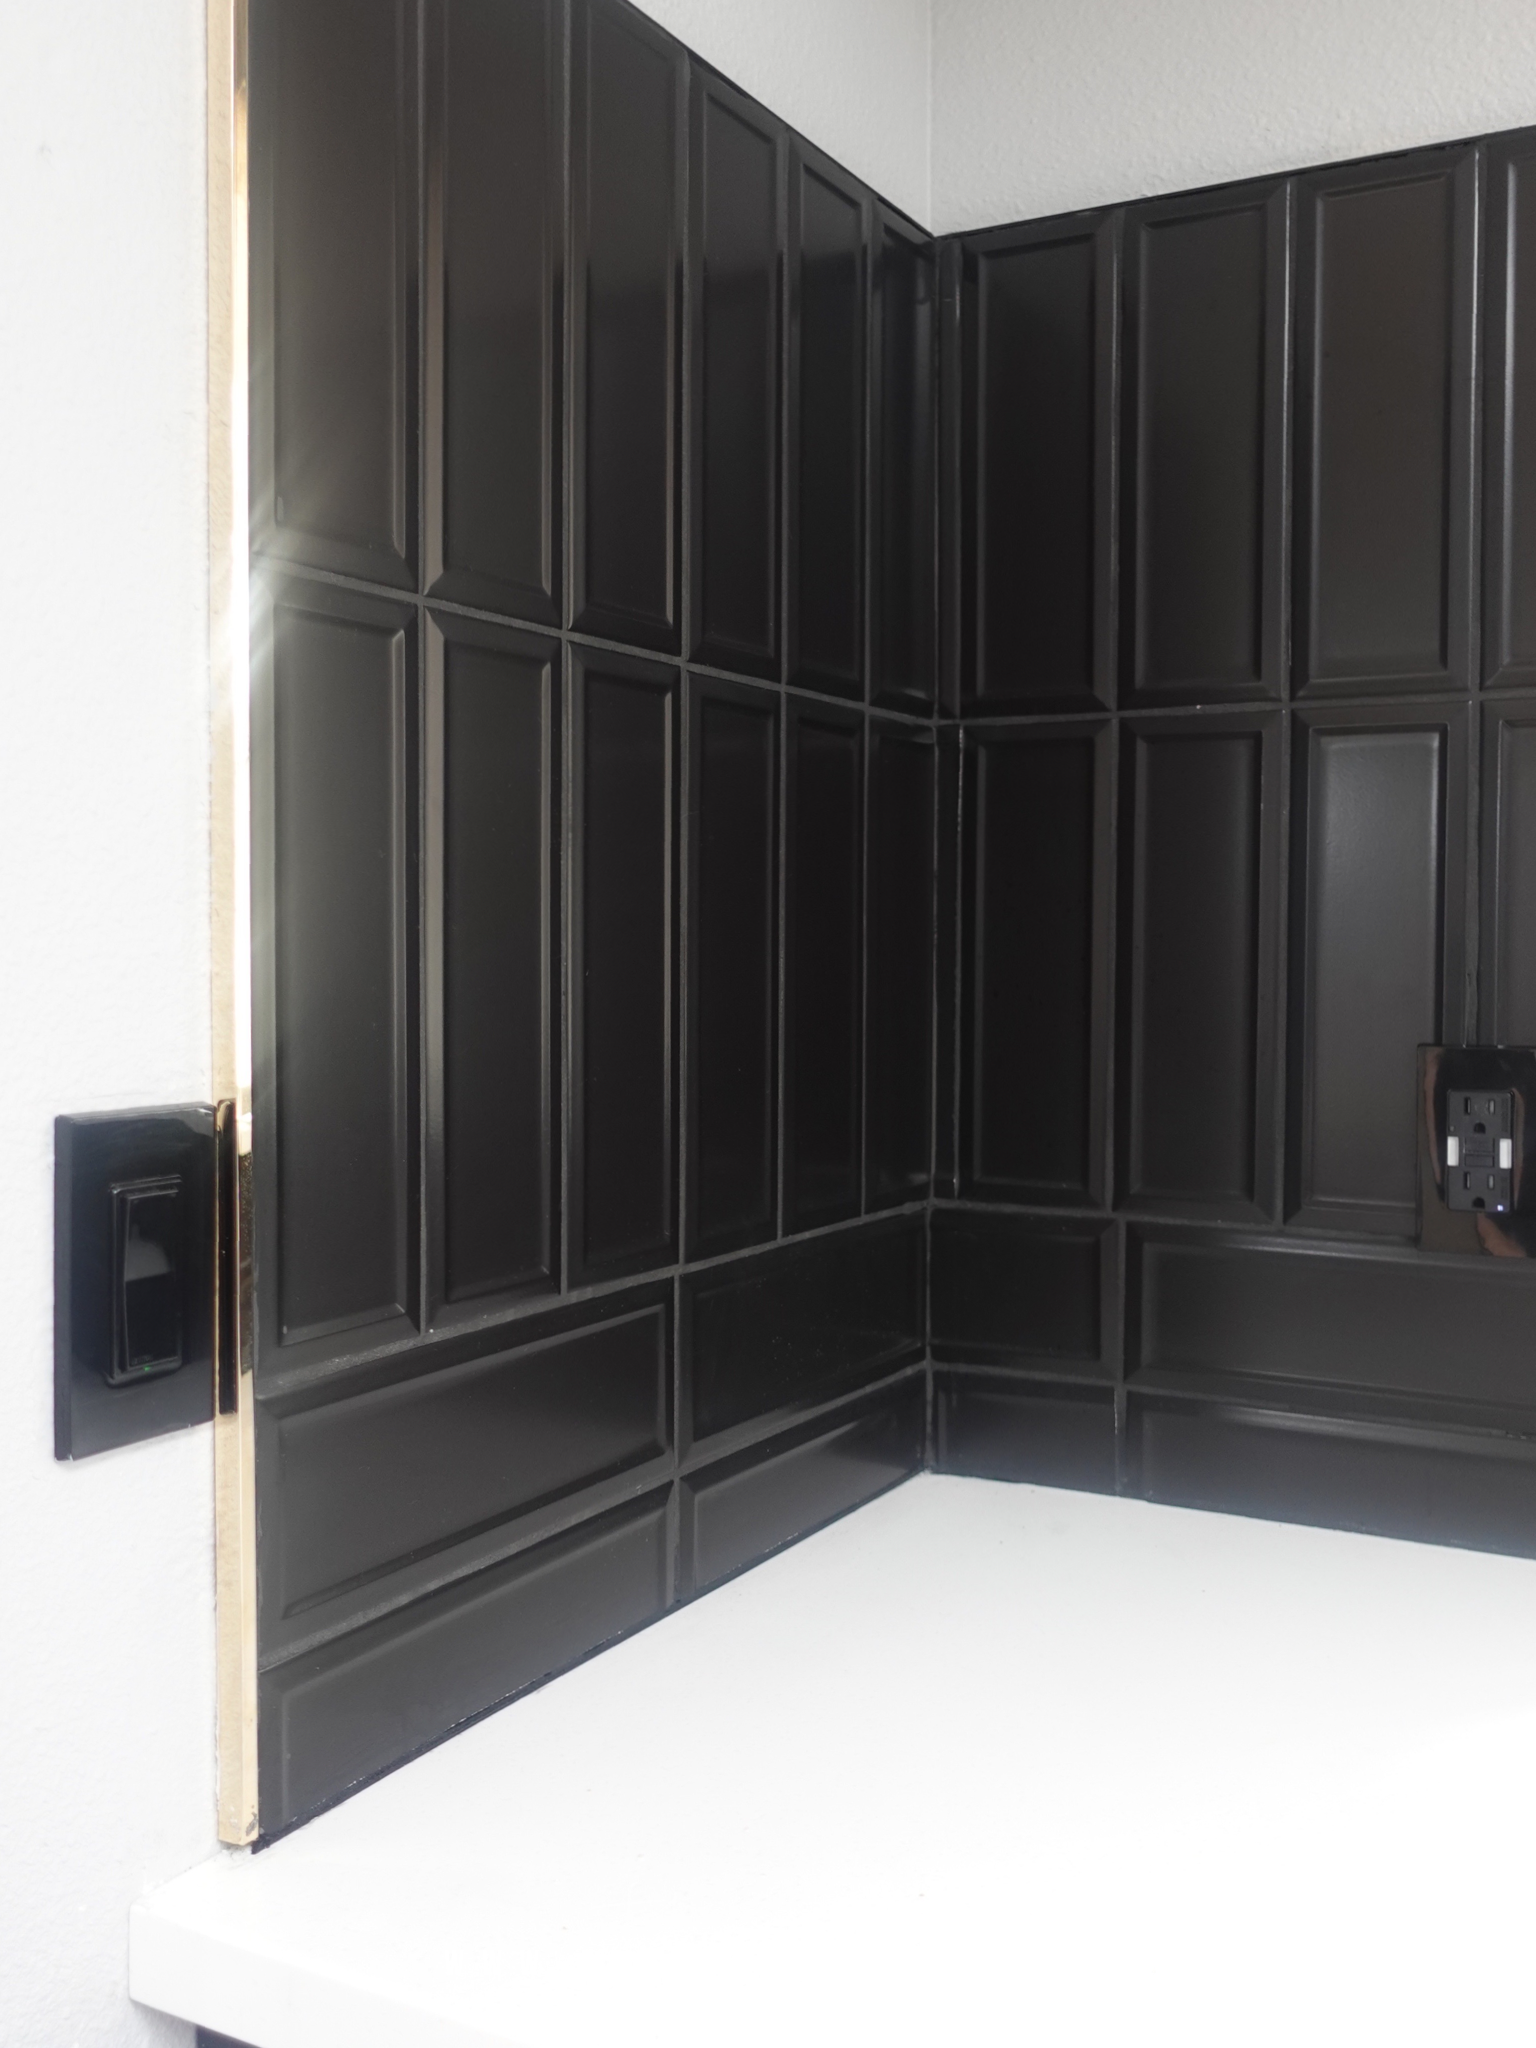
IMPERIAL BLACK FRAME MATTE CERAMIC SUBWAY WALL TILE
After finding out my first tile pick would be backordered for months, I reselected. I don't know how I missed it before, but as soon as I spotted the Imperial Black Frame Matte Ceramic Subway Tile I swooned. What I loved most is that is isn't your typical subway tile -- the frame bevel paired with the matte finish would make it the perfect compliment to our matte cabinets from BOXI. The tile comes in 3 sizes -- 3x6, 4x12, and 4x24. I went with 4x12.

When dealing with subway tile, there are tons of patterns that can be considered. My friend Morgan at Construction 2 Style put together a great compilation of ideas, but from the start, I knew we would only do one of two options: stacked vertical or stacked horizontal.
We dry fitted for both options, and voted for vertical. The vertical stack would continue to draw the eye up -- our ceilings are just under 8' high -- and elongate the space. Because of the bevel design, the vertical layout would create a strong presence in the kitchen without overpowering the space.

With the laundry room, we measure to find the center of the wall and worked our way outward. Here, we started from the side to work around the outlets and to avoid having to make multiple thin cuts for the perimeter. With the math out of the way, we could get into a groove of actually tiling -- apply mortar on the wall, "back butter" each tile, then position on the wall using the spacers and a level... over and over again.
“What is back buttering?
Using the trowel to apply the mortar directly to the back of each tile.”

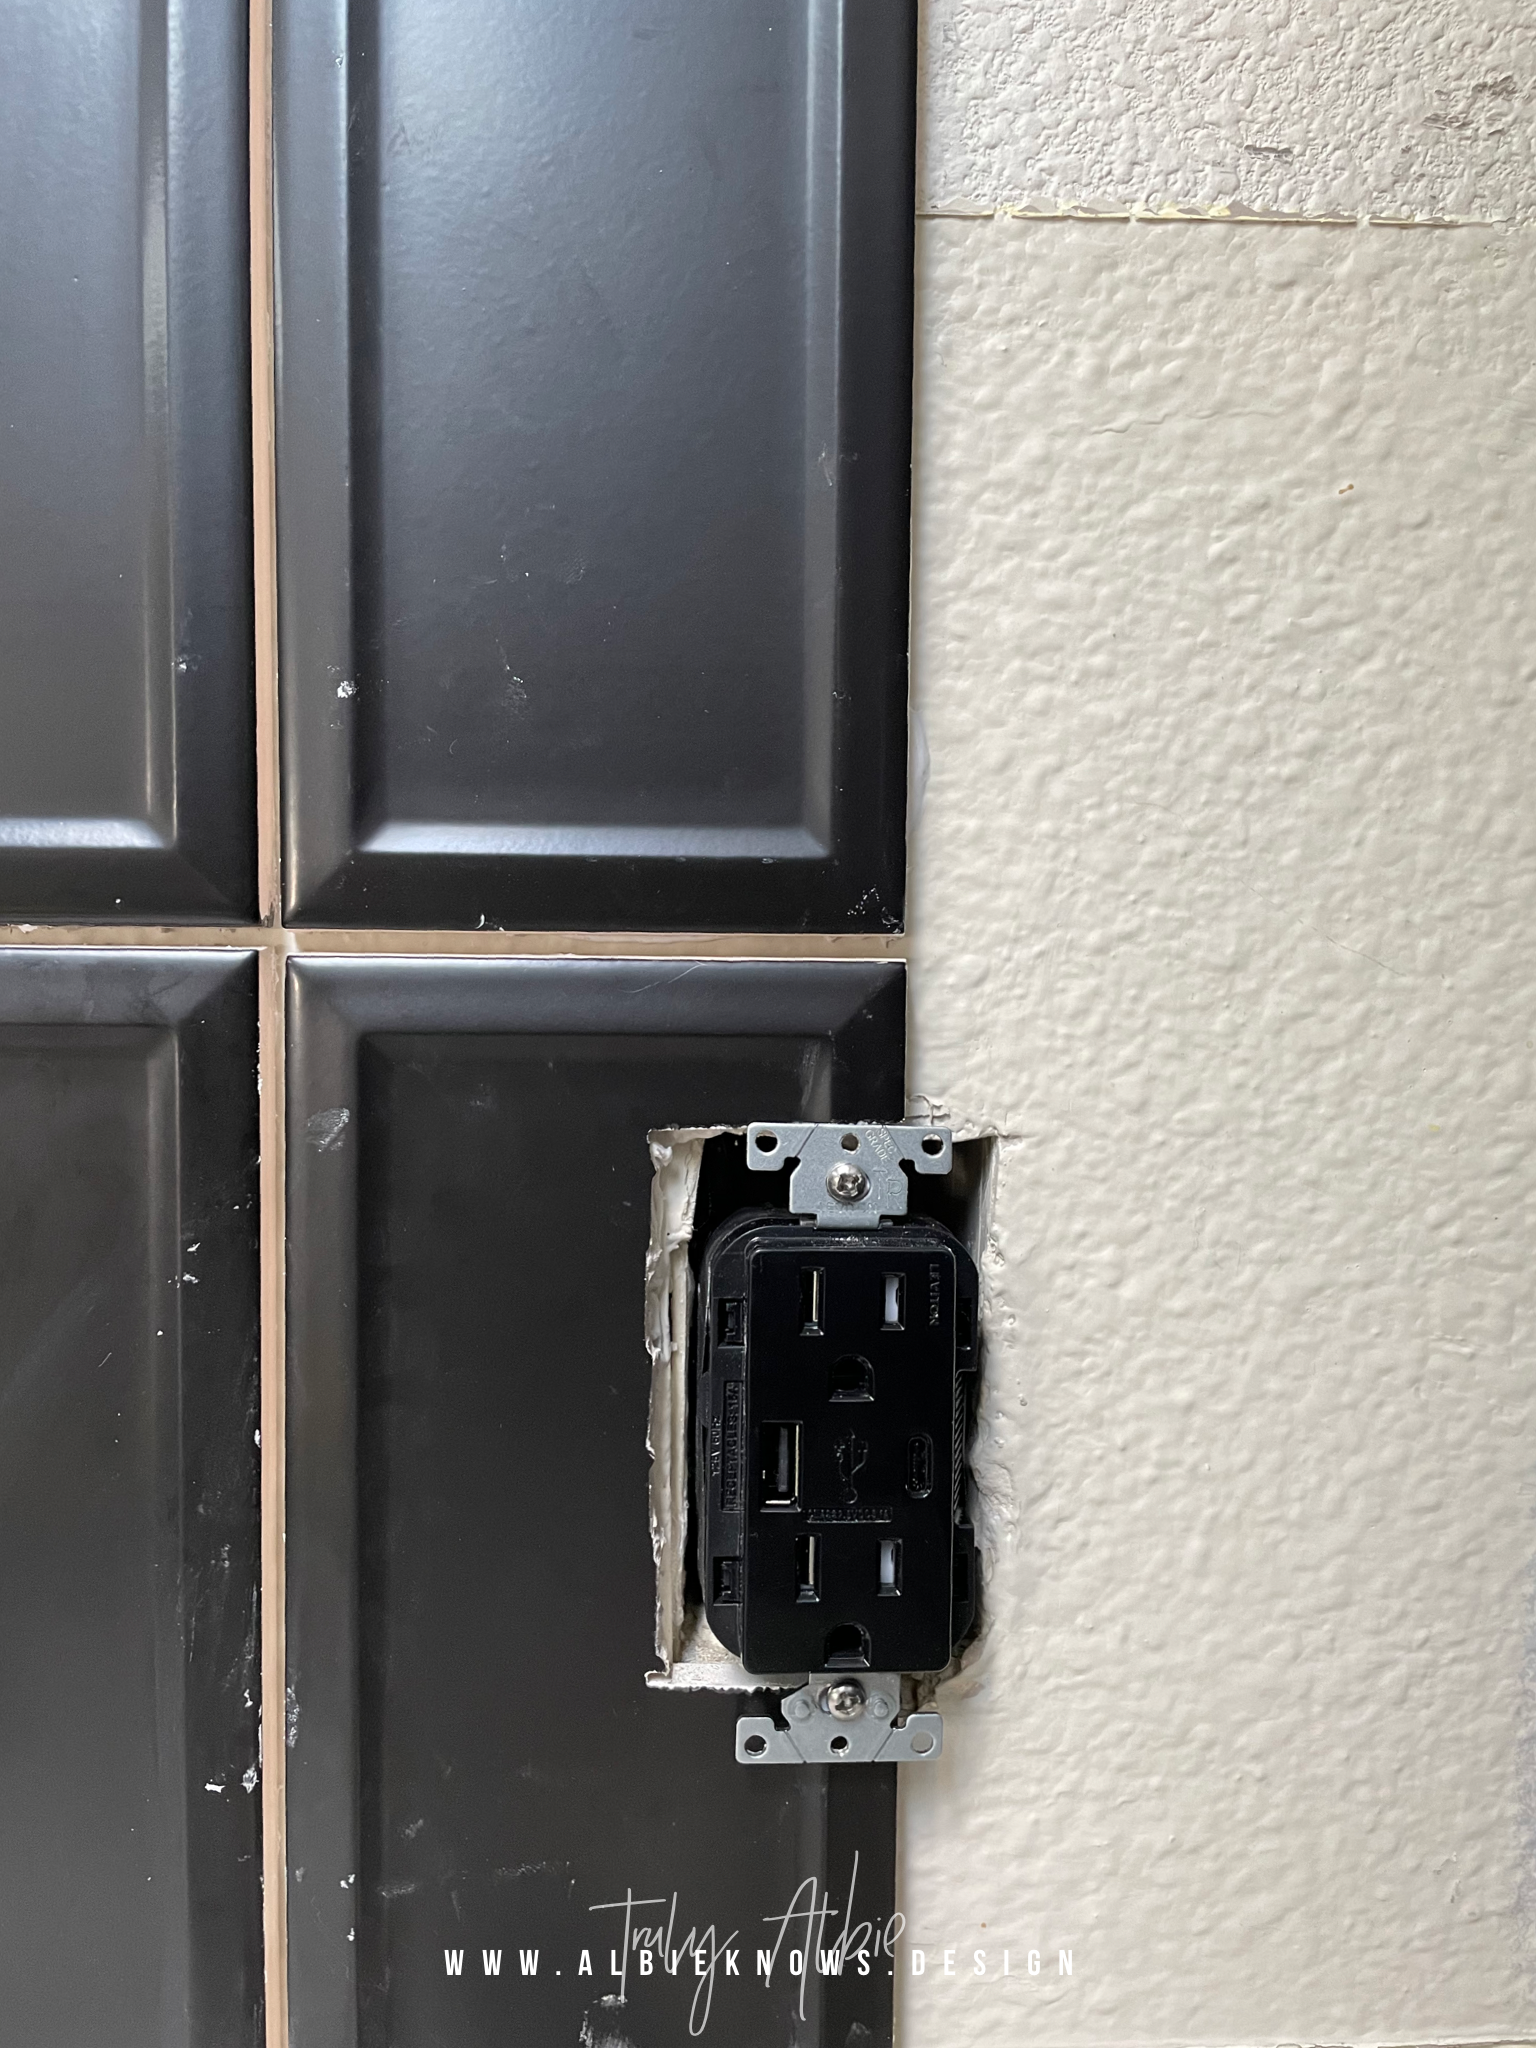
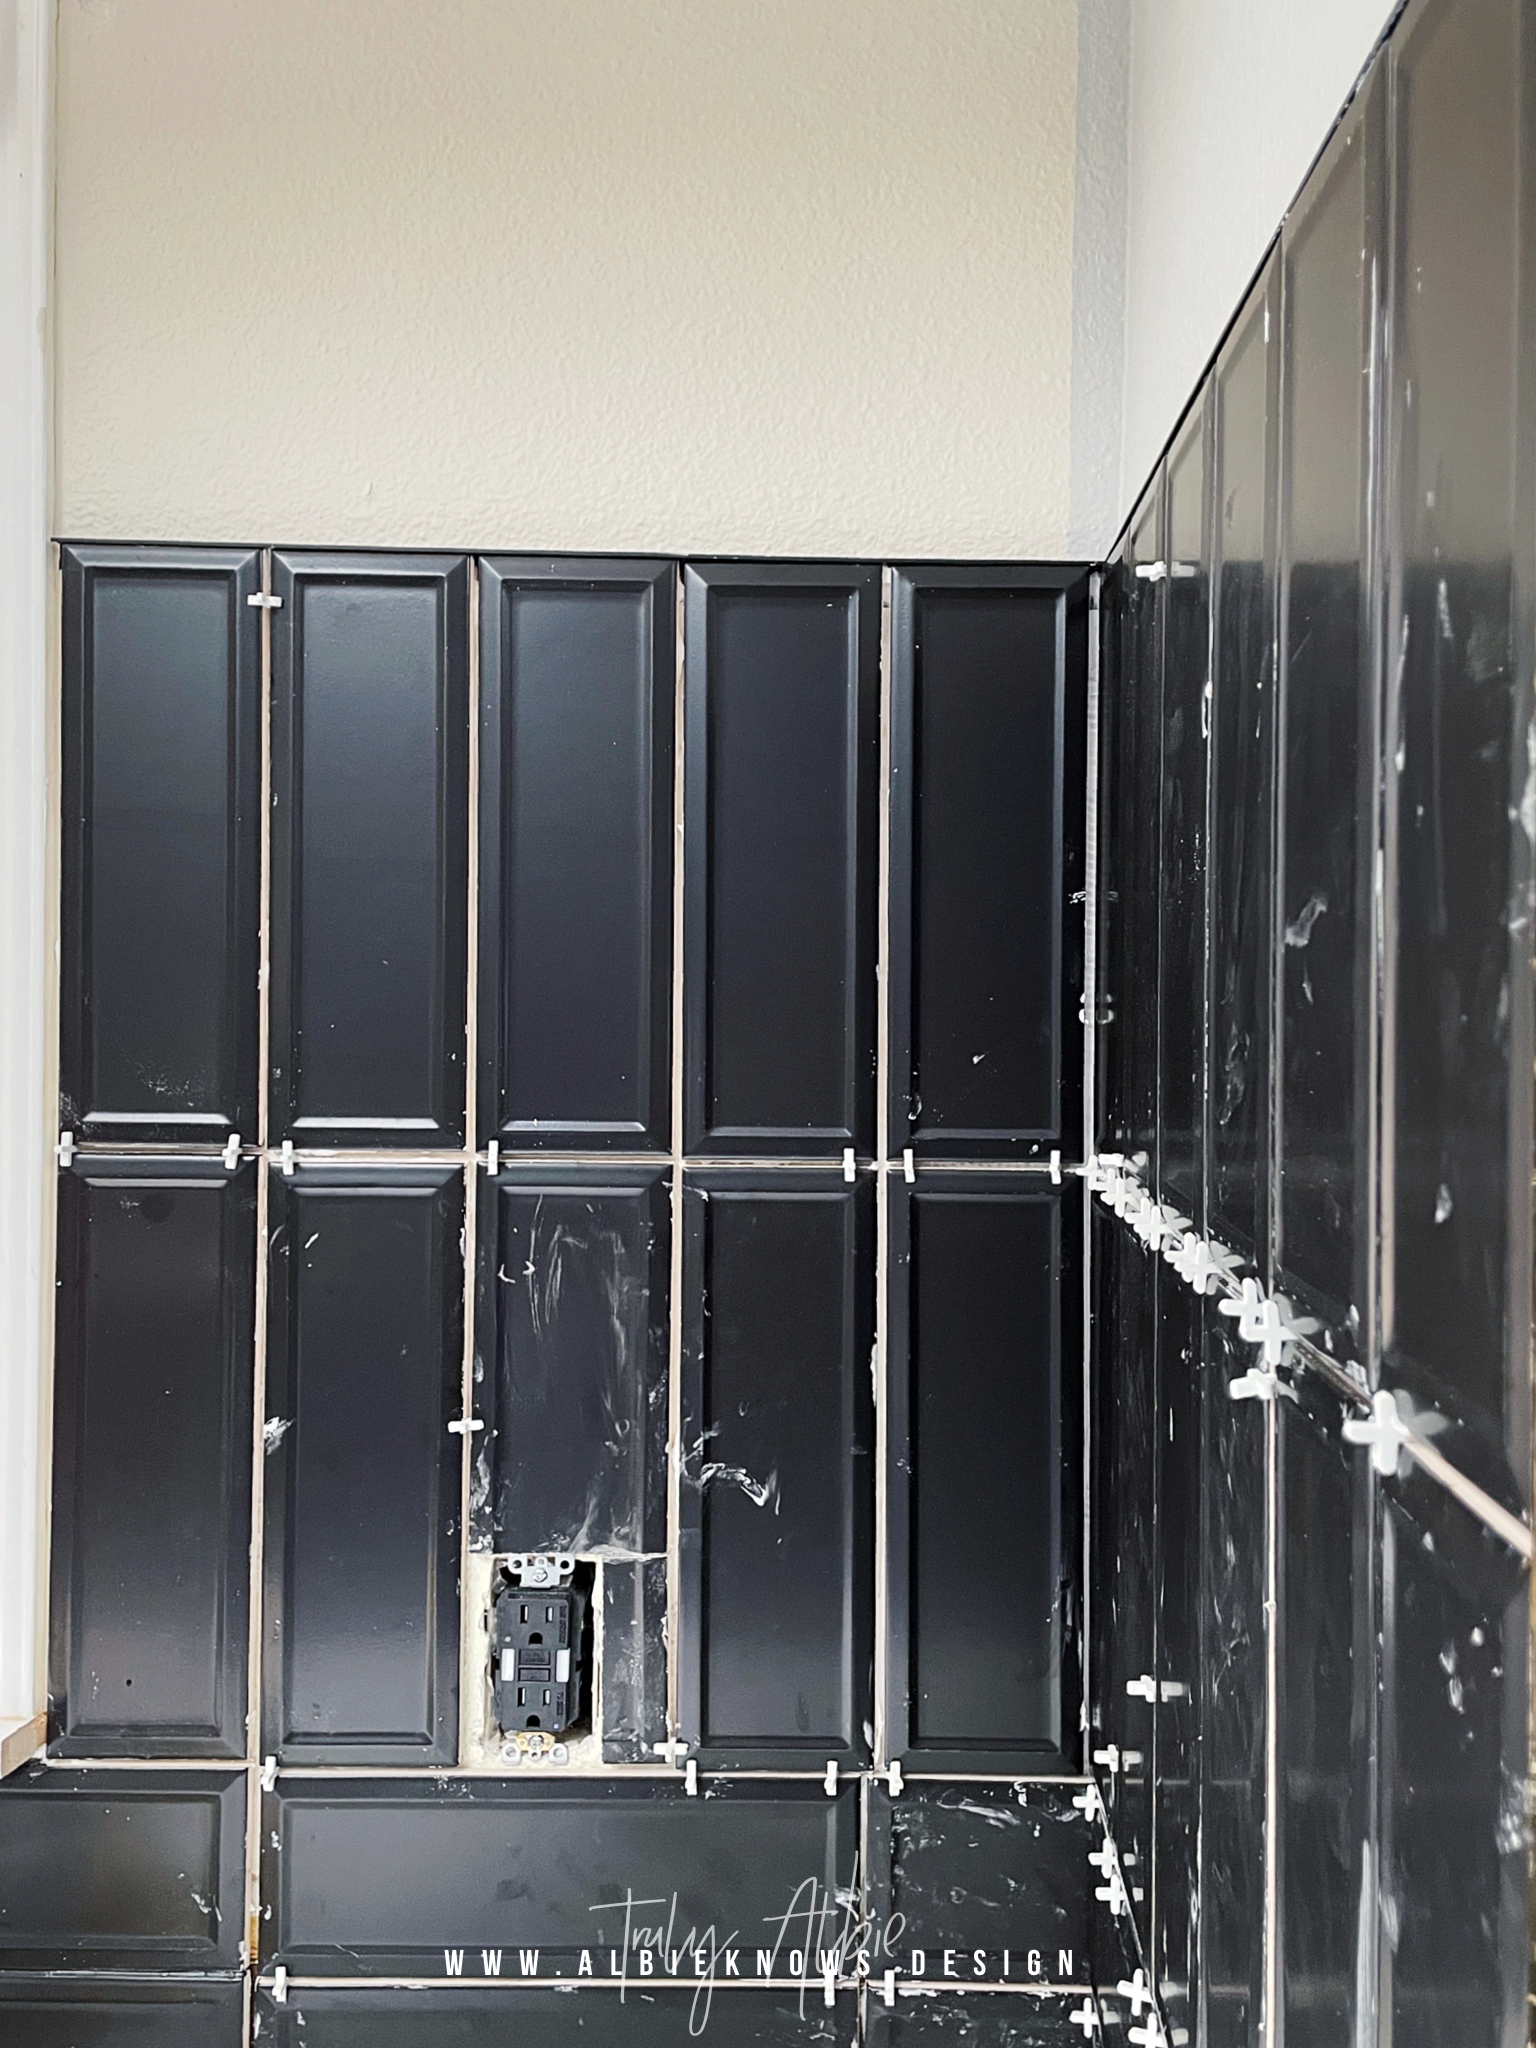
For the outlet, we made consecutive rough cuts using the wet saw, fitted to the opening, then snapped off the tile pieces -- we weren't looking for perfection because the screwless plate cover would hide it anyway.
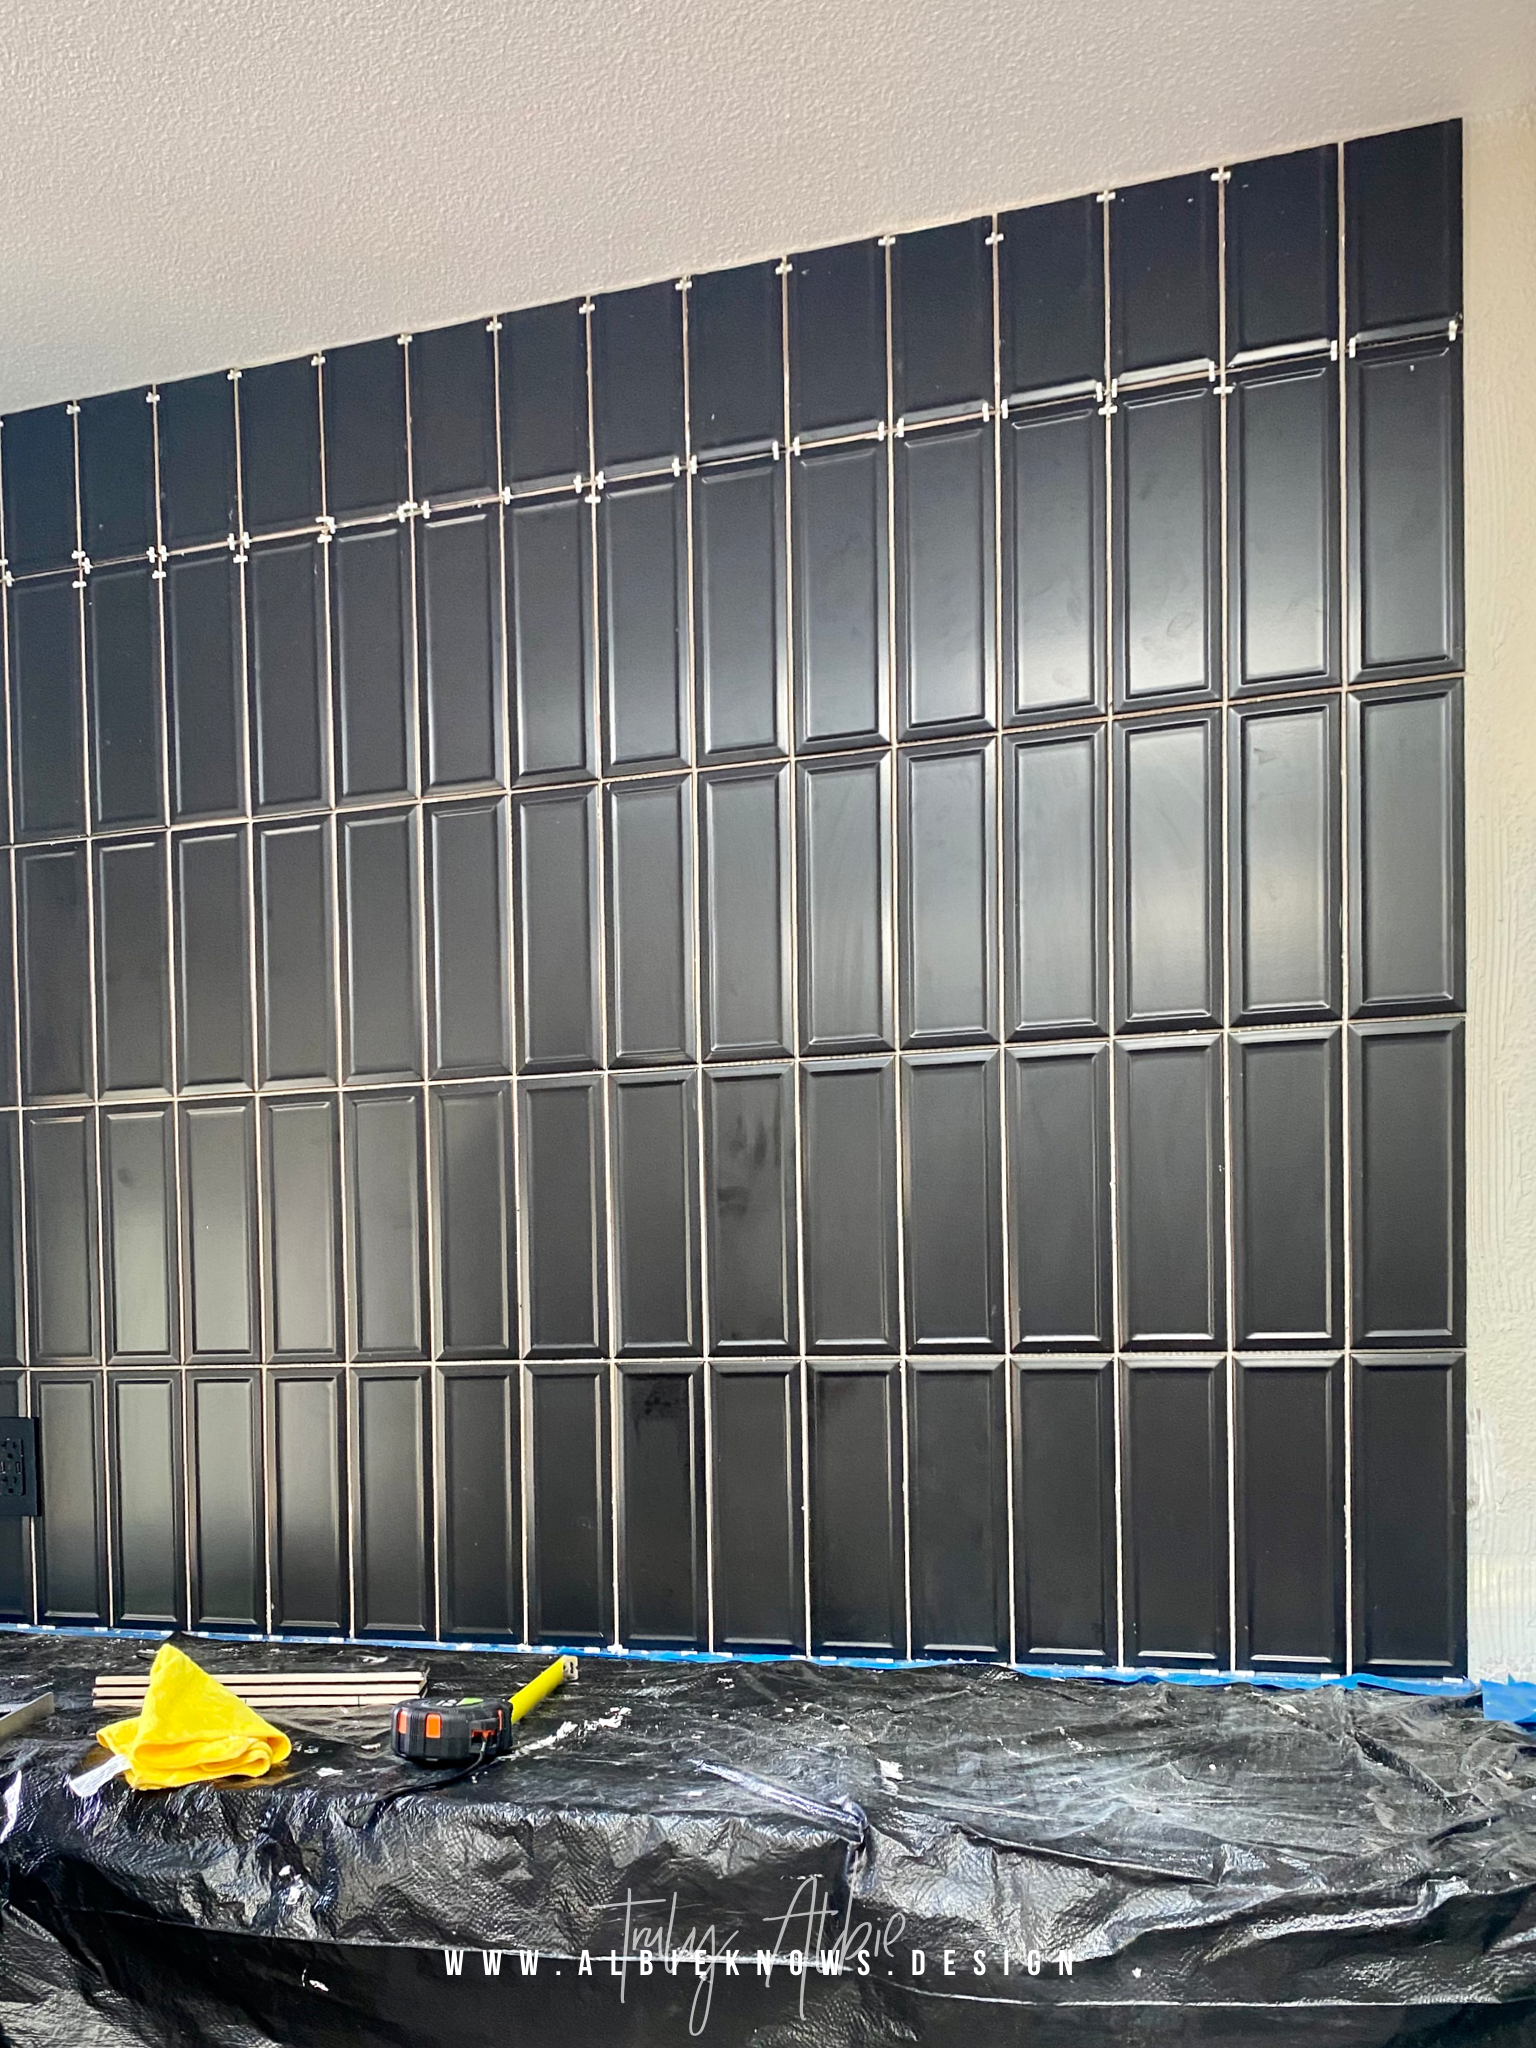
After that, we just kept on stacking...

The first cuts made for this wall would be to finish up the top... followed by cuts to run along the side of the tall cabinet...
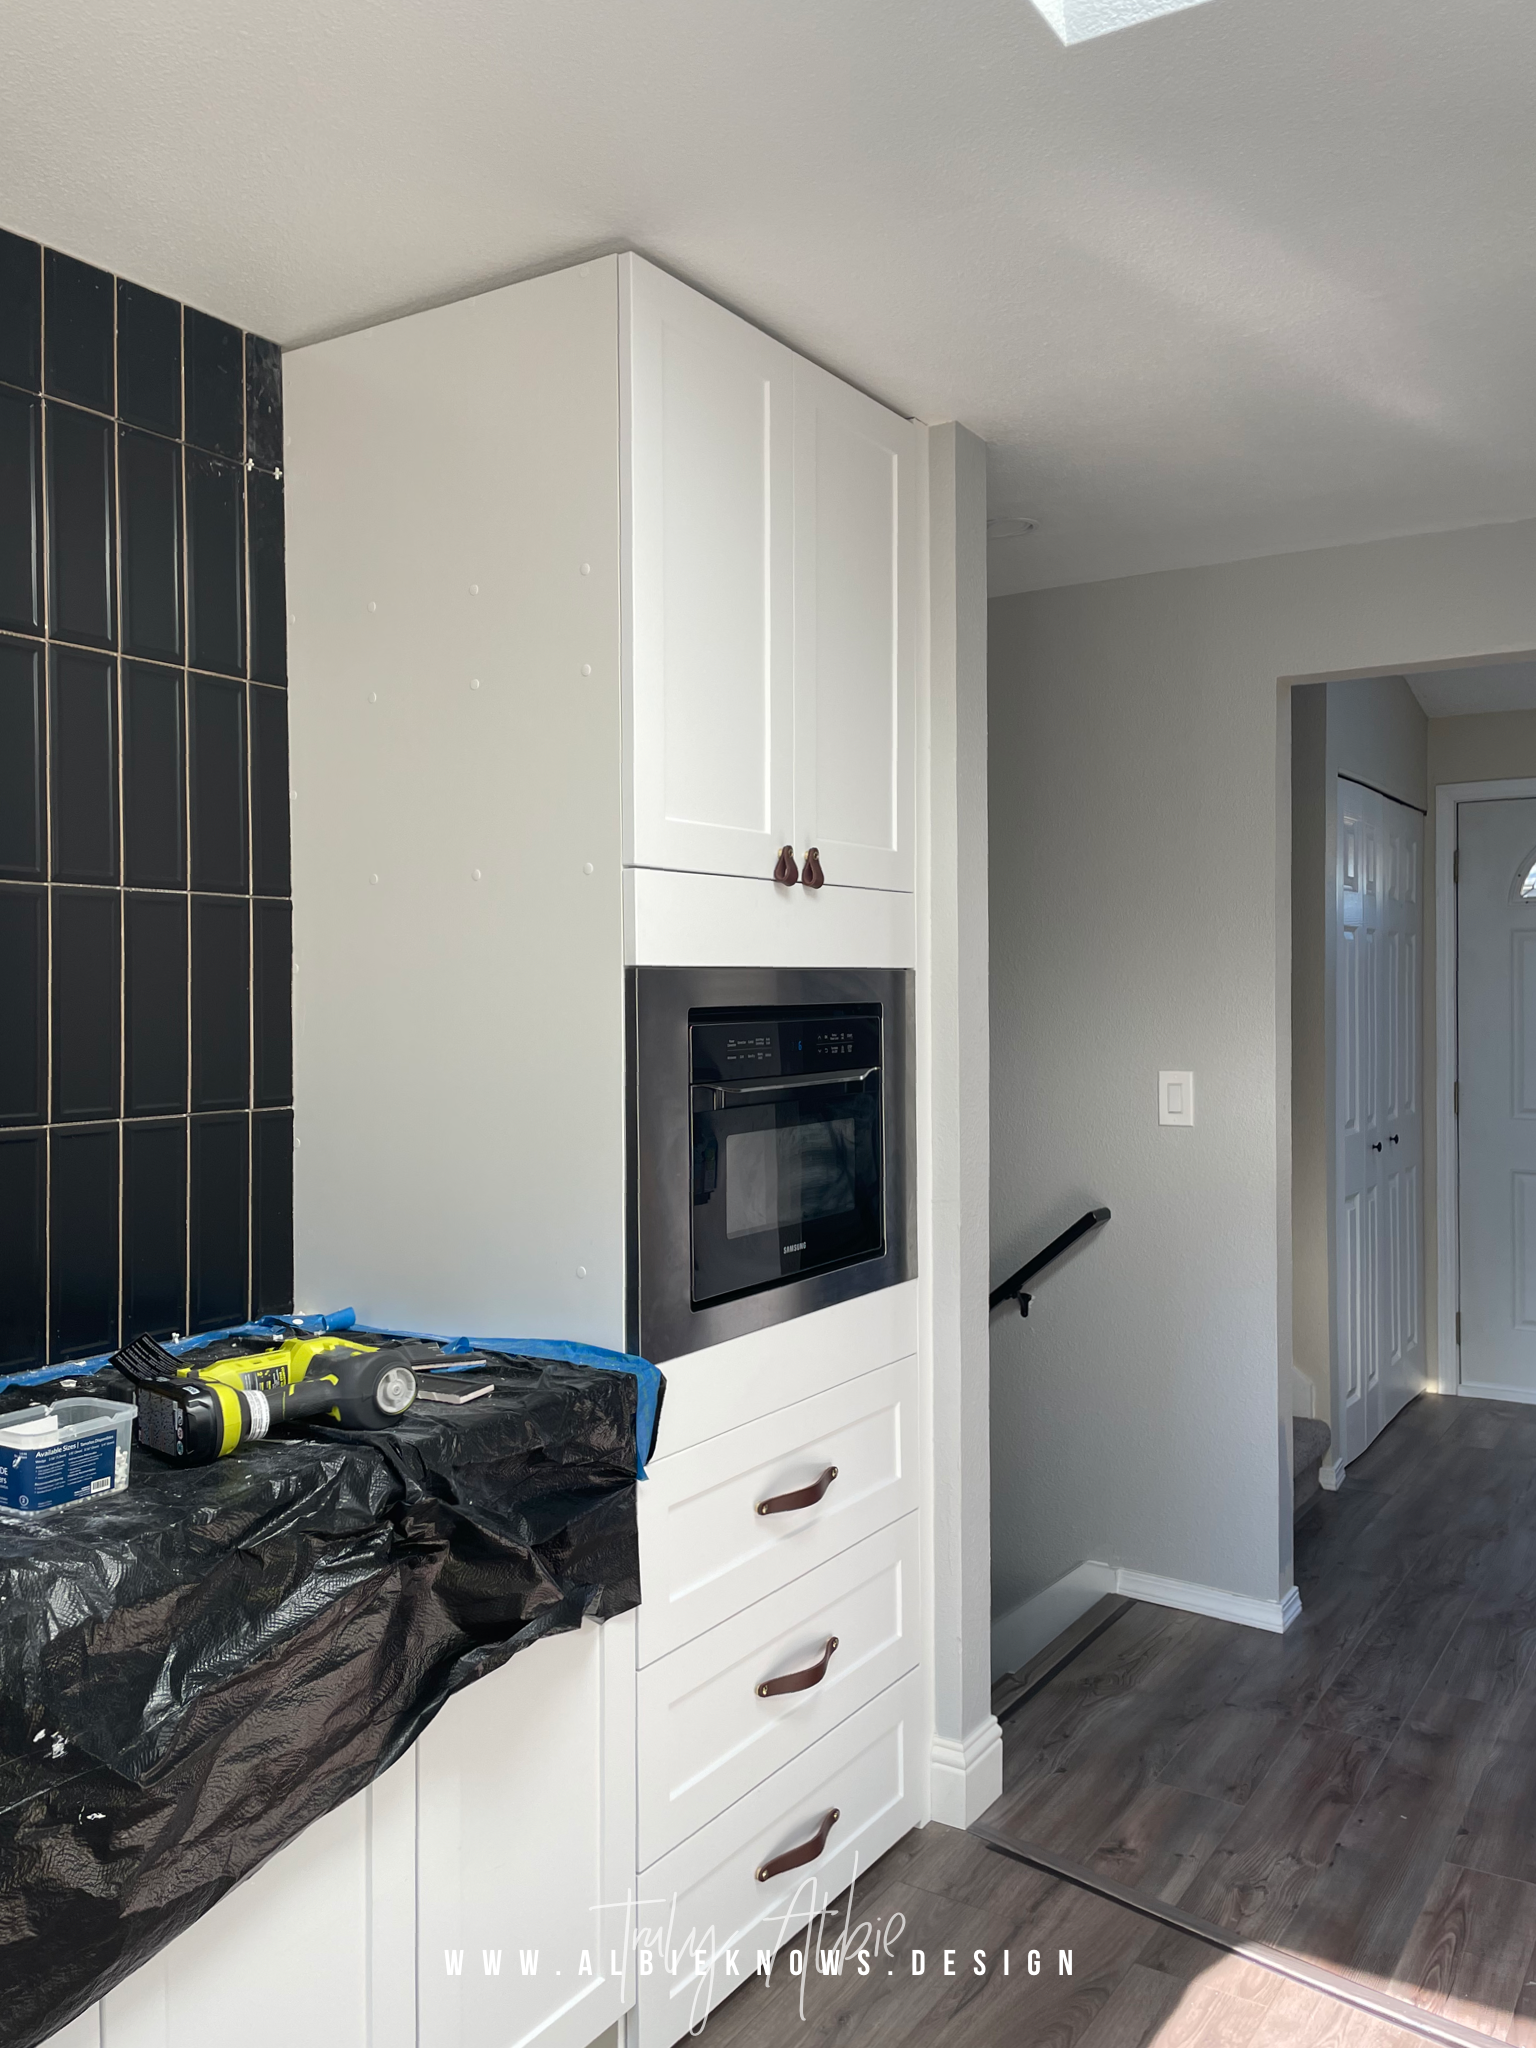
One wall down, two to go!
To make the best use of our time, while the adhesive set on second wall, we applied the grout to the first wall.
Prior to applying the grout, we could already see the difference the tile made in the space. We could also see how the space would've looked with a lighter, contrasting grout.

I chose a rapid set, high performance, sanded grout in black licorice.
The fast setting feature meant the wall could be ready to use in under 2 hours. It also meant we had to move fast -- really fast -- so that imperfections wouldn't set in before getting a chance to clean em up.

After applying the grout, it was like a whole new vibe... and I just couldn't stop staring at the wall because it's exactly how I'd envisioned it. The black on black design also made it easier to hide the grout line imperfections.
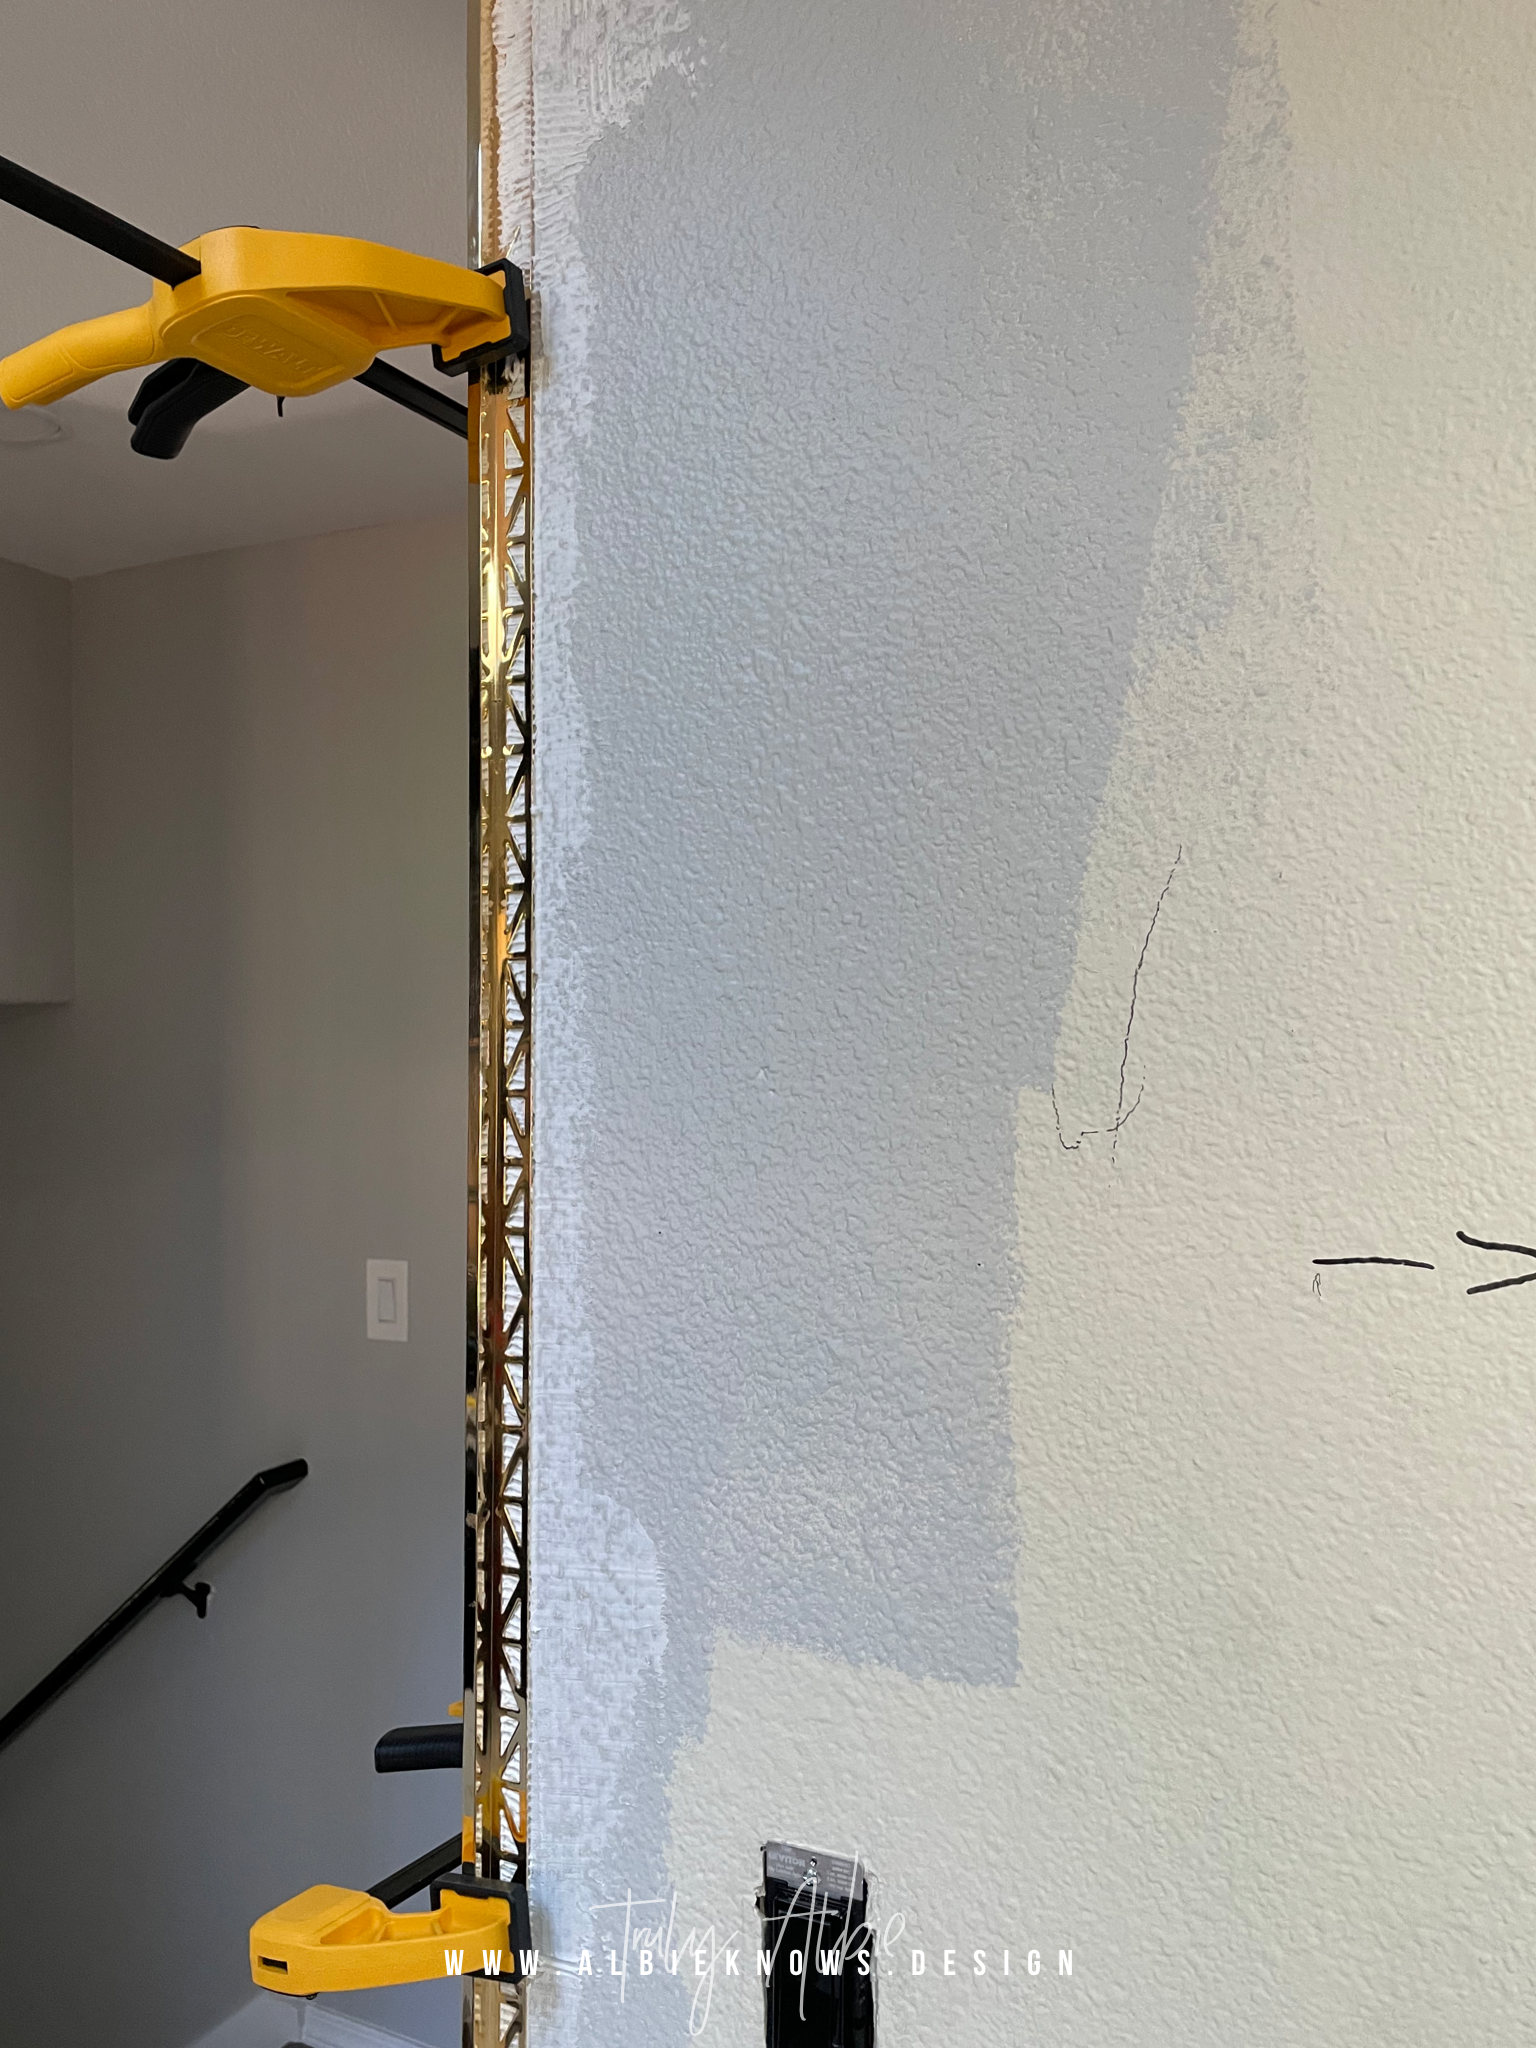
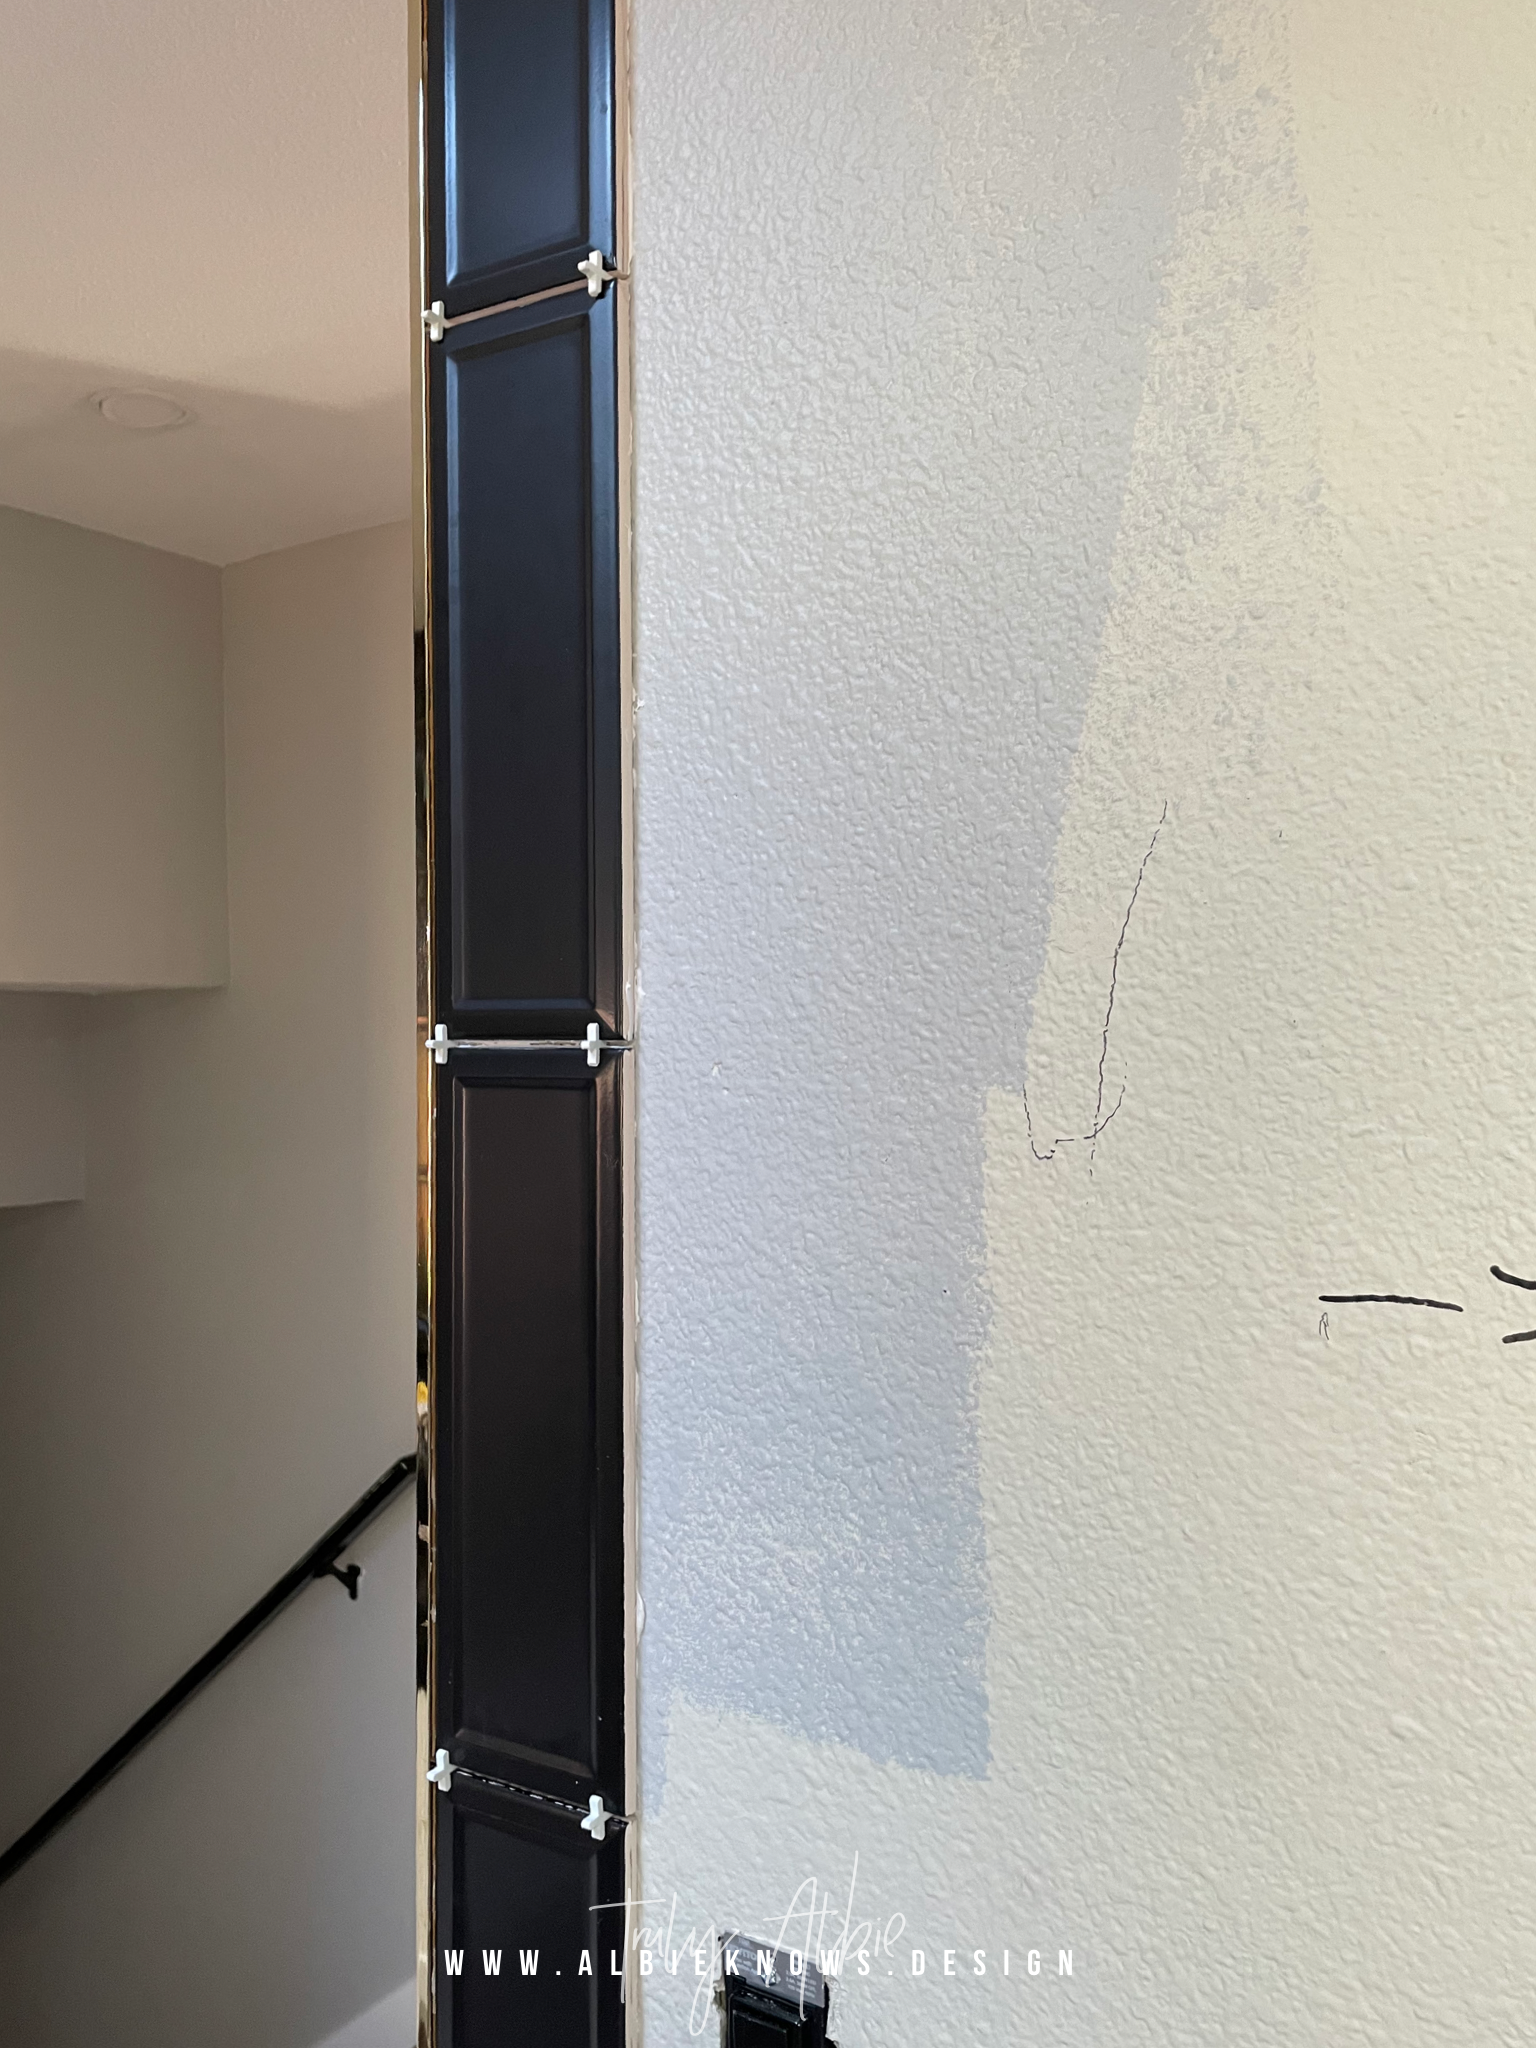
Because the cafe wall backsplash is between two panels, we didn't have to worry about trim edges. The other walls, however, would need tile trim. This would be a great opportunity to introduce a little more razzle dazzle to compliment the other brass finishes in the design...

...24K gold plated brass trim for the sides
...38" matte black trim for the top
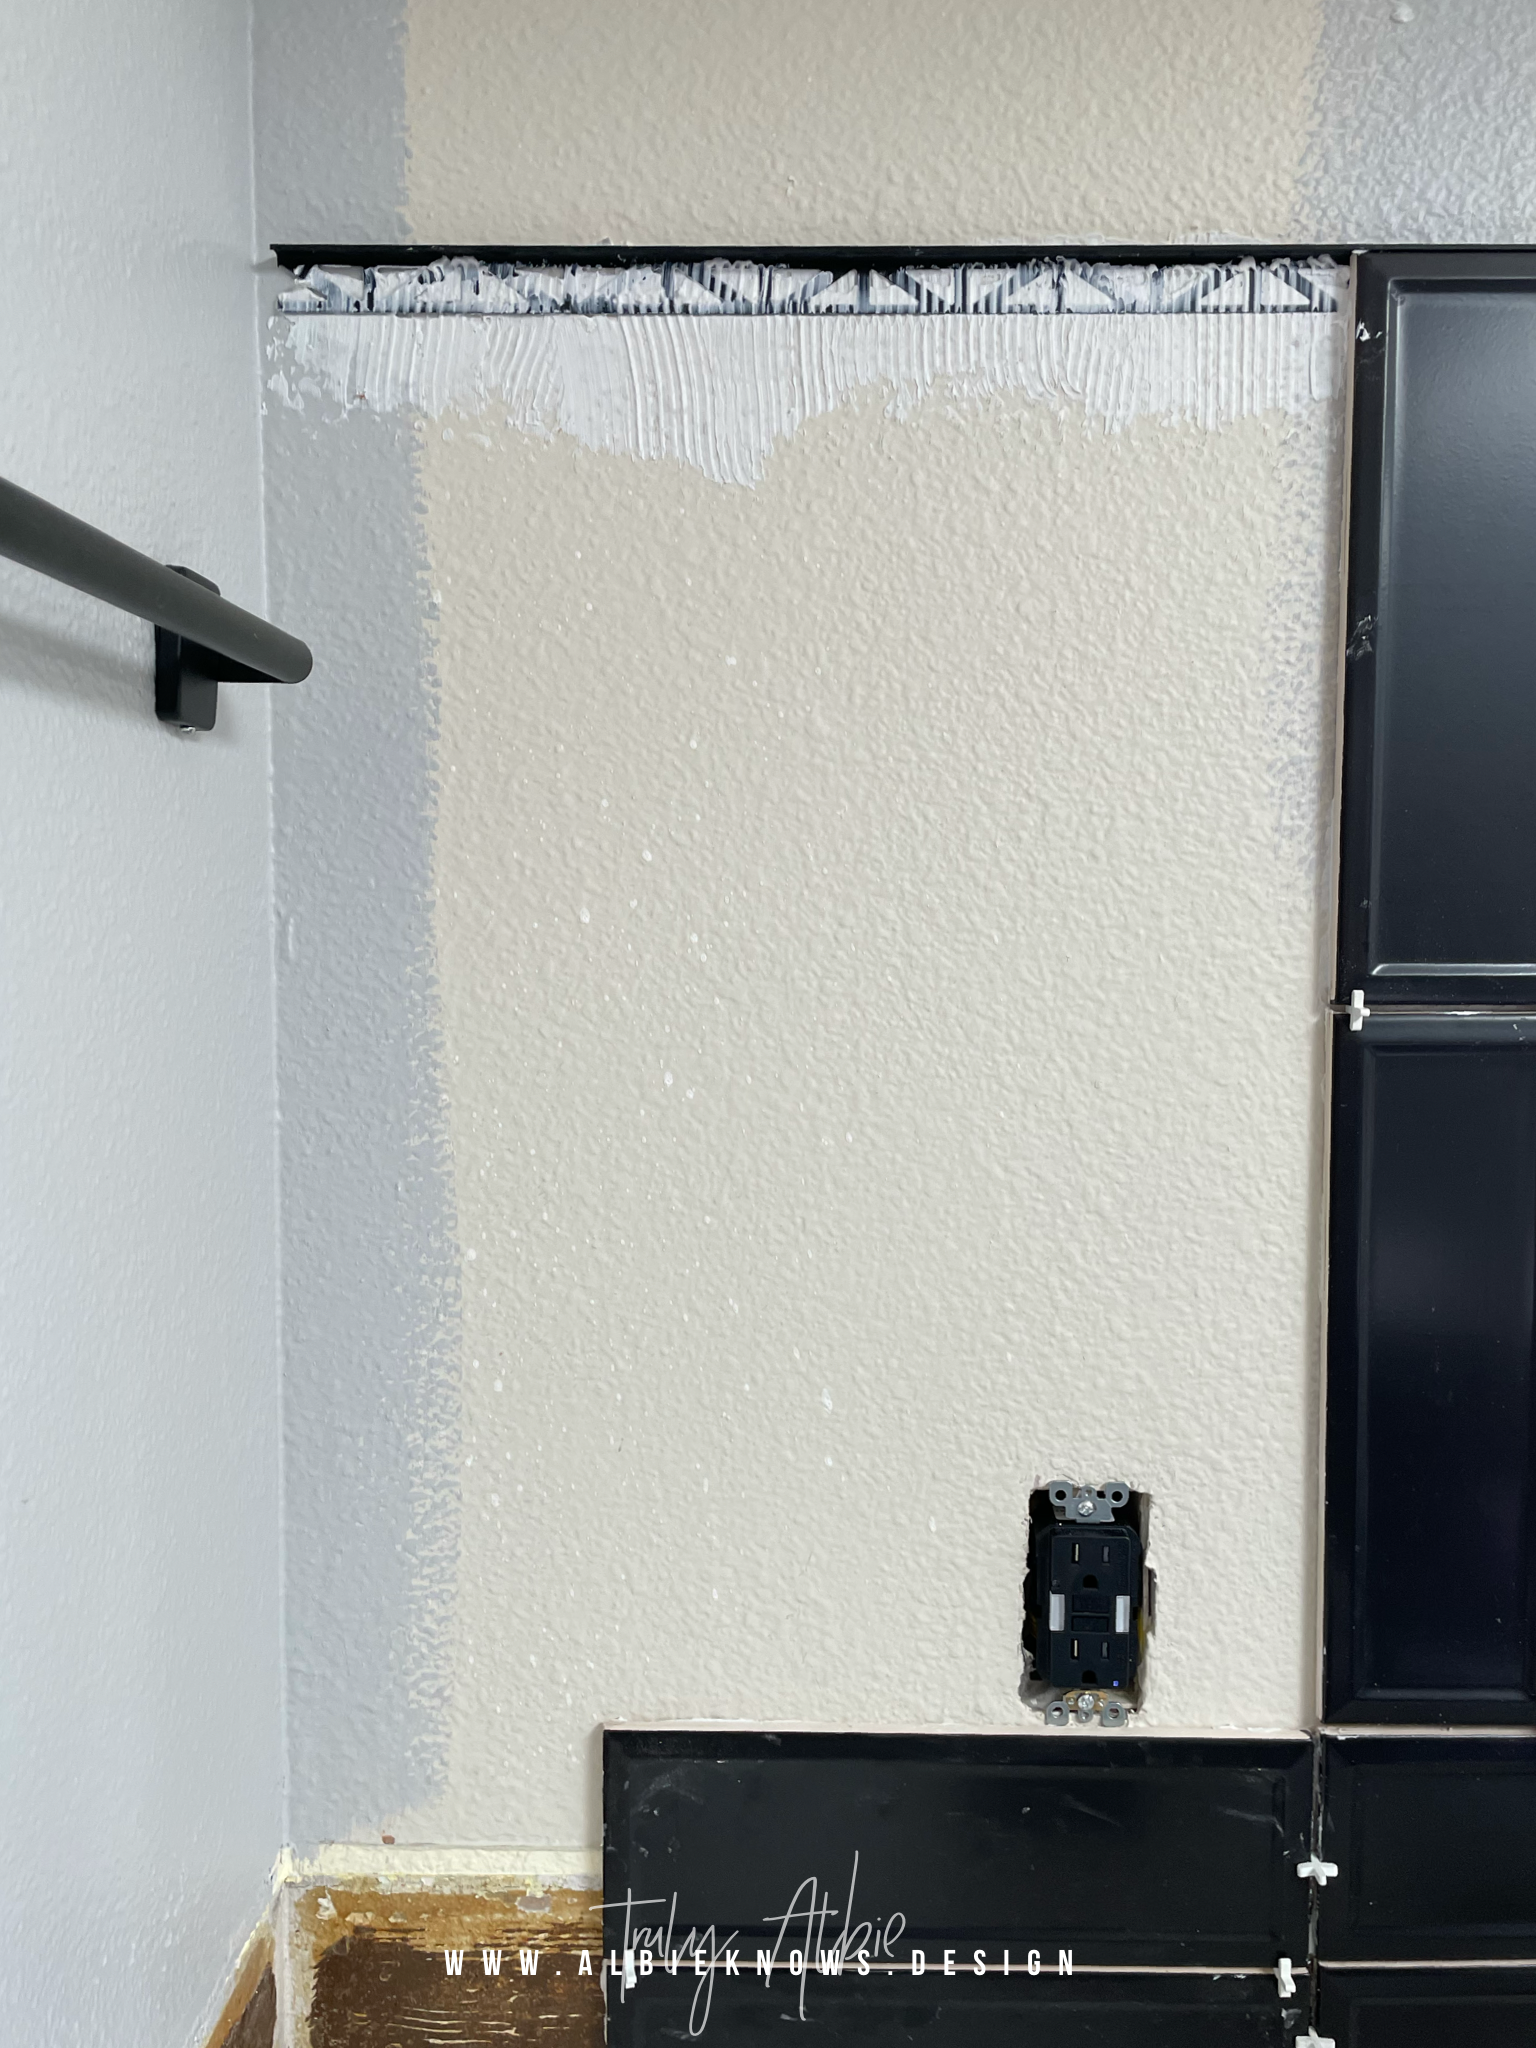
Before applying the tile on the stove wall, we needed to do some prep. We needed to adhere the gold trim -- with the same mortar -- and once it bonded with the wall, we could install the tile on top.
Next up, because we have a slide in stove, the countertops don't run all the way across to help line up & support the tile. In the space behind the stove, we installed some scrap wood to make sure the tiles would remain level. This is the same technique we used when we were tiling the laundry room wall.

After this it was the same as the first wall -- apply mortar, adhere to the wall, cut around outlets. Because of the size of the tile and the positioning of the range hood, no cuts needed to be made there... whew!
On to the next wall...
I won't lie... we were not looking forward to doing this wall. Working around the window would be tricky with the number of cuts we'd need to make. That's also where the sink is, so the wall isn't just a wall... it's more like an alcove. We had to decide whether or not to wrap the tile around the sides and/or bring the tile all the way up to and around the bulk head.
In my problem solving, I realized I had an opportunity to do something unexpected and fun. Since we were going to have to make cuts underneath the window, I decided to do a horizontal stack across the bottom -- two rows -- then continue with a vertical stack for another two rows, with the entire installation stopping about 3/4 up the wall... which is where the matte black trim edge would come in.
This design solves a few problems --
no need to cut tile to go around the entire window
no need to tile around the bulkhead
I get my horizontal stack after all
Turning the corner to tile the sides would still be a little bit tricky, but it would be well worth it to create this unexpected and fun design moment, framed by the gold trim and different than the rest of the walls.

After weeks of waiting, we finally had proper backsplash... and no more ugly, exposed walls!
We worked around my husband's full time job schedule, so this wasn't something we tackled in one weekend... or even in one week. Could it have be done quicker if we hired our contractor? Absolutely! But it was worth it to walk away from this with some sweat equity in the renovation.
Would you ever install your own tile?
While it's not exactly something that was on my bucket list, I can say I'm glad we did it.