Cost Breakdown: How Much It Cost To Refresh My Bedroom
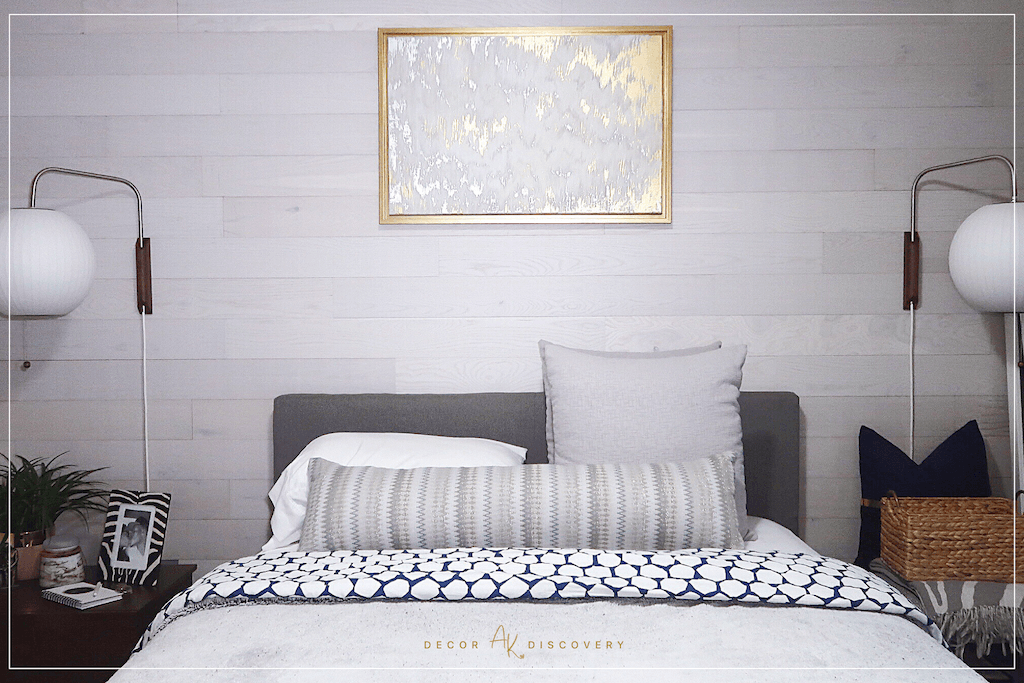
As you may already know, for the Fall One Room Challenge, I refreshed our master bedroom — a few major upgrades & some minor decor updates, but all renter-friendly.
The transformation made a huge difference in the function & aesthetic of our bedroom, and when I shared it on Instagram, I got quite a few questions surrounding the cost of doing something like this.
So I said to myself, “why not breakdown the cost of everything — past, present, and sponsored — that went into creating my Hygge bedroom?”
I asked on Instagram and you guys were really interested in this because often the reason you struggle with budgeting for a design project is because you don’t know what anything costs.
I got you!
But before I dive into numbers, I should note a few things…a few disclaimers if you will:
1 — In terms of furniture, I didn’t make any new purchases.
We bought everything new when we moved to Washington a little over 2 years ago so it didn’t make sense to replace everything now, especially since this isn’t exactly our forever home. While the design would’ve looked completely different had we been starting from scratch, I was using what we already owned to still give it a new look & feel.
That also said, since some of these pieces are two years old, whatever I don’t find, I’ll share a comparable version & price point.
2 — At the time i purchased items, i had access to designer discounts and/or cash back deals.
As a designer, I have accounts with some of my fav brands & retailers — translation: I don’t always pay full price, be it for myself or clients. While this can get tricky to navigate, so in some instances I do pay full price, I wanted to be upfront about this because in two years, I can’t promise I remember what was full price or not.
As for cash back deals, one of my favorite shopping hacks is Ebates, the cash back program, to track promotional offers & get paid to shop.
3 — There’s a lot that I wanted to do but still didn’t.
Juggling so many things at once, like going to High Point Market, being sick for weeks at a time, and just life, there just wasn’t enough time to get to everything the way I’d planned. While they are minor things, and in no way was the design compromised by not doing them, they’re def still on my to do list so I’ll note their prices as well.
4 — The design was in collaboration with brands I love.
As a designer & blogger, I was super blessed to had been able to partner with brands that believed in and supported the design, off setting a lot of the costs. These are brands & products that I use so it in no way effected the my vision for the bedroom, but it definitely did help our pockets.
I’ll share the retail value of my sponsored products & materials so that the numbers will make sense for you when you’re planning.
So now with all that out of the way, lets talk money!
When we moved from NYC to WA (state, not district) we did so with the intent of starting from scratch.
Fiscally, it just didn't make sense to bring anything that we had in NYC with us literally to the other side of the country (in terms of furniture) PLUS this was going to be our first time really creating a home together as husband & wife, so what was bought in NYC could stay in NYC.
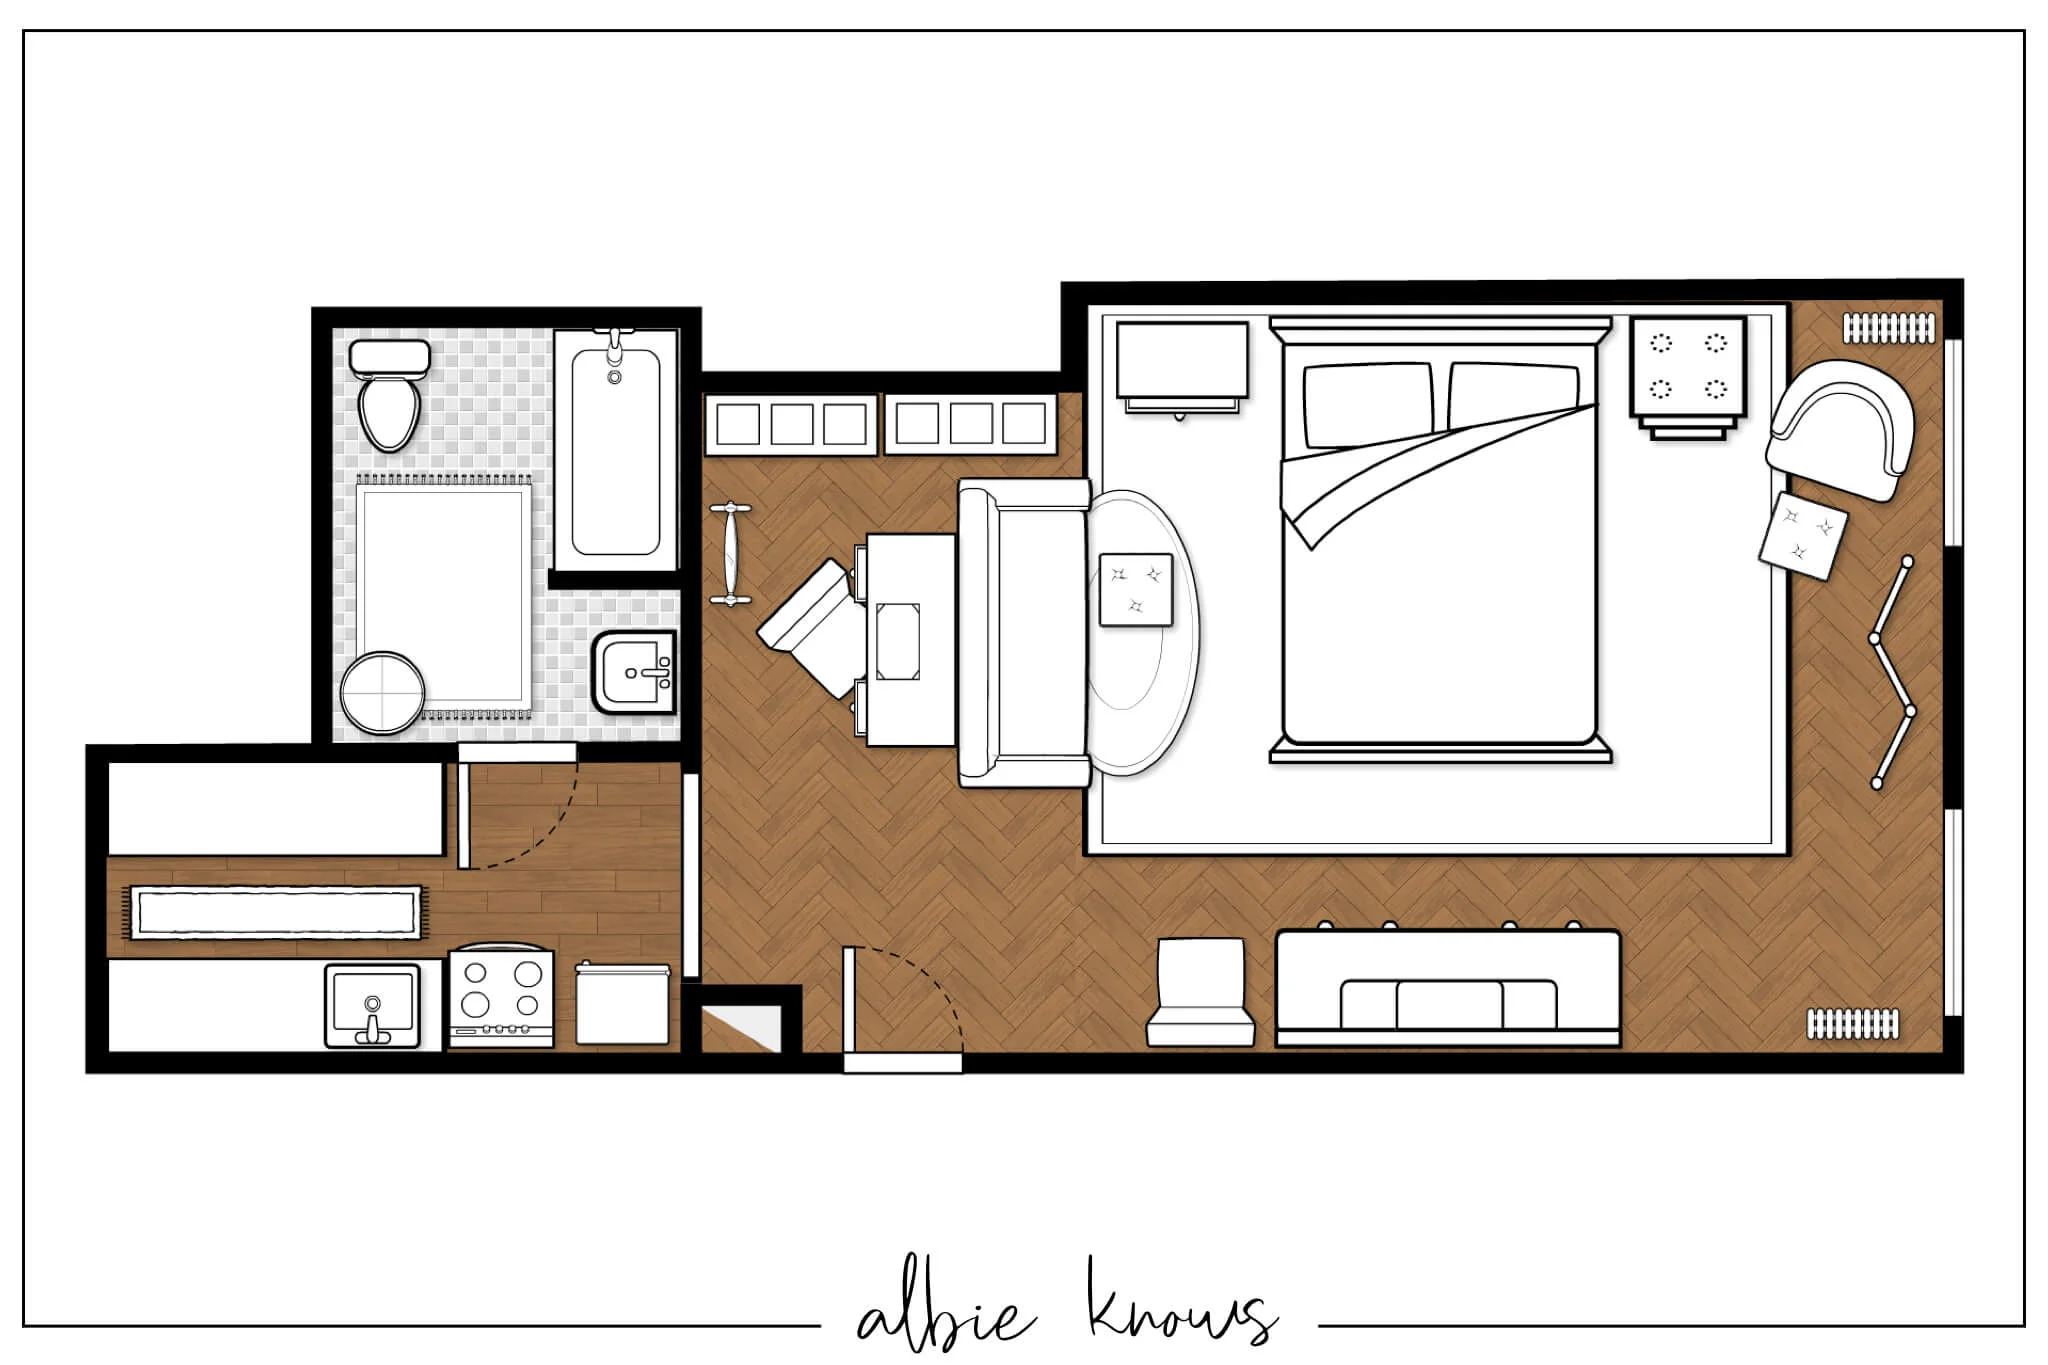
Six months after moving, we moved from a 1 bedroom plus den apartment to our now 2 bedroom condo.
A year plus later, I am still working on making our condo feel like home — temporary or not. But with the bigger purchases out of the way, I honestly didn’t budget for this makeover.
Don’t be like me! LOL.
One of the first steps to design clarity is thinking about budgeting.
I'm really REALLY good at shopping. LIKE REALLY FREAKING GOOD! But I realize that sometimes even if we can afford it, spending all willy nilly on furnishings & decor is a dangerous game, and your budget is what really keeps you in check & on task.
While I did prioritize what I needed versus what I wanted, and then what could just wait altogether, I didn’t assign a hard number to anything.
Again I say… don’t be like me!
Because your budget isn't JUST what you're buying — it’s shipping costs, any potential labor costs (not doing a major renovation doesn't automatically eliminate the need for labor), and the cost of a designer if you're not doing it yourself.
Personally, had I given myself a budget, I probably would’ve talked myself out of a lot of things! Because this is my home (and not a client’s) I felt more comfortable winging it, and because it’s a rental, I knew I was going to have to get creative.
So here we go…
Shopping List
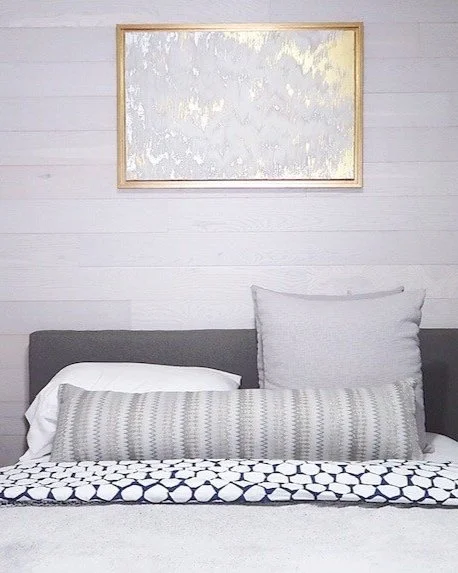
Bed: Maddie Upholstered Platform Bed Frame in Grey Linen by DHP. It’s currently $179 but we paid $199.
Rug: Porch & Den Williamsburg Roebling Grey Abstract Leaves Rug. Our rug is 8'2" x 11'6" and is currently $211.49. It was $199.99 when I purchased it but I got it for $159.99.
Mattress: Alexander Signature Hybrid from Nest Bedding in Luxury Firm retails for $1,199.
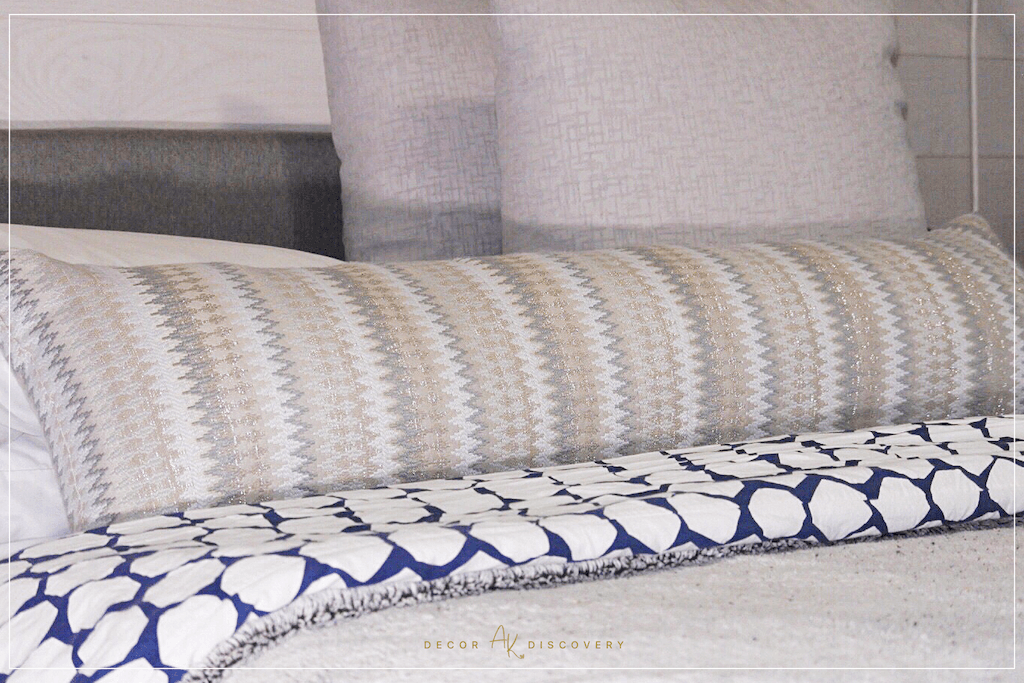
Bedding: Microfiber Sheet Set in Bright White by AmazonBasics for $19.99. My duvet cover was from IKEA and even thought it isn’t on the site anymore, I know the set was $29.99.
Euro Pillow: $17:99 each from Amazon.
Euro Pillow Cover: $12.99 each from Amazon.
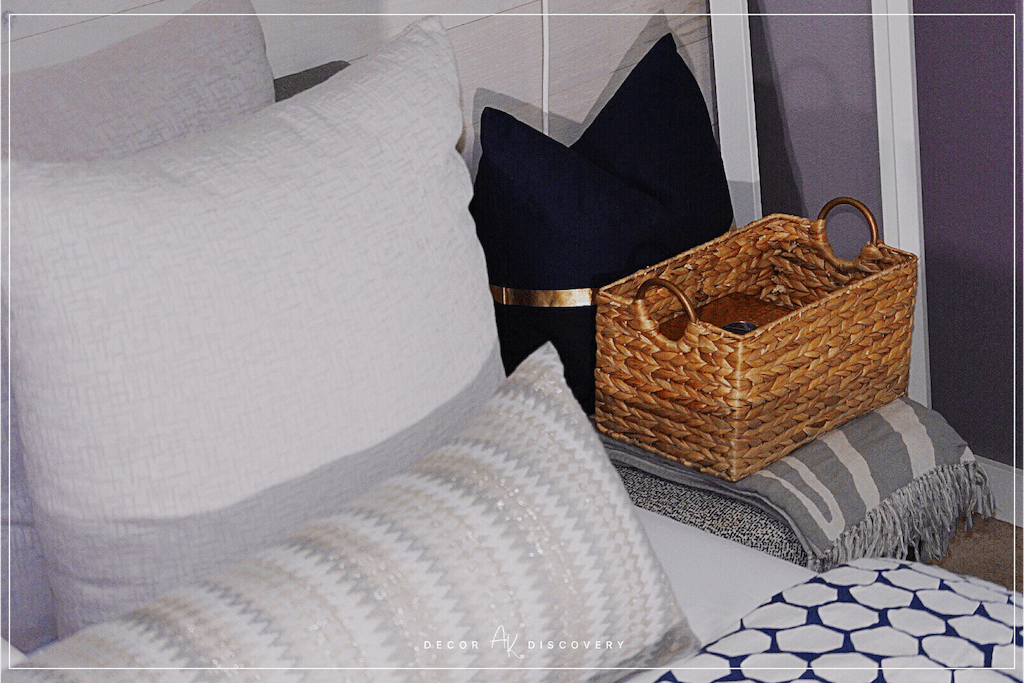
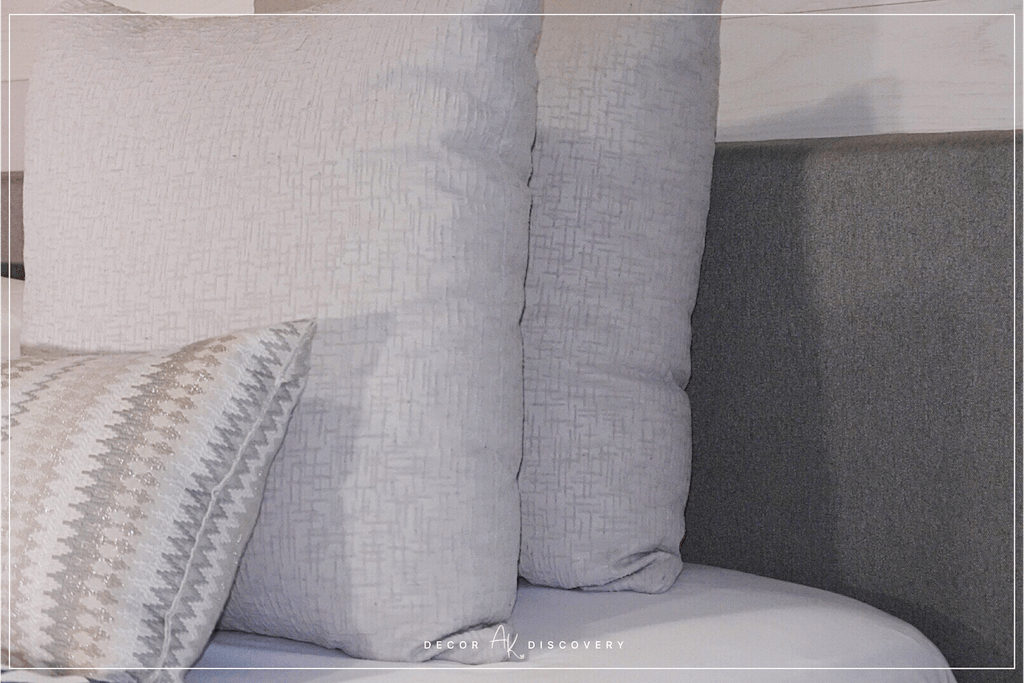
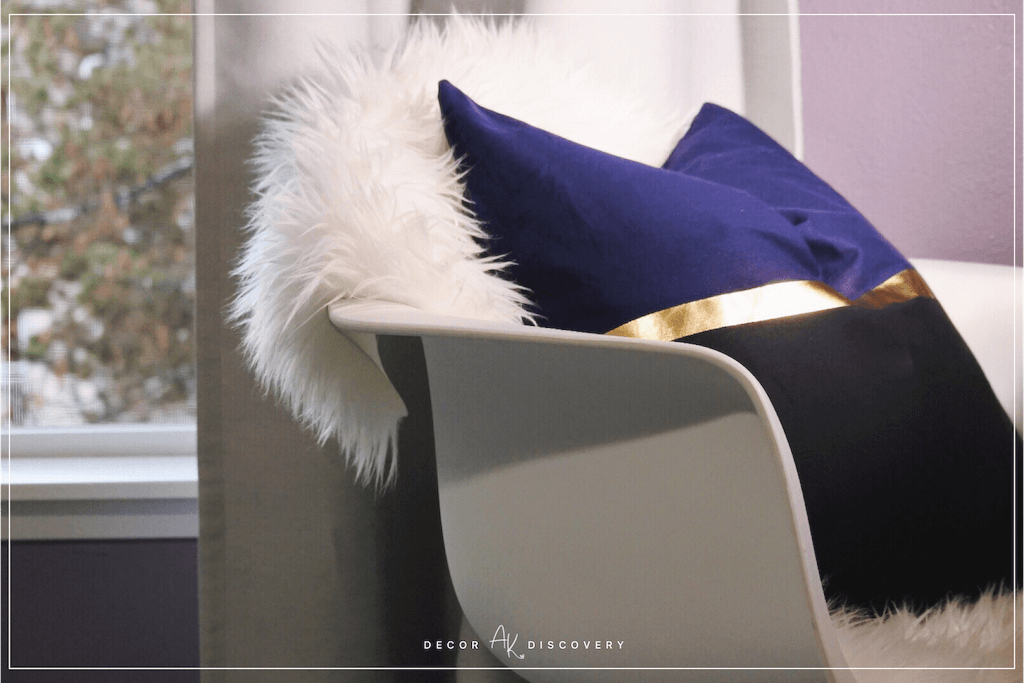
Accent Pillows: All my pillow covers were from H&M Home and the prices were all between $9.99 and $19.99 for each cover. The only pillows that aren’t covered and/or from H&M Home are the body pillow (HomeGoods) and the faux sheepskin lumbar (Hobby Lobby).
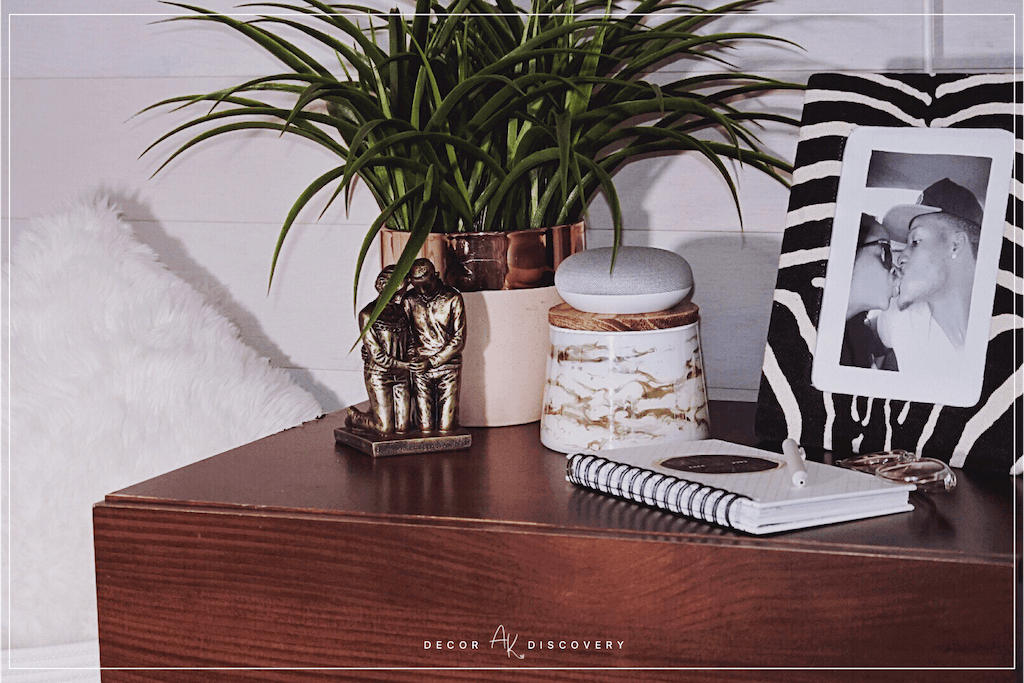
Cased Goods: The nightstand & two dressers in our closet were all from Wayfair two years ago. At the time my price was $152.95 for the nightstand and $371.90 for the dressers.
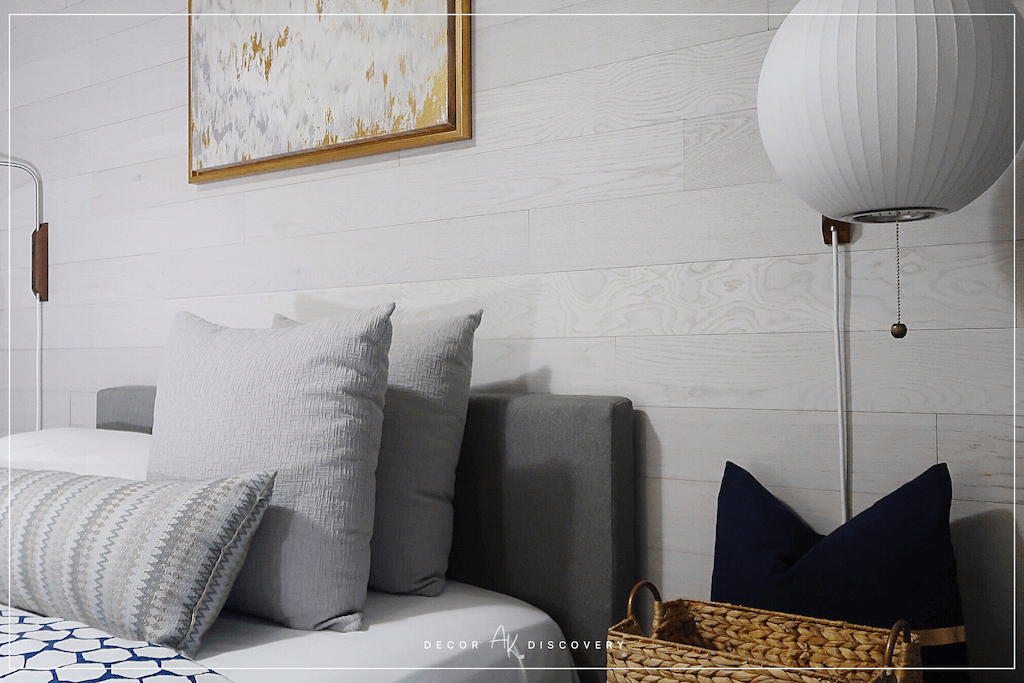
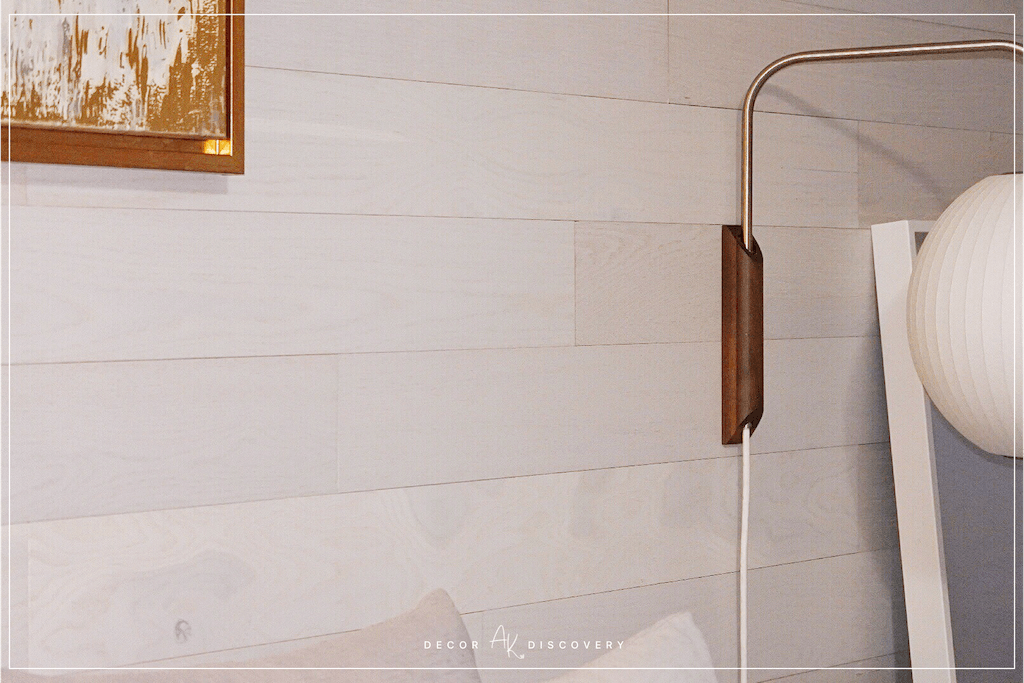
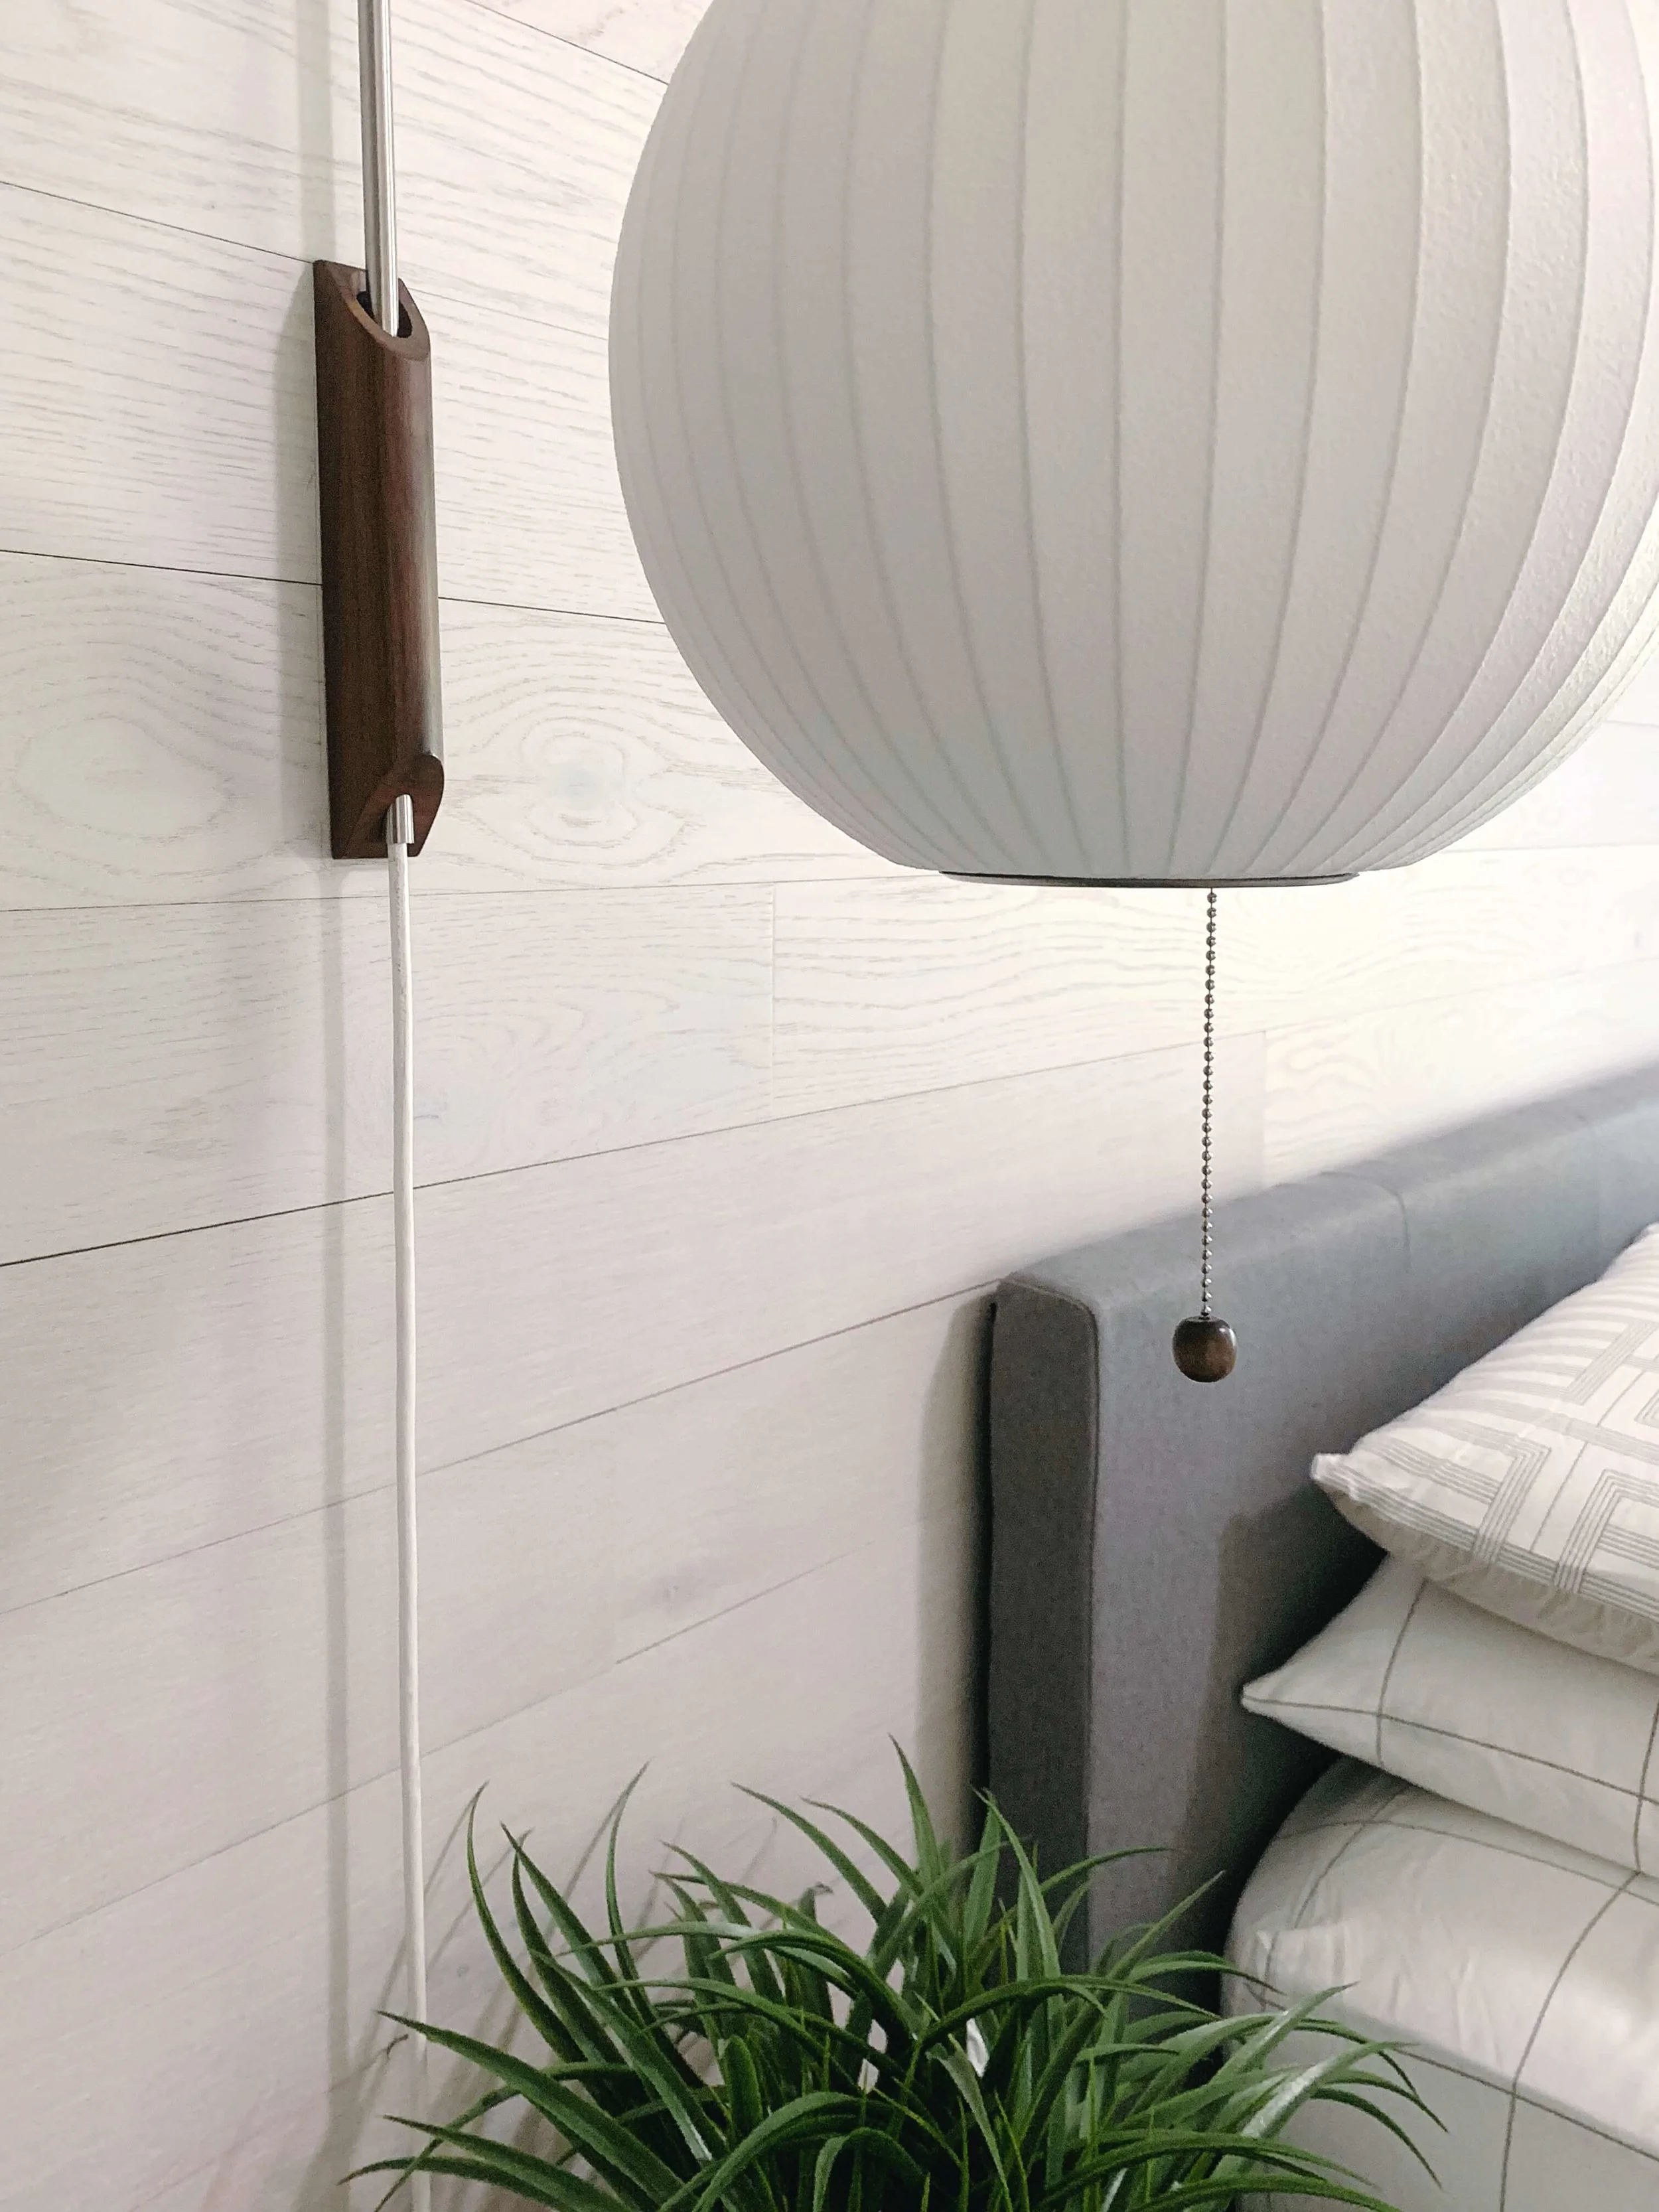
Wallplanks: White Stained Finish, currently at $202.79/carton, the total retail value of my order was $1,326.38. This included the planks ($1,094.40), J-Roller ($17.99), Wood Wall Cleaner ($25.99), and Surface Assure to apply to the wall prior to applying the planks ($188.00).
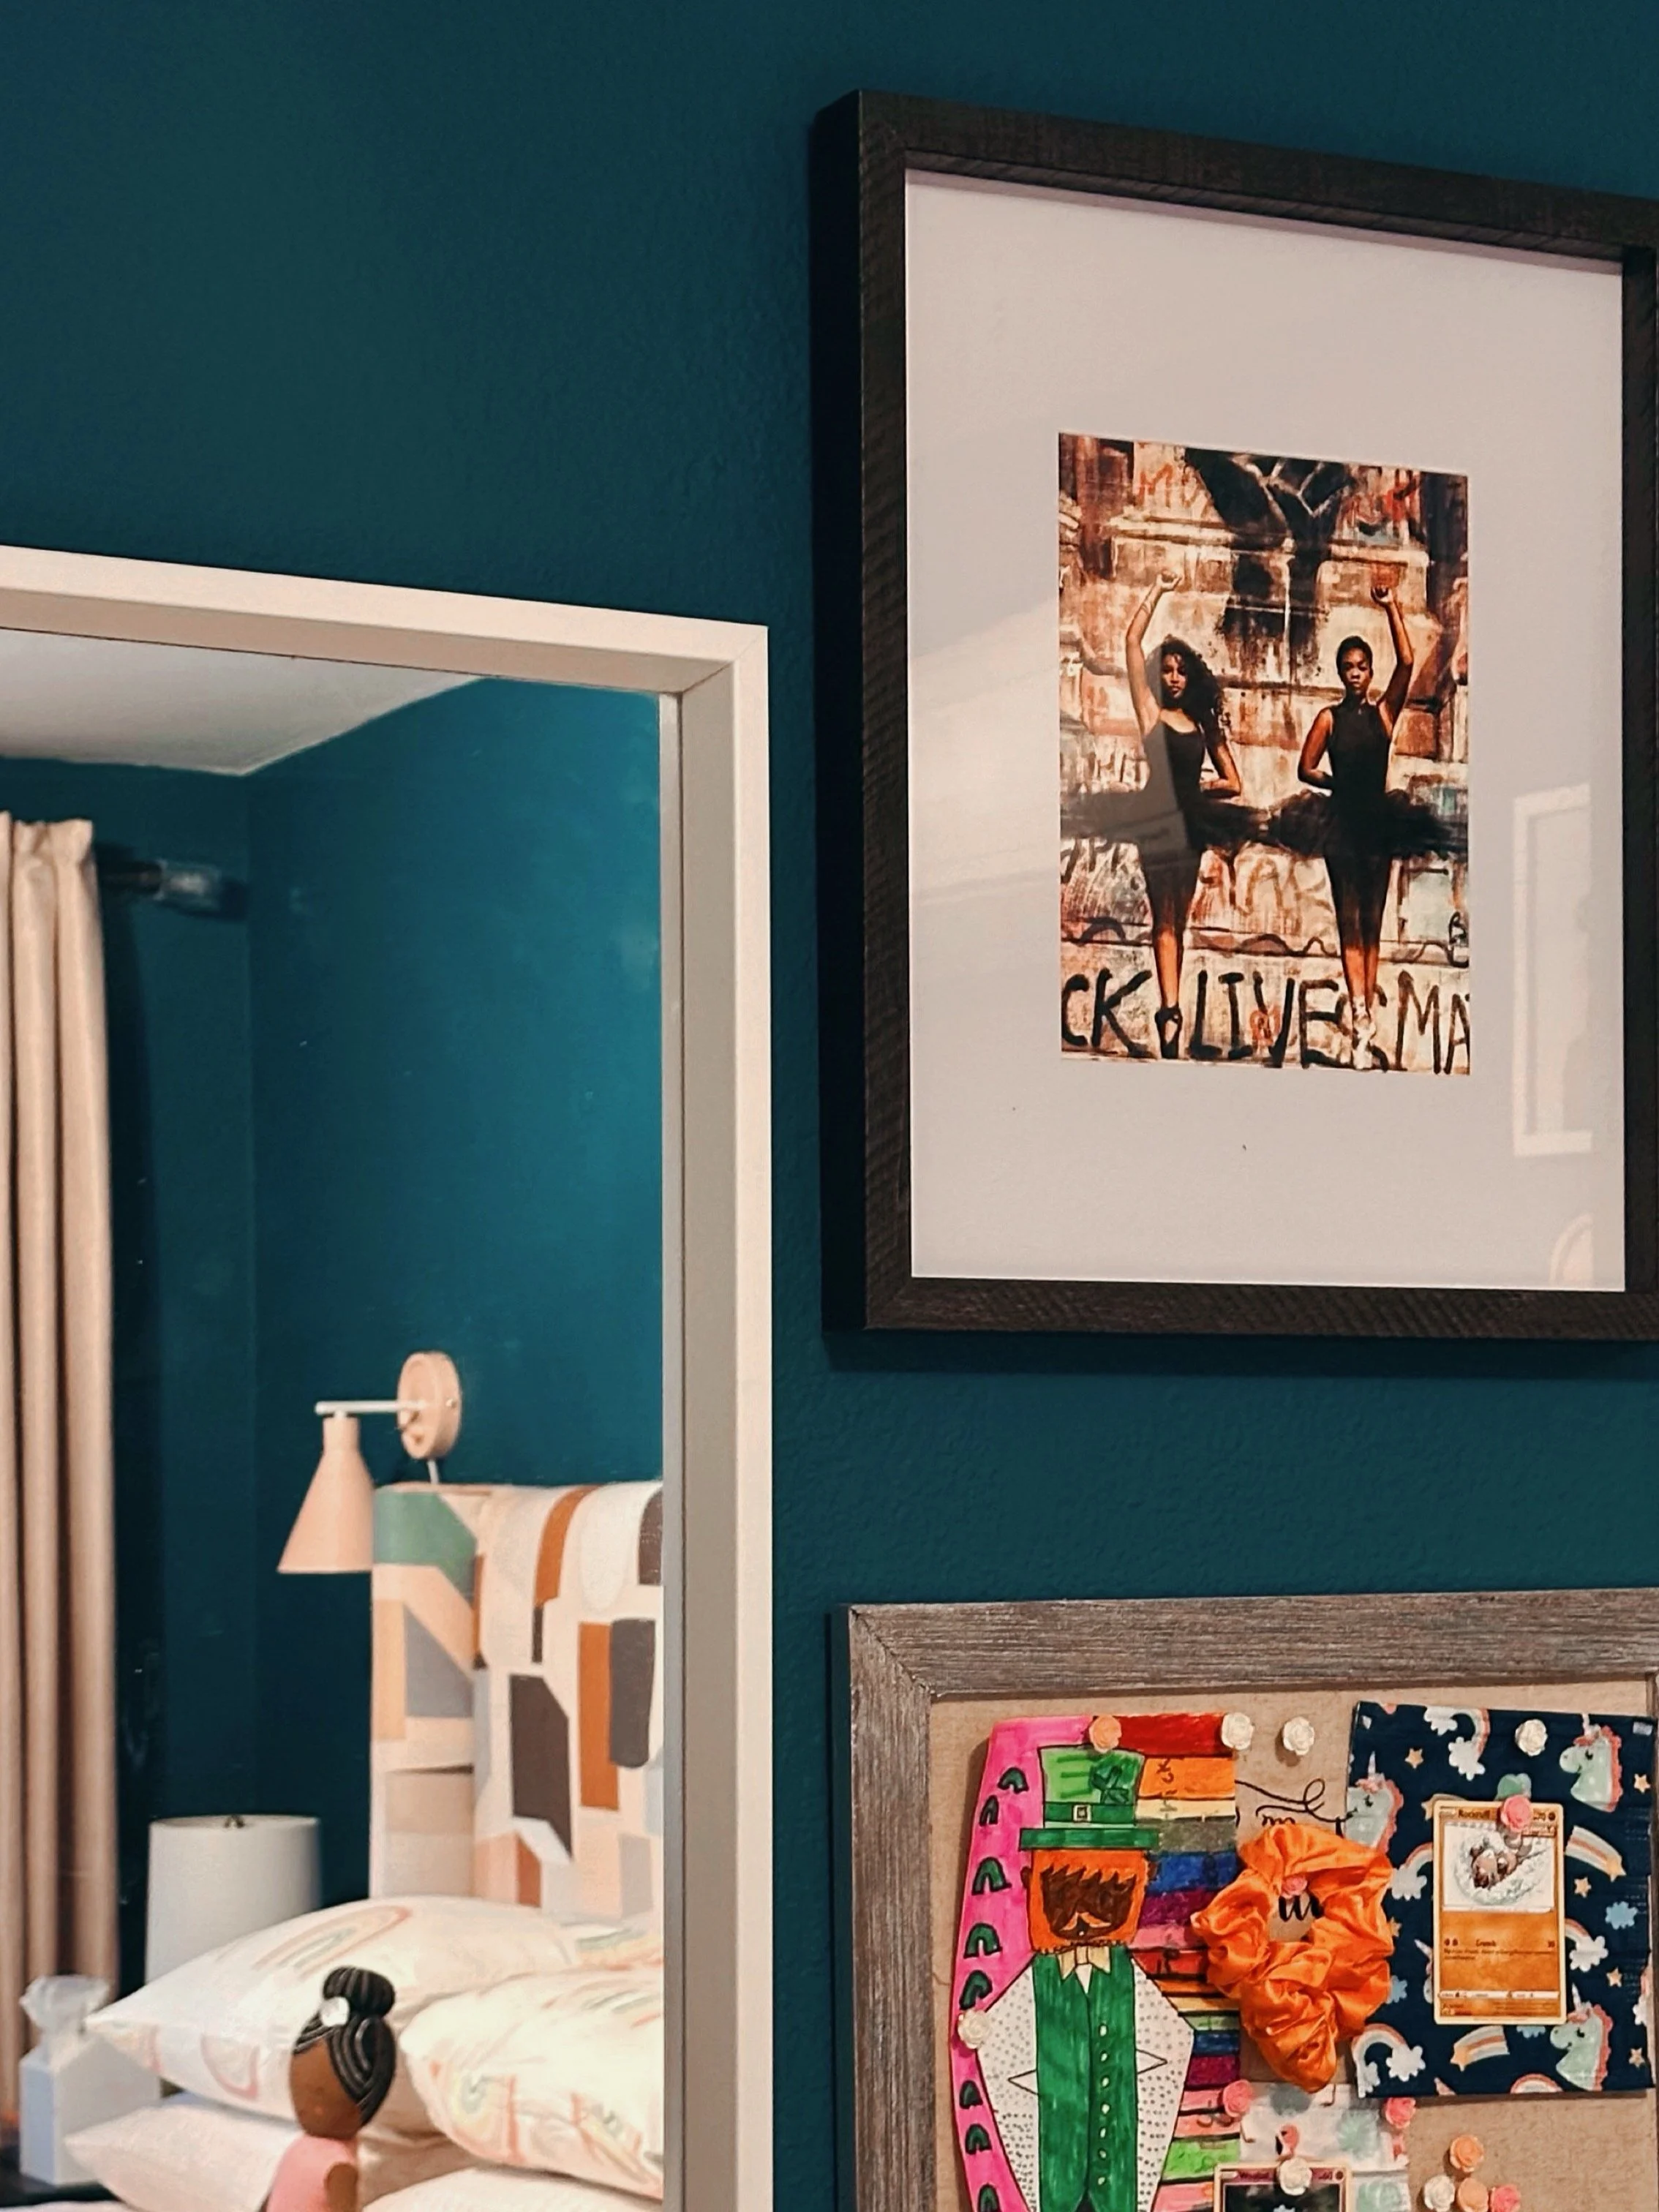
Artwork: From HomeGoods and I believe it was either $29.99 or $34.99.
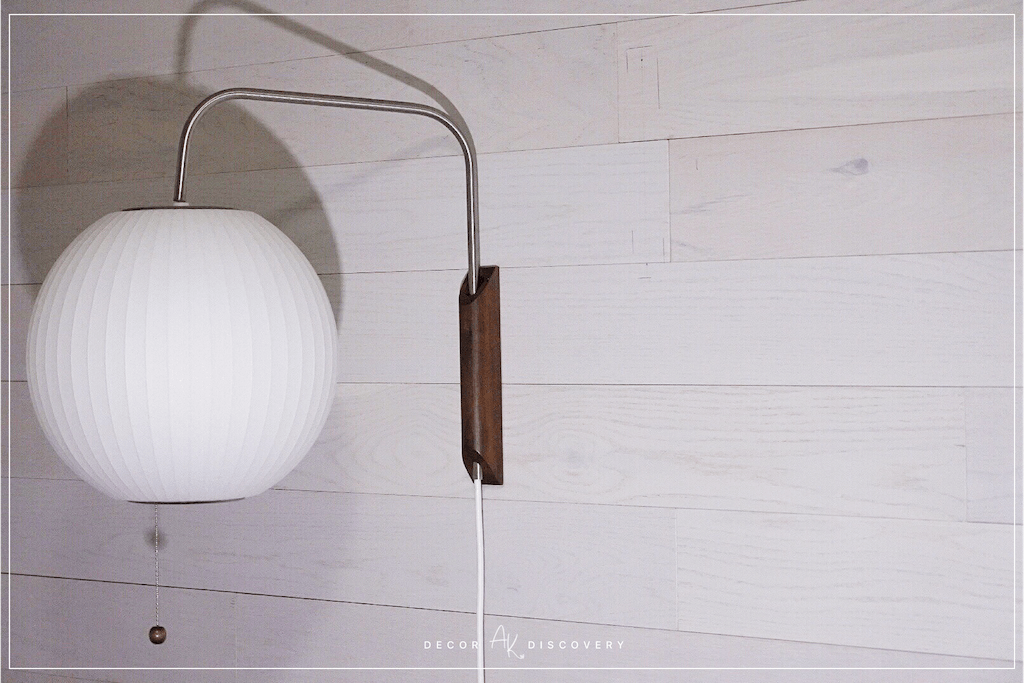
Sconces: Nelson Ball Bubble Wall Sconce from Lumens at a retail value of $495/each.
Ottoman & Settee: Both also from Wayfair, my price for the ottoman was $60.95 and for the settee was $176.35.
Full length Mirror: IKEA’s Nissedal Mirror for $49.99.
Drapery: Majgull Blackout Curtains from IKEA. For our windows we went with the measurements 57” x 98” and they are currently $34.99/pair, which is what I am almost certain we paid for them as well.
Drapery Hardware: All from IKEA, what we needed was the Hugad Curtain Rod ($4.99), Betydlig Wall Bracket ($1.50/each), and Blåst Finials ($10/pair).
Vanity (formerly my bar console, and my desk before that): IKEA Vittsjö Laptop Table for $39.99. I spray painted it gold & added marble contact paper to the shelf — the same contact paper from my renter-friendly bathroom makeover!
Arm Chair: Mid Century Modern Chair with Molded Arms and Wood Legs by DHP. It’s currently $60.63 but I was gifted the pair last Christmas as part of a holiday giveaway.
Under Vanity Storage: IKEA’s Branäs Basket in White for $12.99.
Above Vanity Storage: IKEA’s Marietorp Photo Ledges for $7.99 each.
Large Woven Rope Basket: I paid $15.87 for each basket at the time I purchased them from Amazon but they’re currently $23.87 each.
Decorative Vanity Storage: IKEA’s Fryken Set of 3 Lidded Boxes for $12.99.
Our Long Overdue Framed Wedding Photo at the heart of our gallery wall was from Framebridge and retailed $39.
Whew… that was a lot to type out!
Everything else from the acrylic storage on the vanity to photos in our gallery wall was a collection of items I’d purchased over time and/or were in other areas of our condo that now made more sense in our bedroom.
“Tip: You should always be able to “shop” your own home before making new deocrative purchases. ”
So how much did everything cost?
Minus the throw pillows & artwork, since those would just be guesses, everything listed totaled a retail value of $5,127.74.
So for my type of bedroom design — a modest refresh that’s a mix of high & low, from start to finish, you could comfortably budget $6,ooo. And I say modest, cognizant of the fact that while many pieces will be going with us when it comes time for us to buy a home, there are others that wouldn’t.
This is also why mixing high & low makes perfect sense — knowing where to splurge & knowing where to save.
Could my bedroom makeover had been done for less? Sure.
Could the whole thing had been done for more? Yep, that too!
The point here wasn’t to compare price points, but instead so shed a little bit of light on how quickly a design can add up; but also how, with some strategic planning, you don’t have to burn through your savings account to make your home feel like home.
Often we’ll see television shows of beautiful makeovers, IG & Pinterest posts of stunning redesigns, or jaw-dropping home tour videos on YouTube, and while we may fall in love with the design, we have no clue what it really cost to create something like that for ourselves — and don’t get me started on if you rent!
